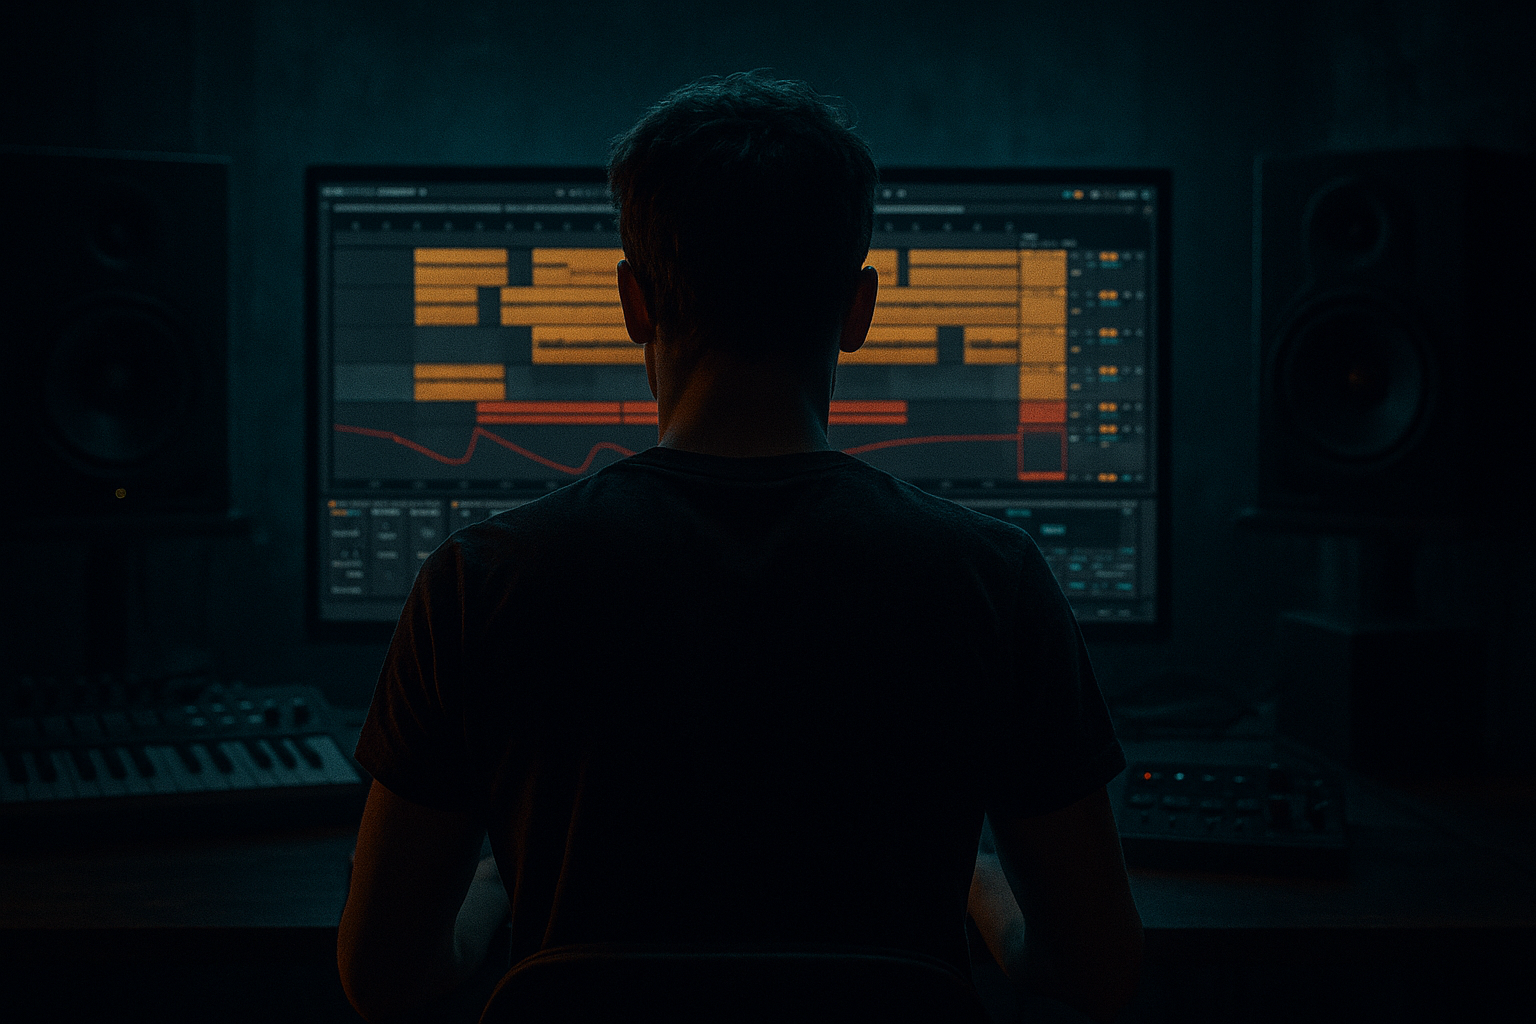
Main tutorial
Lesson Overview
This lesson is about building a ragga vocal layer blueprint in Ableton Live 12 that sits on top of your Drum & Bass track without chewing CPU. The goal is to create a vocal texture that feels like a proper DJ tool / hype layer: sharp enough to cut through breaks and bass, rhythmic enough to support the groove, and light enough that you can keep making the track without your session getting heavy.
In DnB, this kind of layer usually lives in the intro, first drop, breakdown, or switch-up. It can act as a call-and-response phrase with the drums, a tension builder before a drop, or a character layer that makes an otherwise functional roller feel alive. For darker DnB, jungle-leaning rollers, ragga-inflected club cuts, and stripped-back neuro-adjacent tracks, this technique is especially useful because it adds human energy without needing a full verse or a huge vocal edit.
Technically, it matters because vocal layers are easy to overprocess. If you stack heavy effects on multiple clips, your project gets messy fast and the vocal starts fighting the kick, snare, and sub. A smart blueprint keeps the vocal dry, focused, mono-safe where it matters, and printable so you can commit decisions early and stay fast.
By the end, you should be able to hear a vocal layer that feels like it belongs inside the tune: present, gritty, rhythmically locked, and useful for arrangement, not just a random sample sitting on top. A successful result should feel like a DJ-ready vocal hook that gives the tune identity without stealing space from the drums or bass.
What You Will Build
You will build a minimal-CPU ragga vocal layer chain for Ableton Live 12 that turns a short vocal phrase into a usable DnB texture. The finished result should have:
- a raw ragga / MC-style character
- a tight rhythmic bounce that can answer the drums
- enough grit and movement to cut through a mix
- a controlled top end so it doesn’t hiss over the breaks
- a mix-ready footprint that stays out of the sub and doesn’t create stereo mess
- Let the vocal behave like a percussion hit. In darker DnB, the best ragga layers often work because the consonants land like a ghost snare or rimshot. If the phrase has strong “t”, “k”, or “p” sounds, place them where they reinforce the groove.
- Use filtered repetition instead of constant fullness. A vocal that only becomes full at the end of a phrase creates menace. Keep the first part slightly filtered, then open it just before the drop or turnaround.
- Print the damaged version, not the perfect version. If a little Saturator or Redux makes the phrase more aggressive, commit it. The slightly rough printed take often sits better in a heavy roller than a pristine live chain.
- Keep the sub lane clean. If the vocal sits low in the register, high-pass it more than you think and check mono. Dark tunes need room for the bass to remain physically solid.
- Use silence as a feature. One well-timed gap before the snare can make a ragga phrase feel ten times heavier than constant delivery. Negative space is part of the weapon.
- For jungle energy, let one word repeat. A chopped repeated syllable on the offbeat can create that old-school pressure without needing a full amen-edit style vocal montage.
- For neuro-leaning darkness, reduce the “song” and increase the “texture.” A more clipped, filtered, or processed vocal fragment can sit like an industrial layer rather than a front-facing hook.
- Use only one vocal sample
- Use only stock Ableton devices
- Keep the chain to three devices maximum
- Make the vocal work with kick, snare, and bass playing
- One printed audio clip of the vocal layer
- One 4-bar loop where the vocal appears in a repeatable pattern
- One alternate version with a different placement or delay flavour
- Can you hear the snare clearly through the vocal?
- Does the vocal still make sense in mono?
- Does the phrase feel like part of the groove rather than decoration?
Think of it as a vocal layer that can work in three ways:
1. As a hooklet in the intro or drop
2. As a chopped DJ-tool phrase between drum hits
3. As a tension device before the bass re-enters
If it’s working, you’ll hear the vocal as a defined character element, not a full lead vocal. It should feel tight, rude, and percussive, almost like another instrument in the rhythm section.
Step-by-Step Walkthrough
1. Start with a short, usable source and trim it hard
Drag one ragga-style vocal phrase into an Audio Track. Keep it short: ideally one to four bars, or even a single strong word or ad-lib like “come”, “move”, “yeah”, “pull up”, or a chopped shout. For a beginner workflow, don’t start with a full vocal performance. Start with something you can loop and shape quickly.
Open the clip and trim silence from the front and tail so the phrase starts cleanly. Then enable looping if the phrase works rhythmically. If the sample is too long, cut it down to the part with the strongest attitude. In DnB, vocal layers work best when they behave like percussion and punctuation rather than a long narrative.
Why this works in DnB: the drum grid is fast, and long vocals can blur the groove. A short phrase gives you immediate rhythmic identity and makes it easier to place around snares and fills.
What to listen for: the vocal should already feel like it has a natural pocket before any processing. If the phrase sounds weak when stripped down, no amount of effects will make it feel intentional.
2. Warp it only enough to lock to the grid
Turn on Warp and make sure the vocal follows the project tempo. For ragga-style material, keep the warping simple. Use a warp mode that preserves transients and natural pitch behaviour for speech-like content, then adjust the start point so the first strong syllable lands cleanly on the beat.
If the vocal is rhythmic and percussive, line it up so it speaks with the snare or answers the snare. A common DnB move is to place the first strong word just before or after the snare, creating a push-pull effect.
Useful range: if the timing is slightly off, nudge the clip by tiny amounts rather than forcing it to land mathematically perfect. Often a few milliseconds late makes a vocal feel more human and more “on the mic” in a jungle or ragga context.
What to listen for: the phrase should feel glued to the grid, but not robotic. If the consonants smear, the warp is too aggressive or the clip start is too loose.
3. Build the minimal CPU chain: EQ → light saturation → utility control
Put a simple stock chain on the vocal track:
- EQ Eight
- Saturator
- Utility
This is the first stock-device chain. Keep it efficient and purposeful.
On EQ Eight, cut unnecessary low end. A vocal layer in DnB usually does not need anything below about 120–180 Hz, and often more is removed depending on the sample. If there’s boxiness, dip around 250–500 Hz. If the vocal is sharp or harsh, look around 2.5–5 kHz. Don’t carve blindly—make one move at a time and check it against the break.
On Saturator, use a small amount of drive to thicken the vocal and help it speak on smaller speakers. Start modestly: roughly 2–6 dB Drive is often enough for a ragga layer. If the sample gets crunchy too fast, back off and use a softer curve rather than just turning it up.
On Utility, control gain and collapse the layer to mono if the vocal is going to live in the center of the mix. This is especially useful if the sample already has some stereo spread or room sound you don’t need.
Why this works in DnB: saturation gives the vocal density to cut through drums without making it louder. EQ removes the parts that compete with kick, snare, and bass. Utility keeps the layer disciplined and mono-compatible.
4. Choose your flavour: dry-impact or dubbed-space
Here’s your first A versus B decision.
A. Dry-impact option
- Keep the vocal mostly dry.
- Use only EQ, Saturator, and Utility.
- Best for rollers, darker minimal tunes, and DJ-tool-style drops.
- This gives the vocal a more in-your-face, MC-like attack.
B. Dubbed-space option
- Add Echo after Saturator.
- Use a short, filtered delay: try 1/8 or dotted 1/8, low feedback, and roll off the top and bottom.
- Best for jungle, ragga pressure, and breakdown moments.
- This makes the phrase feel wider and more atmospheric without needing huge reverb.
If you choose Echo, keep it controlled. A useful starting point is to let the delay carry the vibe but not fill every gap. Too much delay in DnB can smear the snare and create rhythmic clutter.
Decision rule: if the track already has a busy break and a strong bassline, choose A. If the track has space and needs more dub character, choose B.
5. Chop the phrase into playable rhythm
Duplicate the clip or slice it into smaller pieces if needed. In Ableton, you can work directly in the Arrangement or Session view with clip duplicates, then move the pieces to create a rhythmic pattern. Aim for a pattern that interacts with the drums, not one that just sits on top.
A strong beginner DnB approach:
- Put the vocal hit on the pickup before the snare
- Leave a gap for the snare to speak
- Answer it with the next syllable or chop
- Use short rests so the phrase breathes
A useful arrangement example is a 2-bar call-and-response:
- Bar 1: vocal phrase opens the bar
- Bar 2: the vocal leaves space on the snare, then returns on the offbeat
This gives the listener a memory of the phrase while keeping the drums dominant. It also helps the vocal feel like part of the break edit rather than a separate layer.
What to listen for: if the vocal masks the snare transient, shorten it or move it earlier/later by a small amount. In DnB, the snare usually needs to stay king.
6. Add movement with simple automation, not extra CPU
Use clip envelopes or track automation to give the vocal life. Keep it simple:
- automate filter cutoff on Auto Filter or EQ Eight
- automate delay send if you chose the Echo option
- automate track volume for phrase emphasis
If you want more urgency, open the filter slightly into the phrase and close it at the end. A realistic starting move is to sweep a high-pass or low-pass gently over 4 or 8 bars, not in a dramatic EDM way. For darker DnB, subtle movement feels more credible than huge filter theatrics.
If the vocal needs tension before a drop, let the last word get a bit brighter or a bit wetter, then cut it hard on the drop. That contrast is a big part of DJ-friendly phrasing.
Workflow efficiency tip: automate only one or two things per section. The point is to create a usable layer fast, not a full sound-design project.
7. Check it against drums and bass before you fall in love with it
Bring the vocal into the context of your break and bass. This is essential. A vocal that sounds exciting solo can get buried or annoying once the groove is moving.
Play it with:
- your kick and snare
- the main bass or sub
- a basic arrangement section like intro into drop
Listen for two things:
1. Does the vocal leave room for the snare to crack?
2. Does it stay clear when the sub and break are both active?
If the vocal is fighting the snare, reduce midrange around 2–4 kHz or shorten the sample. If it’s fighting the bass, cut more low mid mud around 200–400 Hz and keep it mono.
Mono-compatibility note: if the vocal is a supporting layer, it should usually survive mono without changing character too much. That’s one reason the Utility mono move is so useful here. Wide stereo vocal tricks can sound impressive solo but disappear in club playback or clash with the sub.
8. Use a second stock-device chain only if the layer needs extra character
If the vocal still feels too clean or too flat, add a second light chain after the first one:
- Drum Buss for weight and bite
- or Redux very gently for grit and digital edge
This is your second stock-device chain example. Use it sparingly. For Drum & Bass, a tiny amount of harmonic bite can help the vocal stay audible over dense drums, but too much can destroy consonants.
A practical starting point:
- Drum Buss: use a small amount of Drive and keep the Boom very conservative or off for vocal work
- Redux: very low reduction or subtle bit depth change, only enough to roughen the surface
Stop here if the vocal already cuts through the mix and feels energetic. Don’t keep processing just because the session is open. Commit the sound once it works.
If it still needs more character, the goal is texture, not obvious effect. The moment the vocal starts sounding like a gimmick, you’ve gone too far.
9. Commit to audio once the rhythm and tone are locked
When the phrase works, commit this to audio. In a real DnB session, printing the vocal layer frees CPU, reduces distraction, and lets you move faster on arrangement.
Render or resample the phrase into a new audio track, then treat that printed version as the actual part. This is especially useful if you used delay or automation that you want locked into the performance.
Why this matters: printed audio gives you a cleaner working session and encourages decisive editing. You can now cut the phrase, reverse a hit, mute a tail, or move a word without keeping a live effect chain running.
After printing, you can:
- trim silence precisely
- reverse the last syllable into a transition
- leave a gap before the snare for tension
- duplicate the best hit for a drop marker
This is where the layer becomes a real arrangement tool rather than a sound-design experiment.
10. Shape the phrase into a DJ-useful arrangement element
Place the vocal so it supports the track’s structure. In DnB, a ragga vocal layer works best when it helps the listener feel section changes fast.
A simple arrangement blueprint:
- Intro: filtered vocal teasing over break elements
- First drop: short hook phrase every 2 or 4 bars
- Mid-section: reduce the vocal to one call-and-response hit
- Second drop: bring back the vocal with a different chop order or a more aggressive printed texture
The second drop should not simply repeat the first. Change the phrasing, mute one word, or shift the entrance by a beat. That tiny difference makes the tune feel developed without adding CPU or complexity.
What to listen for: the vocal should create anticipation, not constant noise. If every bar is shouting, there’s no contrast left for the drop impact.
Common Mistakes
1. Using a full vocal instead of a short phrase
- Why it hurts: long phrases crowd the break and make the arrangement feel busy rather than focused.
- Fix: trim to the strongest one- to four-bar section, or even a single word with attitude.
2. Leaving too much low end in the vocal
- Why it hurts: it competes with the kick, bass, and break body.
- Fix: use EQ Eight and high-pass the vocal aggressively enough that it stops fighting the low-end foundation. In most DnB sessions, this means well above sub territory.
3. Making the vocal too wide
- Why it hurts: stereo width on a support vocal can sound impressive in headphones but messy on club systems, and it can blur the center image.
- Fix: use Utility to keep the layer mono or narrow unless the track specifically needs a dubby spread.
4. Overusing delay or reverb
- Why it hurts: the vocal loses rhythmic definition and masks snare hits.
- Fix: shorten the feedback, darken the repeats, or switch to a drier version. In a drum-heavy drop, less tail usually sounds bigger.
5. Forcing the vocal to sit exactly on the grid
- Why it hurts: the phrase can lose human bounce and feel stiff against the break.
- Fix: nudge the clip by a tiny amount so the consonants feel like they’re riding the groove. Check it against the snare, not in solo.
6. Processing before checking it in context
- Why it hurts: a vocal can sound exciting alone and still fight the drums and bass.
- Fix: audition the layer with kick, snare, and bass before committing to heavier shaping.
7. Adding too many effect devices too early
- Why it hurts: higher CPU, more confusion, and less control over the actual idea.
- Fix: stay with a simple chain first. Only add extra character if the phrase genuinely needs it.
Pro Tips for Darker / Heavier DnB
Mini Practice Exercise
Goal: Build a one-bar ragga vocal hook that can sit over a DnB break without clouding the snare.
Time box: 15 minutes
Constraints:
Deliverable:
Quick self-check:
Recap
The core move is simple: take a short ragga phrase, warp it lightly, shape it with a minimal stock chain, and place it like a rhythm tool inside the DnB arrangement. Keep the low end out, keep the center clean, and make the vocal answer the drums instead of covering them.
If it works, the listener should feel a distinct character layer that adds pressure, movement, and DJ-friendly identity without stealing the drop. That is the win: a vocal that sounds intentional, heavy, and efficient enough to live inside a real DnB session.

