Main tutorial
Lesson Overview
A warehouse intro in Drum & Bass is more than just “the first 16 bars.” It’s your first collision point between DJ utility and atmosphere: enough space for a selector to beatmatch cleanly, enough tension to feel serious on a system, and enough identity that the track announces itself before the drop. In DnB, this matters because intros are functional. They need to lock to the grid, preserve low-end discipline for mixing, and build energy without exposing the full payoff too early.
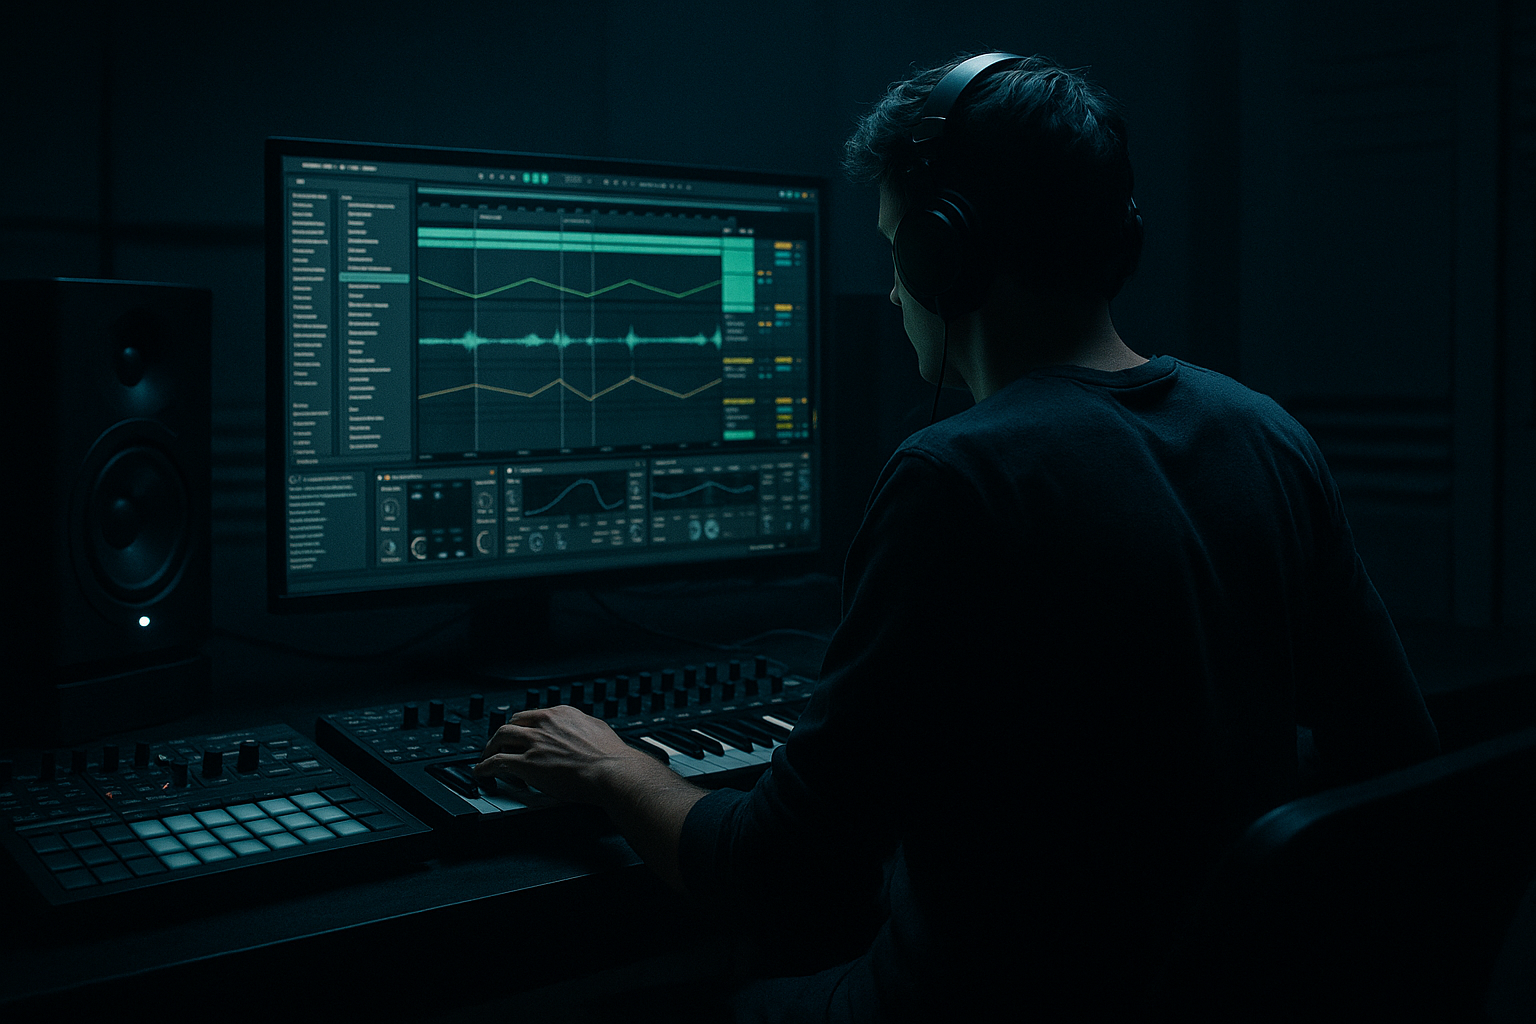
In this lesson, you’ll build a break-lab warehouse intro in Ableton Live 12: a dark, DJ-friendly opening section made from chopped break edits, sub hints, industrial atmospheres, and carefully managed tension moves. We’ll focus on how to make it feel like a real club record intro rather than a generic cinematic lead-in.
This technique sits in the zone where roller precision meets jungle DNA and warehouse tension meets modern arrangement control. Think: cold room tone, broken drums, subtle reese pressure, and transition tools that help the track mix in and out like a proper DJ tool. 🔊
Why it matters: a strong intro lets you establish vibe instantly, gives DJs a clean entry point, and creates a believable ramp into the drop without wasting bars. For darker DnB, the intro is often where the track’s identity is won or lost.
What You Will Build
By the end, you’ll have a 16- or 32-bar warehouse intro that includes:
- A DJ-friendly opening with sparse percussion and room for mixing
- A break-lab drum narrative: chopped break fragments, ghost hits, and variation
- A subtle bass presence that hints at the drop without fully arriving
- Atmospheric industrial texture using stock Ableton devices
- A tension arc with automation, fills, and filter movement
- A clean handoff into the drop, suitable for a dark roller, jungle refix, or neuro-leaning tune
- Making the intro too busy too early
- Using full bass energy before the drop
- Over-widening atmospheres and FX
- Breaks sounding messy instead of intentional
- No clear phrase structure
- Too much reverb clouding the groove
- Resample your own break processing: bounce the break group with distortion, filtering, and delays, then re-chop the audio. This creates a more original warehouse texture.
- Layer sub with harmonic dirt: keep one clean sub layer and one lightly saturated harmonic layer. The clean layer holds weight; the dirty layer helps translation.
- Use call-and-response even in the intro: a break stab can answer a metallic hit or bass ping every 2 bars. This keeps the intro alive without sounding busy.
- Control the top end carefully: harsh 7–10 kHz energy can make a dark intro feel cheap. Use EQ Eight or dynamic restraint via arrangement choices.
- Automate a tiny bit of chaos: slight parameter movement on Erosion, Auto Pan, or filter cutoff gives the intro a lived-in industrial feel.
- Think like a DJ: leave a clean entry window before the drop, and don’t place too many signature hits right on the mix-in point.
Musically, the intro should feel like a cold concrete space: not empty, but controlled. Imagine a track opening with filtered break dust, a distant reese pulse, a metallic hit every 4 bars, and a rising sense that something heavy is about to land. That’s the target.
Step-by-Step Walkthrough
1. Set the intro architecture first: 16 bars or 32 bars, not “whatever happens”
In Ableton Live 12, start by laying out your arrangement markers and decide whether the intro will be 16 bars for a tighter DJ tool or 32 bars for a more atmospheric warehouse opener. For advanced DnB, I recommend building both versions mentally:
- 16-bar intro: better for rollers, heavier sets, and fast transitions
- 32-bar intro: better for deeper intros, jungle influence, and atmospheric mix-ins
Set the tempo around your track’s final BPM, usually 170–174 BPM for modern DnB. Put a locator at bar 1, bar 9, bar 17, and bar 33 so you can think in phrase blocks. This is crucial because DnB intros need phrasing that DJs can read immediately.
Keep the first 4 bars very sparse. Why this works in DnB: DJs need predictable phrasing for mixing, and sparse intros give them the room to blend without clashing with the incoming bassline.
2. Build the break-lab drum core with a real break as your source material
Drop a classic break or your own recorded break into an audio track and slice it tightly. Use Slice to New MIDI Track if you want rapid control, or manually chop the audio into 1/16 and 1/32 fragments if you want more surgical editing. For darker DnB, the break should be more than a loop: it should become a controlled, responsive texture.
Useful Ableton stock tools:
- Simpler in Slice mode for break triggering
- Warp with Beats mode for keeping transients punchy
- Drum Buss on the break bus for weight and glue
- EQ Eight to carve low-end clash
Start with a ghosted break pattern:
- Kicks: keep them minimal in the intro, often just one every 2 bars or off-grid accents
- Snares: place on key phrase points, not full backbeat dominance
- Hats: use quiet 1/16 or shuffled 1/8 fragments to imply motion
- Ghost notes: lower velocity hits before or after the main snare to create swing and menace
Try this concrete starting shape:
- Bars 1–4: filtered break dust, no full snare
- Bars 5–8: bring in a chopped snare ghost and a tight kick
- Bars 9–16: add more break punctuation and a short fill into the drop
If the break feels too static, use Groove Pool with a swing-heavy MPC-style groove at around 55–58% timing and moderate randomization. This helps the intro feel human without becoming loose.
3. Shape the drum bus for impact without killing the crack
Route all drum elements to a Drum Group and treat it like a single instrument. On the group, add:
- EQ Eight: high-pass only if necessary, usually around 25–35 Hz to clear sub rumble
- Drum Buss: Drive around 5–15%, Crunch around 5–20%, Boom only if the intro needs extra low-mid punch
- Glue Compressor: slow attack, medium release, and just 1–2 dB of gain reduction for cohesion
The goal is not to flatten the break; it’s to make it feel like it’s coming from the same room. For warehouse intros, transients should remain sharp enough for a DJ to feel the groove, but the bus should add density and a slight “push.”
A strong advanced move: parallel the drum group into a second return or audio track with heavier saturation. On that parallel channel, use Saturator with a Soft Clip mode and drive it until the body thickens, then blend it quietly under the main drum bus. This is especially effective for jungle-derived intro textures.
4. Add a “sub hint” instead of a full bassline
In a DJ tool intro, you don’t want the full bassline dominating too early, but you do want the listener to sense the low-end identity. Create a bass layer using a Wavetable, Operator, or even a resampled audio layer from your drop bass.
Keep it restrained:
- Low-pass it heavily with Auto Filter
- Remove most mids if it starts sounding like a full bass
- Use short, sparse notes, often just a two-note motif or a single pedal tone
- Automate volume or filter opening over 8–16 bars
Concrete starting point:
- Filter cutoff around 150–400 Hz for the opening
- Resonance low, around 10–20%
- Envelope amount subtle, just enough to make motion without obvious wobble
If using Operator, a sine or triangle sub with a touch of harmonic saturation can work well. Add Saturator after it and use very light drive, enough to make the bass read on smaller systems without becoming audible as a melodic bassline.
Why this works in DnB: the intro gets weight and anticipation without burning the drop’s reveal. The low end feels present, but the groove still leaves space for the DJ to mix.
5. Create the warehouse space with atmospheric design and resampling
Now build the room. Use stock devices to make the intro feel like a concrete loading bay, a tunnel, or an industrial hall. Layer 2–3 atmospheric elements max; keep them selective.
Good options:
- Erosion for gritty air
- Hybrid Reverb for short metallic reflections or longer warehouse tails
- Corpus on subtle metallic hits for resonant clang
- Echo for delay space and dubby depth
- Auto Pan for slow stereo movement on texture layers
Try these sound sources:
- A field recording or noise sample
- A metallic hit resampled through Reverb + Saturator
- A reversed break tail bounced to audio and processed with Warp
Useful parameter choices:
- Reverb decay: 1.2–2.8 seconds for industrial rooms
- Pre-delay: 10–25 ms to preserve transient clarity
- Erosion frequency: slow movement around 2–8 kHz
- Auto Pan rate: 1/2 to 2 bars, depth 20–40%
For advanced workflow, resample a short section of your break group with effects enabled, then chop it back into a new audio track. This creates accidental texture and helps the intro feel “made,” not looped.
6. Design the tension arc with automation that actually tells a story
This is where the intro becomes a proper arrangement element. Your job is to make the listener feel the room pressure rising. Use automation lanes on:
- Auto Filter cutoff on drums or atmos
- Reverb wet/dry on impacts or texture hits
- Echo feedback for transition moments
- Utility gain to create subtle drops in energy before re-entry
- Bass filter cutoff or oscillator wavetable position
Build a clear 4-bar or 8-bar narrative:
- Bars 1–4: low energy, filtered, minimal low-end
- Bars 5–8: open slightly, add ghost drums
- Bars 9–12: introduce sub hint and more room hits
- Bars 13–16: automate a tension rise into the drop with a short fill or reverse swell
A very effective DnB move is to automate the drum bus into a slight high-pass lift on the last bar before the drop, then snap it back at the drop. Keep it subtle: you want anticipation, not a gimmick.
Also consider automating a 1-beat pause or a single-bar drum dropout near the end of the intro. In darker DnB, silence before impact can hit harder than extra FX.
7. Write a DJ-friendly intro that mixes cleanly but still sounds dangerous
Since this is in the DJ Tools category, the intro must be mixable. That means:
- Strong grid alignment
- Predictable phrase lengths
- Controlled low end
- No over-wide stereo content too early
Keep the first 8 bars mono-compatible enough for a DJ blend. Use Utility on atmospheres and sub hint layers to keep the width conservative. A good rule:
- Intro low end: basically mono
- Mid atmos: slightly wide but not exaggerated
- High FX: can be wider, but keep them short and intentional
A practical arrangement example:
- Bars 1–8: drums + room + sparse top texture
- Bars 9–12: add sub hint and one signature metallic stab
- Bars 13–16: fill, reverse hit, small break flourish, then drop
If your track is more jungle-leaning, introduce a classic break edit or amen-style fill in the last 4 bars. If it’s neuro-leaning, use a tighter metallic riser and a synced stutter fill instead.
8. Polish the transition tools: risers, downlifters, impacts, and final pre-drop control
Now add the detail that sells the drop. Use short, functional FX rather than huge cinematic sweeps. In dark DnB, the best transition tools are often restrained.
Stock devices to lean on:
- Noise bursts through Auto Filter
- Reverse cymbal or reversed break tail
- Echo throws on end-of-phrase hits
- Reverb tail bounce resampled for the final bar
- Beat Repeat for a brief pre-drop stutter, used sparingly
Good settings for a stutter/fill moment:
- Beat Repeat interval: 1/8 or 1/16
- Grid: 1/16 to 1/32
- Chance: low, or automate it on for the last hit only
- Mix: keep it temporary and controlled
End the intro with a clear cue: one final drum fill, a bass pickup, a reversed tail, or a clipped impact that lands exactly on the drop one. The listener should feel the door open, not wonder if the track has started yet.
Common Mistakes
- Fix: strip the first 4–8 bars down to only the most essential rhythmic and textural elements.
- Fix: keep bass to a filtered hint or sub motif; save the main reese motion for the drop.
- Fix: check mono compatibility and keep low-end elements centered. Wide highs only.
- Fix: tighten transients with careful slicing, then use Drum Buss and light compression on the group.
- Fix: anchor the intro to 4-bar and 8-bar blocks so DJs can mix with confidence.
- Fix: shorten decay times, add pre-delay, and high-pass your return tracks.
Pro Tips for Darker / Heavier DnB
Mini Practice Exercise
Set a timer for 15 minutes and build a 16-bar warehouse intro sketch:
1. Choose one break and chop it into a playable pattern.
2. Make bars 1–4 sparse: only light break fragments and room texture.
3. Add a sub hint in bars 5–8 using one or two notes.
4. Introduce one metallic hit or industrial stab every 4 bars.
5. Automate a filter opening on the atmosphere or break bus.
6. Add one fill or reverse tail into bar 16.
7. Export or bounce the section and listen as if you’re a DJ cueing into it.
Constraint: do not use more than 6 active layers total. That forces you to make each element count.
Recap
A strong warehouse intro in Ableton Live 12 is about function, tension, and control. Build it from a chopped break core, add only a hinted bass identity, shape the room with stock FX, and arrange everything in clear DJ-friendly phrases. Keep the low end disciplined, the atmosphere intentional, and the transition into the drop unmistakable. That’s how you make a DnB intro that feels dark, usable, and worth replaying.

