Main tutorial
Lesson Overview
A hoover stab is one of those sounds that instantly signals oldskool jungle / rave DNA while still being flexible enough to live in a modern DnB track. In this lesson, you’ll build a blueprint for a hoover-style stab in Ableton Live 12 that has two key qualities:
1. Modern punch — so it cuts through dense drums, reese basses, and sub pressure without sounding flimsy.
2. Vintage soul — so it keeps that raw, anxious, ravey character that sits perfectly in jungle edits, rollers, darkside intros, and oldskool-inspired drop sections.
This matters in DnB because stabs are often the bridge between rhythm and harmony. They can act as:
- a hook in the intro,
- a call-and-response answer to drums or bass,
- a drop reinforcement that adds movement without crowding the sub,
- or a switch-up tool in the edit section when you want tension without changing the whole groove.
- short enough to leave room for breaks and bass,
- harmonically strong enough to feel musical,
- aggressive enough to work in jungle / DnB,
- and editable enough to resample into fills, reverses, and transitions.
- a short 1/8 or 1/16 stab,
- a slightly longer gated chord hit,
- or a resampled edit hit for breakdowns, fills, and drop punctuation.
- a bright, detuned rave stab with a slightly nasal edge,
- a punchy front transient that lands hard with jungle drums,
- a moving tail that carries enough soul to feel vintage, not sterile,
- and a mix-friendly body that won’t fight your sub or snare.
- variation hits,
- reverse pickups,
- filter sweeps,
- and stereo/mono edit layers for arrangement.
- an oldskool intro before the drop,
- a 2-bar answer phrase under chopped breaks,
- or a mid-drop switch where the bass drops out for a bar and the stab takes the lead.
- Making the stab too wide and washing out the center
- Letting the low mids pile up
- Overdoing reverb
- Using too much detune
- Ignoring transient shape
- Forgetting mono compatibility
- Placing the stab in the same frequency pocket as the snare
- Layer a mono mid punch with a wider top
- Use subtle pitch drift
- Resample through saturation
- Automate a low-pass sweep into drop transitions
- Turn the stab into a rhythmic percussion layer
- Let the stab answer the reese
- Push harmonic grit, not sub
- Build the hoover stab in Ableton Live 12 with Wavetable, then shape it with envelope control, saturation, EQ, and subtle modulation.
- Keep the attack tight, the low end clean, and the midrange character strong.
- Resample the sound so it becomes an edit tool, not just a synth patch.
- Use it in call-and-response phrases, switch-ups, reverse pickups, and DJ-friendly intro/drop arrangement.
- For DnB, the best stabs are the ones that feel aggressive, musical, and easy to place in the groove.
For an intermediate producer, the real win here is not just making the sound, but making it usable in arrangement. That means learning how to create a stab that is:
We’ll build this using stock Ableton devices, then shape it like a proper DnB edit element: tight transient, controlled low mids, moving harmonics, and a bit of unstable rave character. 🔥
What You Will Build
By the end, you’ll have a single hoover stab patch that can be played as:
Musically, the sound should feel like:
You’ll also end up with a workflow for turning the stab into:
In a track context, this is perfect for:
Step-by-Step Walkthrough
1. Start with a clean instrument rack and decide the role of the stab
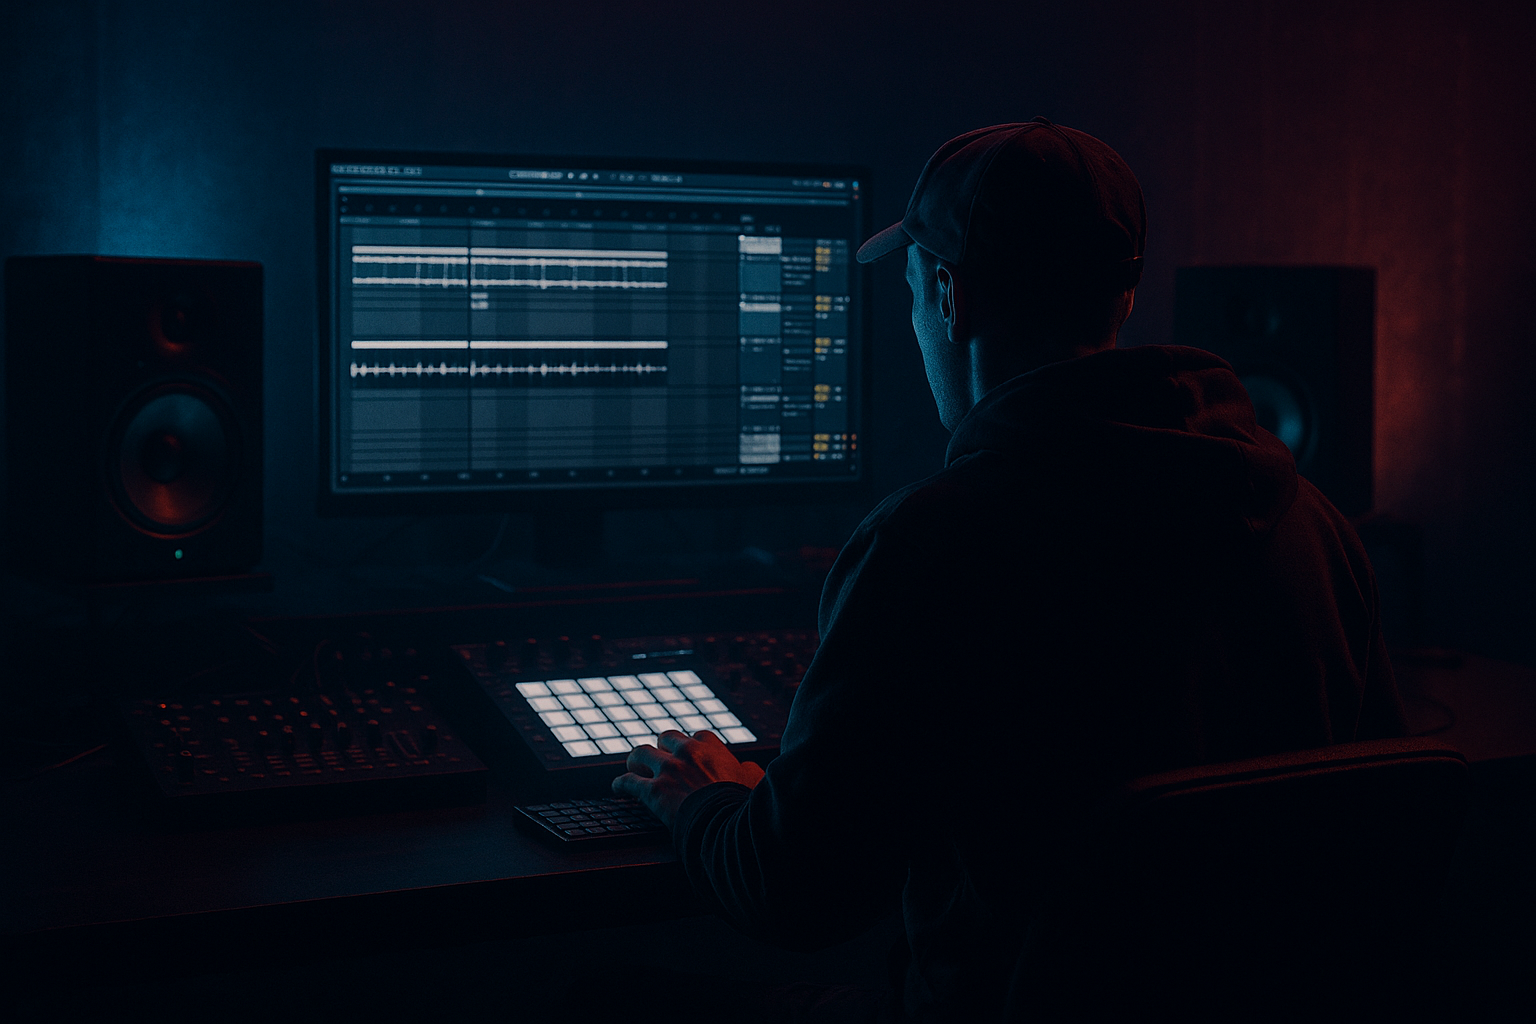
Create a new MIDI track and load Instrument Rack first. Inside it, we’re going to build a patch that can be controlled later with macros. This is important for edits because you want fast variation without rebuilding the sound every time.
Add Wavetable as your core sound source. If you prefer a more classic flavor, you can also layer a second oscillator with Analog, but Wavetable gives you the cleanest control over modern punch.
Before touching the synth, decide the role:
- if it’s an intro stab, give it more character and resonance;
- if it’s for the drop, keep it shorter and more percussive;
- if it’s for a break edit, focus on impact and movement rather than long sustain.
For a classic jungle/DnB stab, aim for a midrange-centric sound that leaves the sub free. You are not building a bassline here — you’re building a harmonic punctuation mark.
2. Build the core hoover tone with detuned unison and a bright, animated wavetable
In Wavetable, start with a bright table or saw-based source. Use:
- Unison: 4–8 voices
- Detune: around 10–20%
- Spread: moderate, not extreme
- Attack: 0–5 ms
- Decay: 150–400 ms
- Sustain: low to medium
- Release: 80–180 ms
The classic hoover character comes from stacked detuned voices and a slightly unstable pitch center. In Ableton, you can fake that oldskool motion by using:
- a little detune,
- a touch of wave position movement,
- and subtle LFO modulation on pitch or filter.
Route LFO 1 to:
- Filter cutoff with a small amount,
- and optionally wavetable position for movement.
Suggested settings:
- LFO rate: 1/8 or 1/4 synced for a slow pulse, or free-running around 0.8–2 Hz for a more organic wobble
- LFO amount to filter: small to medium, just enough to breathe
- Filter type: Low-pass or band-pass depending on brightness target
- Filter cutoff: start around 1.5–4 kHz and adjust by ear
- Resonance: 15–35%
Why this works in DnB: hoover stabs need to carry identity in the midrange. In a fast genre, listeners hear the shape of the stab more than the full harmonic detail. Detune and slight modulation make the sound feel alive, which helps it stand out above busy breaks and bass movement.
3. Add the punch stage with transient shaping and envelope discipline
A hoover stab often fails in DnB because it has attitude but no punch. We fix that by tightening the amplitude envelope and shaping the front edge.
In Wavetable’s amp envelope:
- keep Attack at 0 ms
- reduce Decay so the hit feels percussive
- keep Sustain around 0–25%
- use Release just long enough to avoid clicks
Then add Drum Buss after the synth.
Suggested starting point:
- Drive: 5–15%
- Boom: off or very low for this sound
- Transient: +10 to +30
- Crunch: low, around 5–15% if needed
If the stab needs more bite, add Saturator before Drum Buss:
- Drive: 2–6 dB
- Soft Clip: on
- Use Analog Clip if the sound needs a rougher edge
For a more surgical approach, place Glue Compressor after saturation:
- Attack: 1–3 ms
- Release: Auto or 0.1–0.3 s
- Ratio: 2:1 or 4:1
- aim for only 1–3 dB of gain reduction
This is the point where the stab becomes useful in a DnB edit. The goal is to make it behave almost like a pitched drum hit — short, controlled, and ready to sit between kick, snare, and break accents.
4. Create the vintage soul with chorus, slight instability, and tonal grit
A modern stab that is too clean loses the jungle spirit. Add vintage soul with controlled modulation, not chaos.
Insert Chorus-Ensemble after the main synth or after saturation:
- Mode: Ensemble or Classic
- Amount: 10–30%
- Rate: slow
- Width: moderate
- keep it subtle enough that the center stays strong
Then try Redux very lightly if you want the stab to feel more sampled and less pristine:
- Downsample: only a little, not lo-fi destruction
- Bits: reduce slightly if needed
- blend carefully
Another good stock option is Vinyl Distortion, but use it lightly:
- Tracing Model: gentle
- Drive: low
- Crackle: optional and very subtle
If the stab starts sounding too polite, use Auto Filter with a little resonance and automate the cutoff down slightly during the tail. This creates that oldschool “talking” behavior that feels very at home over chopped breaks.
For a more authentic rave edge, you can also detune one oscillator a few cents sharper than the other. Even a small offset can create the unstable emotional quality that oldskool jungle stabs thrive on.
5. EQ the stab so it punches without clouding the break or bassline
Now clean up the sound with EQ Eight. This is crucial in DnB because the stab can easily fight the snare body or reese upper mids.
Start with:
- High-pass around 120–250 Hz depending on the arrangement
- cut any muddy build-up around 250–500 Hz
- if it bites too hard, tame 2.5–5 kHz
- if it feels too dull, add a small boost around 1.5–3 kHz
Be careful not to over-EQ the life out of it. The point is not perfect neutrality; the point is separation.
If the stab is meant to be layered with a break, leave a little midrange presence so it can speak through the drum texture. If it is going to sit over a huge sub and reese bass, cut more low mids and lean into the 2–4 kHz attack zone.
Pro workflow move: put the stab in an Audio Effect Rack with two chains:
- Clean/mono chain for the core hit
- Wide/FX chain for the tail and stereo character
This makes the sound easier to manage in arrangement edits and gives you fast macro control later.
6. Resample the stab and turn it into an edit weapon
This is where the sound becomes useful for real DnB arrangement work. Print the stab to audio:
- route the MIDI track to a new audio track,
- or use Resampling to capture different passes.
Then chop the recorded hit into:
- single hit stabs,
- tail-only versions,
- reverse pickups,
- and short stutter edits.
In Ableton Live 12, use the audio editor and Warp carefully:
- keep the main hit tight,
- use Complex Pro only if pitch/formant preservation matters,
- otherwise leave it simple for cleaner transients
A classic edit move:
- duplicate the stab audio clip,
- reverse one copy,
- high-pass the reverse version,
- and place it before the downbeat for a pickup into the drop or switch.
You can also slice the resampled stab into Drum Rack pads and trigger variations from MIDI. That makes it easier to build oldskool-style call-and-response phrases with chopped breaks and bass hits.
Why this works in DnB: resampling gives you the hard, concrete feel of sampled jungle hardware culture, even though you’re working in-the-box. It also gives you timing control, which matters when your track is full of fast drum edits and syncopated bass movement.
7. Program the stab musically inside a DnB phrase
A good hoover stab is not just a sound; it’s a phrase generator. Put it into a 2-bar loop and make it interact with the drums.
Strong starting patterns:
- Offbeat answers after the snare
- call-and-response with the break
- 1/8 stabs during the second half of a bar
- syncopated punctuations before fills
Musical context example:
- In bars 1–2 of an intro, let the stab appear every second beat with a filter opening.
- In the drop, have it answer the snare on beat 3 with a shorter, more aggressive version.
- In the switch-up, drop the bass for half a bar and let the stab carry the tension with a reverse pickup into the next break.
To give the stab more life, automate:
- filter cutoff
- resonance
- reverb send
- stereo width
- and occasionally octave jumps for variation
Keep the pattern short and readable. In jungle and DnB, too much harmonic motion can blur the groove. The best stabs often repeat like an obsession, with small edits rather than constant reinvention.
8. Finish the arrangement and mix balance for real track use
In a full DnB mix, the stab must support the drums and bass, not compete with them.
Place it in arrangement roles like:
- 8-bar intro hook
- 4-bar pre-drop tension
- drop accent on bar 1 and 3
- mid-drop switch or turnaround
- DJ-friendly outro tease
Mix moves to keep it usable:
- keep the stab mostly mono below 200 Hz if any low body exists
- check it in mono to make sure the detune doesn’t disappear
- use Utility to reduce width if it gets too smeary
- sidechain lightly to the kick if needed, but don’t overpump a stab that should feel sharp and intentional
If the stab and snare clash, lower the stab by a few dB around the snare hit or automate it to duck slightly on the backbeat. A tiny move here often sounds more professional than more compression.
For final texture, add a short Reverb send:
- Decay: 0.4–1.2 s
- Pre-delay: 10–30 ms
- Low cut: high enough to keep the bottom clean
- use a send instead of insert if you want more control over arrangement edits
That’s the full blueprint: synth → punch → soul → EQ → resample → edit → arrange.
Common Mistakes
- Fix: use Utility to narrow the stereo image, or keep only the tail wide and the attack centered.
- Fix: use EQ Eight to trim around 250–500 Hz. Stabs in DnB need clarity, especially next to break layers and reese harmonics.
- Fix: use short decay times and send-based reverb. The stab should feel spacious, not far away.
- Fix: reduce unison spread or detune amount. If the pitch center collapses, the stab loses authority on club systems.
- Fix: add Drum Buss or tighten the amp envelope. A hoover stab must hit like a percussion element, not just a chord.
- Fix: check the stab in mono, especially if you used chorus or unison width. The sound needs to survive on big systems and in dense drop sections.
- Fix: either carve a little 2–5 kHz space or move the stab rhythmically so it answers rather than collides.
Pro Tips for Darker / Heavier DnB
- Duplicate the stab into two chains: one centered and tight, one wider and more effected. This keeps the hit solid while still sounding expansive.
- A tiny pitch envelope or gentle LFO can make the stab feel more unstable and underground, especially in dark jungle or neuro-influenced edits.
- Print one pass with Saturator or Drum Buss, then make a second cleaner pass. Blend them for more controlled aggression.
- Start darker in the build, then open the cutoff on the first stab of the drop. This gives classic tension/release without needing an overdone riser.
- Chop the resample into tiny hits and use them as ghost accents around breakbeats. This works especially well in rollers and jungle edits.
- Use it as a call-and-response against a bass phrase. A short stab after a bass movement can make the whole groove feel more conversational and dangerous.
- Keep the sub out of the stab and focus on upper harmonics, saturation, and midrange bite. The low end should belong to the kick and bass system.
Mini Practice Exercise
Spend 10–20 minutes building a usable DnB edit tool:
1. Create the hoover stab patch using Wavetable, EQ Eight, Saturator, and Drum Buss.
2. Make three versions:
- dry/punchy
- wide/chorused
- filtered/reverb tail
3. Resample each version to audio.
4. Chop the audio into four short hits and one reverse pickup.
5. Program a 2-bar pattern where:
- bar 1 has two offbeat stabs,
- bar 2 has one stronger answer hit plus a reverse pickup into the loop restart.
6. Test it with a simple break and a sub bass line.
7. Check mono and reduce any width or low-mid build-up that causes blur.
Goal: by the end, you should have one stab sound and at least three edit-ready audio variations you can reuse in future jungle or oldskool DnB projects.

