Main tutorial
Lesson Overview
The goal of this lesson is to build a VHS-rave color FX chain in Ableton Live 12 that gives your jungle or oldskool DnB track that worn-tape, late-night warehouse texture without turning the mix into mush. Think: blurred neon haze, crunchy top-end, slight pitch wobble, filtered memory, and chaotic transition energy — but still controlled enough to sit over rolling breaks, reese basses, and sub-heavy drops.
This technique fits best in intro sections, breakdowns, pre-drop lifts, switch-ups, and short “memory flash” moments where you want the track to feel like it’s been pulled from a dusty cassette, broadcast loop, or damaged rave recording. In authentic DnB, those details matter because the genre lives on contrast: clean low-end impact against degraded atmosphere, precision drums against unstable texture, and ruthless arrangement against emotional distortion.
The main idea here is not “slap lo-fi on everything.” It’s to build a macro-controlled, automatable FX chain that can be performed like an instrument: opening and closing filters, pushing saturation, modulating wow/flutter-style pitch drift, narrowing the stereo field, and ducking the effect so the dry drum and bass core still hits hard. In other words: VHS color as a transition language, not just a vibe preset.
Why this matters in DnB: oldskool jungle and darker rollers often rely on atmosphere and memory cues to set the scene before the break lands. A well-built tape-style chain helps your arrangement feel intentional, cinematic, and genre-authentic while keeping the drop powerful. It also gives you a reusable workflow for transitions, breakdowns, and resampled ear candy in future tracks.
What You Will Build
You’ll build a sendable or insertable VHS-rave color chain in Ableton Live 12 that can turn a clean loop, drum bus, noise layer, or bass texture into:
- a warped tape ambience with gentle pitch drift
- a band-limited, slightly crushed high-mid haze
- a warm saturated midrange smear
- a mono-leaning, unstable stereo image
- a performed automation lane for build tension and drop resets
- a resample-ready print for one-shot fills, transitions, and intro beds
- breakbeat loops in 160–174 BPM jungle sections
- reese or pad stabs in oldskool-inspired breakdowns
- noise sweeps and atmospheric beds
- pre-drop drum edits where you want tape-like degradation before impact
- call-and-response bass moments where the “response” is a degraded ghost version of the motif
- a dubbed cassette intro before the first amen lands
- a televised rave memory fading in and out
- a broken CRT wash under filtered breaks
- a lo-fi rave fragment that can be automating into a harder section
- Processing the entire low end through the VHS chain
- Making the chain too wide
- Overdoing Redux so the break loses groove
- Using too much reverb tail
- Letting the return compete with snare impact
- Forgetting arrangement purpose
- Automate the VHS chain only on selected elements like break tops, atmospheres, and midrange bass layers. Keep sub and main kick/snare path cleaner for impact.
- Use sidechain compression on the VHS return from the drum bus so the effect breathes around the groove instead of masking it.
- Add a very subtle Auto Pan at slow rate on the return for unstable tape-motion energy. Keep the amount low so it feels like drift, not LFO gimmick.
- For neuro-leaning tension, automate a Frequency Shifter on the return very slightly during fills. Even tiny motion can create nervous, metallic unease.
- Use Parallel compression on the main drums separately, not inside the VHS chain. Let the effect chain color the atmosphere while the drum bus stays punchy.
- When the drop hits, hard-switch the return down for a more brutal contrast. The absence of degraded texture makes the main section feel heavier.
- For oldskool flavor, try feeding snare echoes, reverse cymbals, and chopped amen tails into the chain instead of full loops. It feels more authentic and less “preset lo-fi.”
- If you want extra grime without destroying clarity, place a subtle Drum Buss on the dry drum group separately, and keep the VHS return focused on atmosphere and edits.
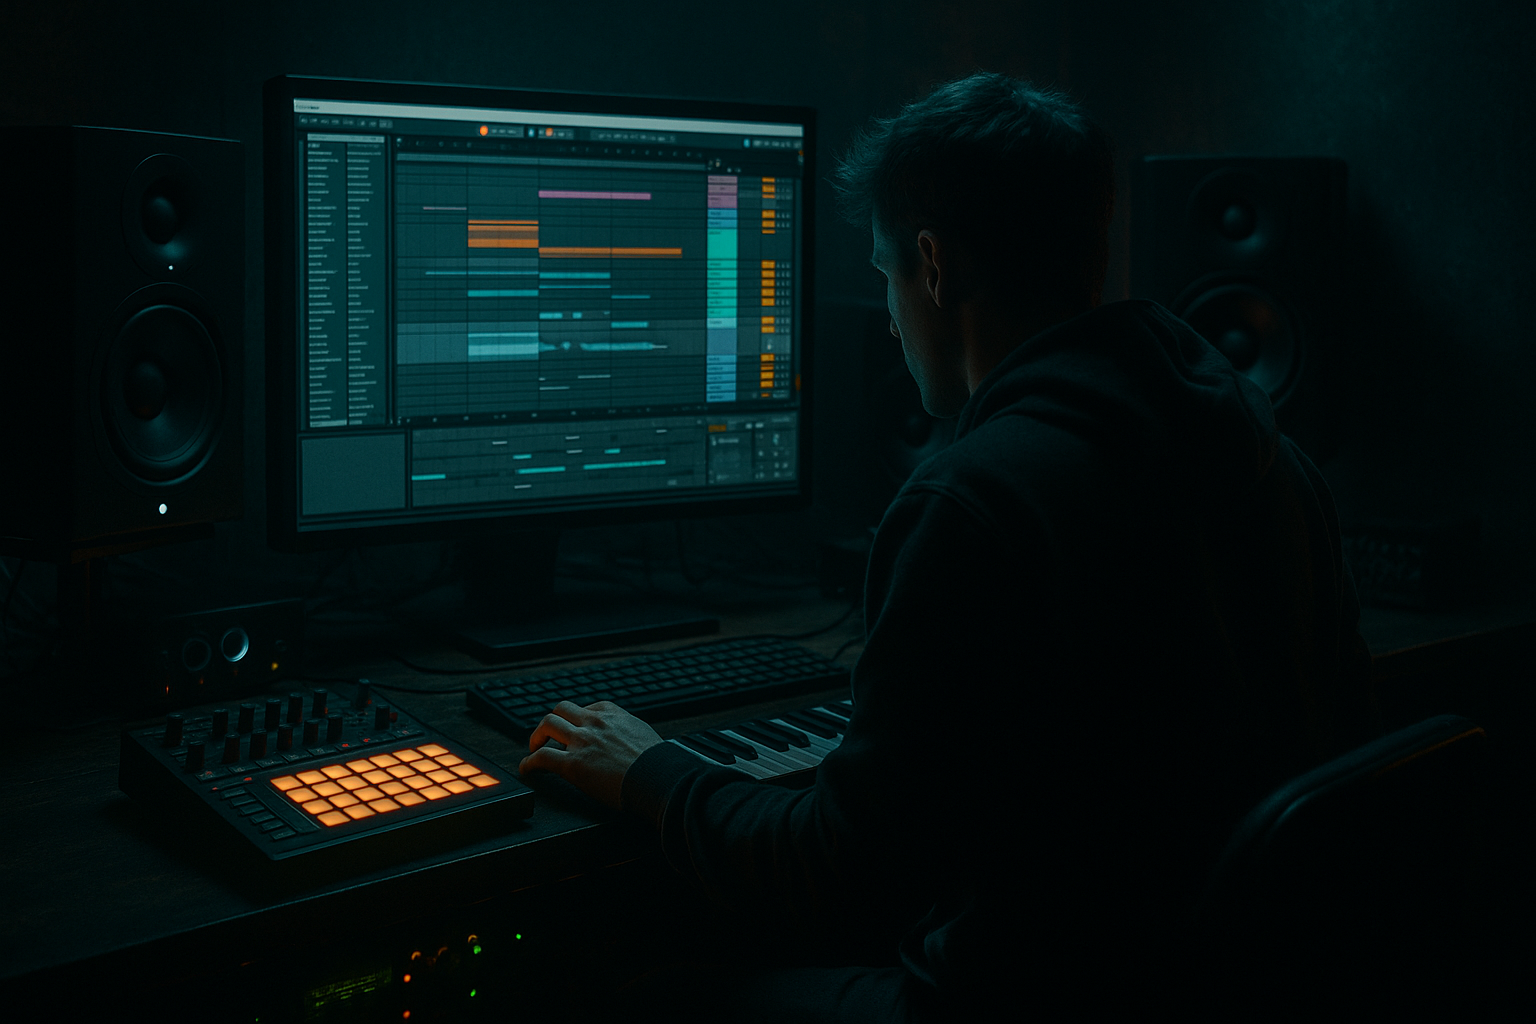
- Build your VHS-rave color as a parallel, automatable FX chain in Ableton Live 12.
- Shape the sound first with EQ Eight, then add Saturator, modulation, Auto Filter, Redux, reverb, and Utility.
- Use automation to make the effect performative: open, close, wobble, crush, widen, then snap it away.
- Keep the low end clean and mono-safe so the DnB groove stays powerful.
- Resample key moments for authentic jungle-style fills, transitions, and intro textures.
Musically, this works especially well on:
You’ll end up with a chain that can sound like:
Step-by-Step Walkthrough
1. Start with a dedicated return or group for VHS color
In Ableton Live 12, create either:
- a Return track if you want to send drums, bass atmospheres, or transition elements into the effect, or
- a Group track if you want to process a specific layer, like a break bus or intro texture.
For advanced DnB workflows, I recommend a Return track labeled something like `VHS COLOR` because it lets you blend degradation in parallel. That’s ideal when your kick/snare or sub must remain stable.
On the return, place the chain in this order:
- EQ Eight
- Saturator
- Chorus-Ensemble or Frequency Shifter
- Auto Filter
- Redux
- Hybrid Reverb or Reverb
- Utility
This order gives you controlled band shaping first, then harmonic dirt, then wobble/modulation, then tone movement, then digital decay, then space, then final mono/stereo management.
2. Carve the bandwidth like an old broadcast path
The VHS feeling starts with frequency limitation. Use EQ Eight at the front to thin out the source before it gets degraded.
Suggested settings:
- High-pass around 80–140 Hz if the source contains bass or low toms
- Low-pass around 8–12 kHz for a more tape-like top end
- Gentle dip around 250–450 Hz if the chain gets boxy
- Optional small lift around 1.5–3 kHz if you want more “TV speaker” presence
For jungle and rollers, this is crucial because the low end needs to stay disciplined. If you’re sending in drum breaks, you generally want the VHS chain to affect mids and highs more than sub. Use it on a parallel send so your main break bus can keep punch and transient definition.
Why this works in DnB: the genre depends on clean sub separation and sharp drum transients. If the effect chain muddies the entire spectrum, the groove loses authority. Band-limiting the return makes the vibe audible without sacrificing the core impact.
3. Add harmonic smear with Saturator, but keep it controlled
Insert Saturator next to add that worn tape edge. This is where the source starts feeling printed to unstable media instead of simply filtered.
Suggested settings:
- Drive: +2 to +6 dB for subtle color, up to +10 dB for heavier breakdown moments
- Soft Clip: On
- Curve Type: Analog Clip or a mild curve that rounds peaks
- Dry/Wet: 30–60% if used on return, 100% if inside a resample chain
For darker DnB, a useful trick is to automate the drive up into a build and then pull it back at the drop so the contrast feels exaggerated. This works especially well on a filtered break loop or synth pad that starts sounding more “damaged” over 4 or 8 bars.
If your source is a reese or bass harmonic layer, keep the saturation modest and avoid inflating low mids too much. The goal is grit, not low-end blur.
4. Introduce wobble and unstable motion
VHS color is not just EQ and distortion — it’s motion. Use Chorus-Ensemble for subtle width wobble or Frequency Shifter for more unstable, almost “damaged broadcast” movement.
Two useful approaches:
Option A: Chorus-Ensemble
- Amount: low to moderate
- Rate: slow, around 0.10–0.35 Hz
- Delay/Delay Time: short
- Stereo: moderate, not wide enough to destabilize the mix
This is good for pads, atmospheres, and filtered drum textures.
Option B: Frequency Shifter
- Set to Fine mode if available
- Use very small shifts, often in the range of 0.2–3.0 Hz
- Automate the shift amount slowly for unsettling movement
On an oldskool jungle breakdown, Frequency Shifter can give a haunted “system malfunction” energy before the amen comes back in. On a roller, Chorus-Ensemble is usually smoother and less attention-grabbing.
Pro move: map the wet/dry or amount control to a macro so you can fade the instability in during a transition and then snap it out for the drop.
5. Use Auto Filter as the main automation performance tool
Auto Filter is the centerpiece of the chain because it turns static color into arrangement drama.
Suggested settings:
- Filter type: Low-pass 12 dB for smoother movement, or Low-pass 24 dB for more dramatic cutoff
- Frequency: automate across a wide range, e.g. 300 Hz to 14 kHz
- Resonance: subtle, around 0.20–0.45
- Drive: a touch if you want extra edge
Automation ideas:
- Open the filter gradually over 8 bars in an intro
- Close it sharply on the last 1 or 2 beats before a drop
- Use a quick “telephone” band-pass moment on a fill
- Automate a slow sweep on the break bus during a 16-bar build
- Create a call-and-response effect: one bar dry break, one bar filtered VHS break
In jungle, this is especially effective on chopped breaks because the filter motion can “dance” around the drum edits without changing the actual groove. That gives you tension without overcomplicating the drum programming.
6. Add digital age damage with Redux, but place it carefully
To sell the VHS-rave hybrid aesthetic, use Redux after the modulation stage. This gives you the gritty, slightly aliased top-end that suggests old sample playback, cheap conversion, or degraded resampling.
Suggested settings:
- Downsample: subtle to moderate, often around 1.5x to 4x equivalent feel
- Bit Reduction: light at first; push harder only for transition hits
- Dry/Wet: 10–35% for tasteful use, 40–70% for aggressive switch-ups
The trick is not to wreck the groove. On a break loop, use Redux on a parallel return and automate its wet amount for single-bar fills, reverse-like moments, or pre-drop noise swells. On a pad or ambience layer, you can leave it slightly on throughout the section for continuous lo-fi glue.
If the top end gets harsh, follow Redux with a gentle EQ cut around 5–8 kHz. This keeps the effect vintage instead of fizzy.
7. Add space, but make it short and tape-like
Use Reverb or Hybrid Reverb at the end to create the “room memory” feeling of VHS color. Keep it tight and filtered.
Suggested settings:
- Decay: around 0.6–1.8 s
- Pre-delay: 0–20 ms
- High-cut: around 4–8 kHz
- Low-cut: around 150–300 Hz
- Keep the wet level modest unless this is a breakdown-only texture
For oldskool DnB intros, a short dark reverb makes chopped breaks feel like they’re bouncing inside a warehouse playback system. For rollers, a subtle reverb tail can soften a harsh synth stab just enough to make it sit behind the drums.
Use Hybrid Reverb if you want a more synthetic, studio-clean space combined with an algorithmic tail. Keep it restrained — this is about broadcast blur, not ambient wash.
8. Finish with Utility and a macro-controlled mix plan
Put Utility at the end to manage stereo width and final gain. This is where advanced control starts to matter.
Suggested Utility settings:
- Width: automate between 70% and 120%
- Bass Mono: if needed, keep low-end elements centered
- Gain: trim the return so it sits under the dry signal cleanly
For dark DnB, avoid letting the VHS return get too wide in the low mids. A good method is to automate width wider in breakdowns and narrower right before the drop. That creates a useful psychoacoustic shift: the section feels like it opens up, then collapses into the impact.
Then group the whole chain into an Audio Effect Rack and map key controls to macros:
- Macro 1: Filter Frequency
- Macro 2: Saturator Drive
- Macro 3: Redux Amount
- Macro 4: Chorus/Frequency Shift Depth
- Macro 5: Reverb Amount
- Macro 6: Width
This gives you a performance-ready “VHS color” instrument you can automate quickly across the arrangement.
9. Print key moments with resampling for authentic jungle edits
One of the most effective advanced workflows is to resample your automated VHS chain into new audio clips.
In Ableton:
- Route the return or group to a new audio track
- Record a 4-bar or 8-bar pass while automating filter, drive, and wet/dry
- Slice the resulting audio into fills, risers, and intro textures
This is especially powerful for jungle because resampled audio can become:
- a ghost break texture
- a reverse swell
- a one-shot transition hit
- a pre-drop atmosphere loop
Musical context example: take a chopped amen loop, send only the snare ghosts and hat details through the VHS chain, automate the filter closing over 8 bars, then resample the last bar. You now have a degraded ending phrase that can act as a tension bridge before your main drop returns.
Common Mistakes
- Fix: use a send/return setup or high-pass the effect path above 80–140 Hz.
- Fix: use Utility to narrow the return and keep the bass region mono-safe.
- Fix: automate Redux in short moments, not permanently on the main drum bus.
- Fix: keep decay short and filtered. VHS vibe should feel like memory, not a washout.
- Fix: duck the send level, lower wet amount, or automate the effect down on key drum hits.
- Fix: use the chain in intros, builds, switch-ups, and breakdowns. It should support phrasing, not sit there unchanged.
Pro Tips for Darker / Heavier DnB
Mini Practice Exercise
Set aside 10–20 minutes and build a 4-bar VHS transition for a jungle intro.
1. Take a chopped break loop and an atmospheric stab.
2. Create a return track called `VHS COLOR`.
3. Build the chain: EQ Eight → Saturator → Chorus-Ensemble → Auto Filter → Redux → Reverb → Utility.
4. Send only the break tops and stab into the return.
5. Automate the Auto Filter from about 600 Hz up to 10 kHz over 4 bars.
6. Increase Saturator Drive by 3–5 dB in the last bar.
7. Raise Redux slightly only on the final half-bar.
8. Narrow Utility Width to about 80% in the last bar, then cut the return at the drop.
9. Resample the result and slice one useful fill from it.
10. Place that fill before a drop or switch-up in your arrangement.
Goal: make it feel like a damaged VHS memory turning into a rave impact while preserving the punch of the main drums.

