Main tutorial
Lesson Overview
A deep jungle atmosphere is not just “more percussion” — it’s a controlled blend of break fragments, ghost hits, textured loops, and spatial movement that sits behind the main drums and bass without cluttering the low end. In Drum & Bass, this layer often does the heavy emotional lifting in intros, breakdowns, pre-drops, and stripped-back roller sections, especially when you want that murky, haunted, old-school jungle energy with modern mix discipline.
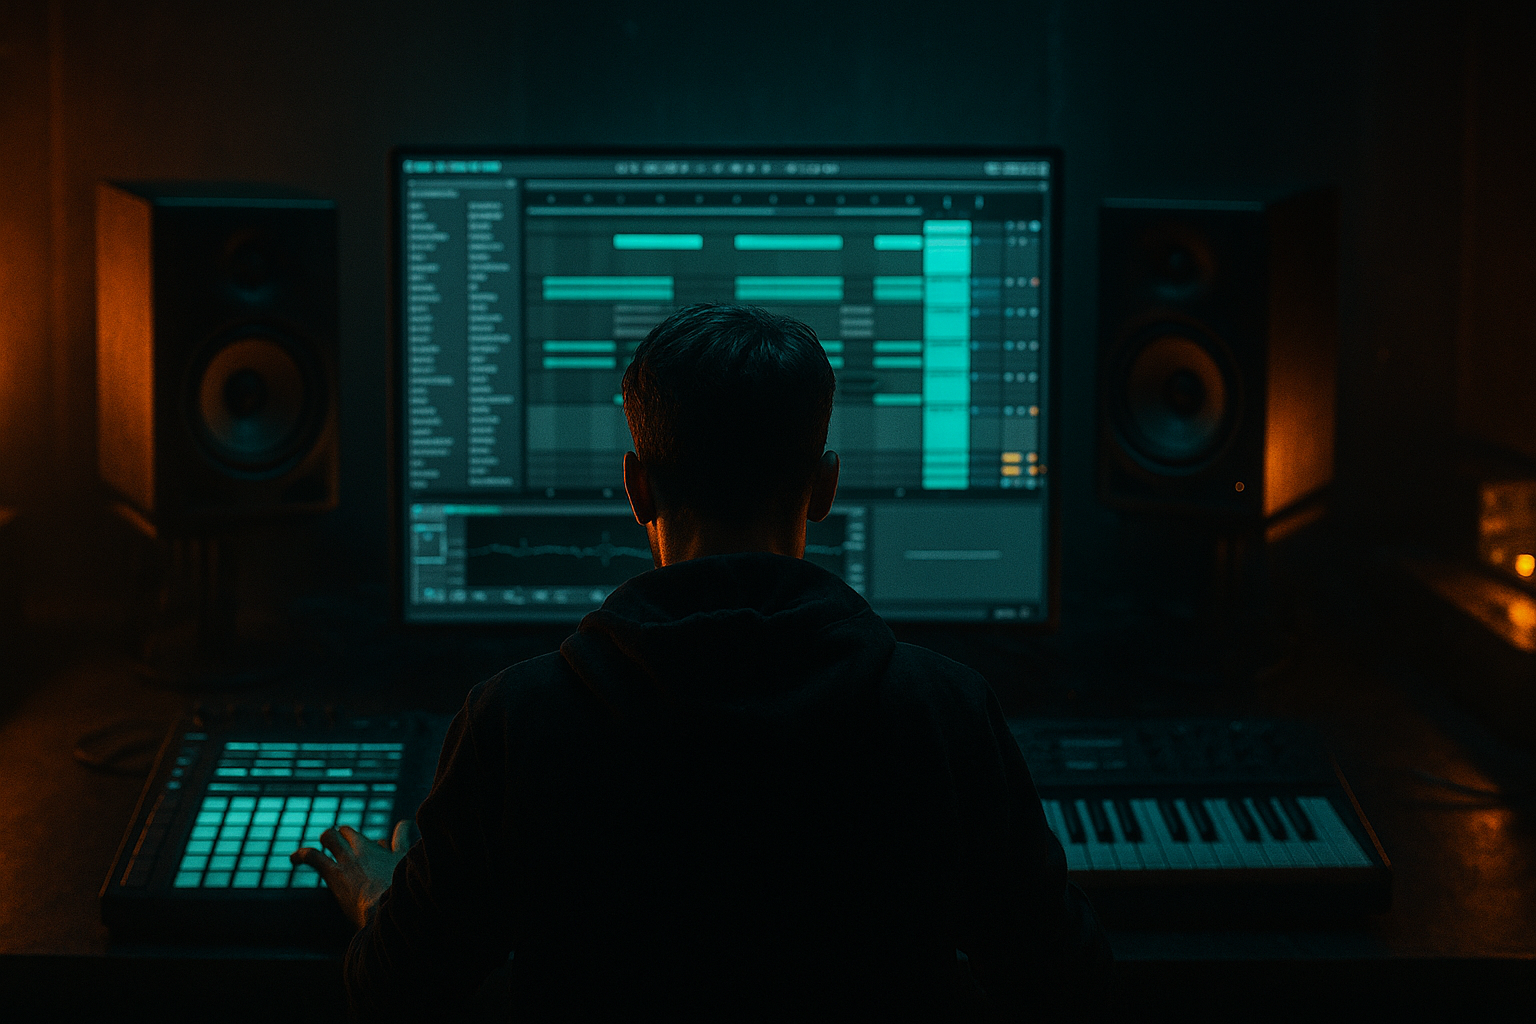
In Ableton Live 12, the goal is to build a percussion bed that feels alive: chopped break dust, shuffled top-end, resonant mid percussion, and subtle stereo motion. The layer should imply movement even when the main drum pattern is minimal. This matters because in DnB, atmosphere is part of the groove. The best jungle records often feel dense and hypnotic because the percussion layer creates constant microscopic variation while the kick, snare, and bass stay focused.
This lesson is about blending a jungle percussion layer so it supports a deep jungle atmosphere without washing out the drop. You’ll learn how to source or create the material, carve it into a usable layer, process it for weight and grit, and automate it so it breathes across arrangement sections. The workflow is fully rooted in Ableton Live stock devices and practical DnB decision-making.
What You Will Build
By the end, you’ll have a layered jungle percussion texture that includes:
- A chopped break-based top layer with shuffled 16th and off-grid accents
- A darker mid percussion layer with congas, rims, or metallic hits
- A subtle noise/texture bed for air and grime
- Controlled stereo movement that stays mono-compatible in the low end
- A percussion bus shaped to sit under a neuro or deep rollers drum kit
- A version that can evolve from intro atmosphere into a pre-drop tension layer
- Making the layer too loud
- Leaving too much low end in percussion
- Over-widening everything
- Using long, bright reverb on every hit
- Quantizing away the jungle feel
- Stacking too many similar break layers
- Distorting before EQing out low buildup
- Use parallel dirt, not full-time dirt: duplicate the percussion bus, saturate the duplicate harder, then blend it low. This gives weight without flattening transients.
- Automate filter pressure into drops: close the layer down 1–2 bars before the drop, then snap it open on the downbeat for a bigger impact.
- Add tension with tiny fill swaps: replace one bar in every 8 or 16 with a more broken, irregular slice pattern.
- Keep the bassline breathing room: in neuro or dark rollers, let the percussion layer be busiest in the gaps between bass phrases.
- Use short room tone for realism: a very subtle room or ambience return can make chopped breaks feel like part of the same physical space.
- Resample with intentional degradation: bounce the layer through saturation and a gentle filter, then re-chop the result for a more antique jungle character.
- Use call-and-response between snare and percussion: let ghost hits answer the snare rather than land directly on top of it.
- Narrow the layer in breakdowns if the main atmosphere is wide: contrast helps the drop feel larger.
- Build jungle atmosphere from layered percussion roles: dust, body, and texture.
- Keep the low end out of the way and preserve mono discipline.
- Use timing offsets, groove, and ghost hits to make the layer feel alive.
- Shape darkness with filtering, saturation, and short spatial FX.
- Automate density and resample the result so the percussion evolves across the arrangement.
- In DnB, the best atmosphere supports the groove without competing with the kick, snare, or bass.
Musically, this could sit under a 170 BPM intro with pads and sub pulses, then gradually thicken before the drop. In a darker roller, it can run quietly throughout the phrase to add constant motion while the kick/snare stays clean and punchy. In jungle or jungle-tech contexts, it can help create that “train moving through a tunnel” sensation — busy, shadowy, and hypnotic 🌑
Step-by-Step Walkthrough
1. Choose the right source material and define the role of the layer
Start by deciding what this layer is doing in the arrangement. For an advanced DnB track, don’t just throw breaks on a track and hope they work. Pick one of three jobs:
- Atmosphere only: very low in the mix, mostly texture and groove
- Groove support: clearly felt, but not competing with the main drum loop
- Transition engine: more active before drops, fills, and switch-ups
In Ableton Live, audition a few break loops, percussion loops, or one-shot break hits. Good candidates are old-school amen-style break fragments, rim-heavy percussion loops, and noisy shaker layers. If you’re building from scratch, drag a break into Simpler and use Slice mode on transient markers to isolate hats, ghost snare taps, and rogue percussion tails.
Advanced tip: don’t aim for a “clean” loop. The charm in jungle atmosphere often comes from imperfect timing and transient spill. You want a layer that feels sampled, not sequenced to death.
2. Build a layered rack: break dust, mid percussion, and texture
Create three audio or Instrument Tracks and group them into an Audio Effect Rack or Group Track for cohesion.
Suggested layer structure:
- Layer A: chopped break dust
- Layer B: mid percussion hits
- Layer C: noise/ambience texture
For Layer A, use Simpler in Slice mode or a chopped audio clip. Keep it mostly high-passed. Use short slices, micro-gaps, and occasional reversed fragments. For Layer B, use congas, bongos, rims, or tom hits processed into a darker tonal percussion bed. For Layer C, use filtered vinyl crackle, rain, field ambience, or a resampled hiss layer.
Route all three to a percussion bus. This lets you shape them together with Glue Compressor, Saturator, EQ Eight, and subtle bus EQ. This is crucial in DnB because jungle layers can quickly eat headroom and mask the bassline if they aren’t treated as a single instrument.
Concrete starting point:
- Layer A HPF: 180–250 Hz
- Layer B HPF: 120–180 Hz
- Layer C HPF: 250–400 Hz
3. Shape the groove with swing, offset, and micro-edits
The atmosphere won’t feel authentic unless the timing breathes. In Live 12, use clip groove, launch quantization, and manual slip edits to create a humanized, broken feel.
Start with a 1-bar or 2-bar clip and create a loose pattern with empty space. Focus on:
- Ghost hits on off-16ths
- Slightly late snare ghost taps
- Hat clusters that answer the snare
- Occasional double-hit flams
Use Groove Pool with a swing profile or extract groove from a break if you have a source that feels right. A strong starting range is 54–58% swing feel, but don’t overdo it. In deep jungle, a little movement goes a long way.
If you’re editing audio clips, move some hits forward or backward by 5–20 ms. The goal is to make the layer feel like it is weaving around the main drum pattern rather than sitting on top of it.
Why this works in DnB: break-based percussion creates momentum through syncopation, and tiny timing offsets make the groove feel urgent without needing more notes.
4. Use filtering and resonant shaping to make the layer feel deep and shadowy
Now carve the atmosphere. On Layer A and Layer B, add EQ Eight. Start with:
- High-pass around 180 Hz for break fragments
- A gentle dip around 250–400 Hz if the layer gets boxy
- A narrow resonance boost around 1.8–3.5 kHz only if you need extra click or wire-like presence
- A soft shelf reduction above 8–10 kHz if the top end is too shiny
For darker jungle texture, add Auto Filter and automate the cutoff. Try:
- Low-pass cutoff at 4–8 kHz for intro sections
- Opening up to 10–14 kHz before a drop or switch
- Resonance around 10–25% for a subtle nasal edge
If the layer needs movement, use an LFO inside Auto Filter with a very slow rate. Keep modulation subtle: a small wobble is enough to prevent static repetition. This is especially effective on ambient noise or filtered percussion beds.
Advanced workflow: duplicate the percussion bus and create a filtered “shadow” return. Send only the texture and a few selected hits to it, low-pass heavily, and tuck it behind the main percussion. That gives you depth without crowding the front of the mix.
5. Add controlled grit with Saturator, Drum Buss, and subtle clip shaping
Jungle atmosphere often sounds better when it is not pristine. But the trick is to distort intelligently so the layer feels aged and muscular without getting harsh.
On individual layers or the bus, try:
- Saturator with Drive around 1–4 dB
- Soft Clip enabled if the transients are too spiky
- Drum Buss with Drive low to moderate, maybe 5–20%, and Boom mostly off for this layer
- Transient shaping via Drum Buss Attack if you want more snap on selected hits
If Layer B is a conga or rim texture, add a touch of Saturator before EQ to thicken the body. If Layer A is break dust, use Drum Buss lightly to glue the slices and add a gritty halo around the transients.
You can also resample the layer after processing. Once it feels good, record the bus to a new audio track, then re-chop the bounced result. This is very DnB-friendly because resampling lets you capture the exact flavor of the processing and turn it into a new instrument.
Two useful starting ranges:
- Saturator Drive: 1–3 dB for subtle warmth, 4–6 dB for audible dirt
- Drum Buss Crunch/Drive: keep moderate; push only until the layer feels forward, not fuzzy
6. Control stereo width and low-end discipline
A deep jungle layer should feel wide in the air, not wide in the low mids. Keep the low end disciplined so it doesn’t fight the kick and sub.
On the percussion bus:
- Use Utility and collapse the low-end-sensitive elements to mono
- Keep the texture layer wide if needed, but high-pass it aggressively
- Check mono compatibility regularly
A good approach is to split the layer:
- Mono core: break hits, congas, rim accents
- Wide top: noise, airy hats, room tails, reversed fragments
If you want width without phase mess, use Chorus-Ensemble very subtly on the texture layer only, or use a short Echo on send with high-pass filtering. Keep the dry core centered. In DnB, the kick, snare, and sub need the center lane free.
Practical check:
- Mono everything below roughly 150–200 Hz
- Keep any stereo widening mostly above 2–3 kHz
- Periodically toggle Utility to mono and confirm the groove still reads
7. Automate density, filter, and send levels across arrangement sections
This is where the layer becomes musical rather than decorative. Build evolution across the track so the percussion supports arrangement phrasing.
Example arrangement context:
- Intro: filtered jungle layer at low volume, space for pads and FX
- Bars 9–16: open hats and a few extra ghost hits
- Pre-drop: increase density, open filter, add more send to reverb/delay
- Drop: reduce or simplify so the main drums and bass hit harder
- Switch-up: bring back a ghosted version to keep motion without clutter
Automate:
- Auto Filter cutoff
- Reverb send amount
- Delay send amount
- Bus volume
- Saturator drive for pre-drop tension
- Utility width for intro expansion or drop narrowing
On the percussion bus, create macro controls if you group devices into an Audio Effect Rack. Map:
- Macro 1: Filter cutoff
- Macro 2: Texture send
- Macro 3: Drive
- Macro 4: Width
This gives you fast arrangement control and makes the layer perform like an instrument. For advanced DnB, that’s the difference between a loop and a real production element.
8. Use spatial FX carefully: short rooms, dark delays, and selective tails
The atmosphere needs depth, but long washed-out reverb can destroy the precision of a DnB drop. Use spatial FX like a dark room, not a cathedral.
Good stock-device choices:
- Reverb with short decay and low size
- Echo with filtered repeats
- Hybrid Reverb if you want a controlled space with character
Starting settings:
- Reverb decay: 0.4–1.2 s
- Pre-delay: 10–25 ms
- Low cut: 200–400 Hz
- High cut: 5–8 kHz
For Echo, keep feedback moderate and filter the returns so the repeats are ghostly rather than obvious. Short feedback bursts on selected fills can make the percussion layer feel haunted and cinematic without overwhelming the mix.
Advanced move: automate reverb send only on a few hits leading into a phrase change, then pull it back instantly on the downbeat. That contrast is a classic jungle tension trick.
9. Resample and re-edit for a more authentic jungle feel
One of the most powerful advanced moves in Ableton is resampling your own processed percussion bus. Record 2–4 bars of the layer after all shaping, then chop the bounce into new slices. This helps you find accidental moments that feel more musical than the original programmed pattern.
Once resampled:
- Cut out the best transients
- Reverse a few tails
- Layer in micro-fills before phrase changes
- Use Warp if needed, but avoid over-cleaning the natural swing
You can also duplicate the resampled audio and apply different treatment on each copy:
- One version darker and narrower
- One version brighter and lower in volume
- One version heavily filtered for pre-drop rise
This resampling loop is a real jungle workflow because it transforms percussion from static programming into evolving source material.
10. Balance against the kick, snare, and bassline
The final step is mix logic. The jungle layer should enhance the track, not blur it.
Check the relationship with:
- Kick: keep transients clear
- Snare: do not compete in the 180–250 Hz body region
- Bassline: leave the sub lane clean, especially in rollers or neuro-influenced sections
If the layer fights the bass, reduce 150–400 Hz before touching the sub. If it fights the snare, carve around the snare’s presence zone or delay the percussion hits slightly so they answer rather than overlap.
Use a gain staging mindset:
- Set the layer low
- Bring it up until you miss it when muted
- Then back it off slightly
That’s often the sweet spot in DnB: you should feel the atmosphere more than hear each individual hit.
Common Mistakes
- Fix: mute it and bring it up until the groove disappears, then return to just below that point.
- Fix: high-pass break dust and texture aggressively; keep the sub and kick alone in the center.
- Fix: keep the core mono and only widen high-frequency texture.
- Fix: shorten decay, darken the return, and automate send only on transitions.
- Fix: reintroduce slight timing offsets and use groove with restraint.
- Fix: assign one layer to groove, one to body, one to air; each needs a job.
- Fix: clean the mud first, then saturate for character.
Pro Tips for Darker / Heavier DnB
Mini Practice Exercise
Set a timer for 15 minutes and build a jungle percussion atmosphere around a 170 BPM loop.
1. Create three tracks: break dust, mid percussion, and texture.
2. Program or slice a 2-bar pattern with at least 6 ghost hits and 2 off-grid accents.
3. High-pass the break layer above 200 Hz and the texture above 300 Hz.
4. Add Saturator to the percussion bus and push 2–3 dB of Drive.
5. Add Auto Filter and automate the cutoff from dark in the intro to brighter in the pre-drop.
6. Add one short Reverb send and automate it only on the last bar.
7. Resample 4 bars of the result.
8. Re-chop the resample and replace two hits with reversed fragments.
Finish by muting the layer and asking: does the track lose depth, or just clutter? If it loses depth, you nailed the brief.

