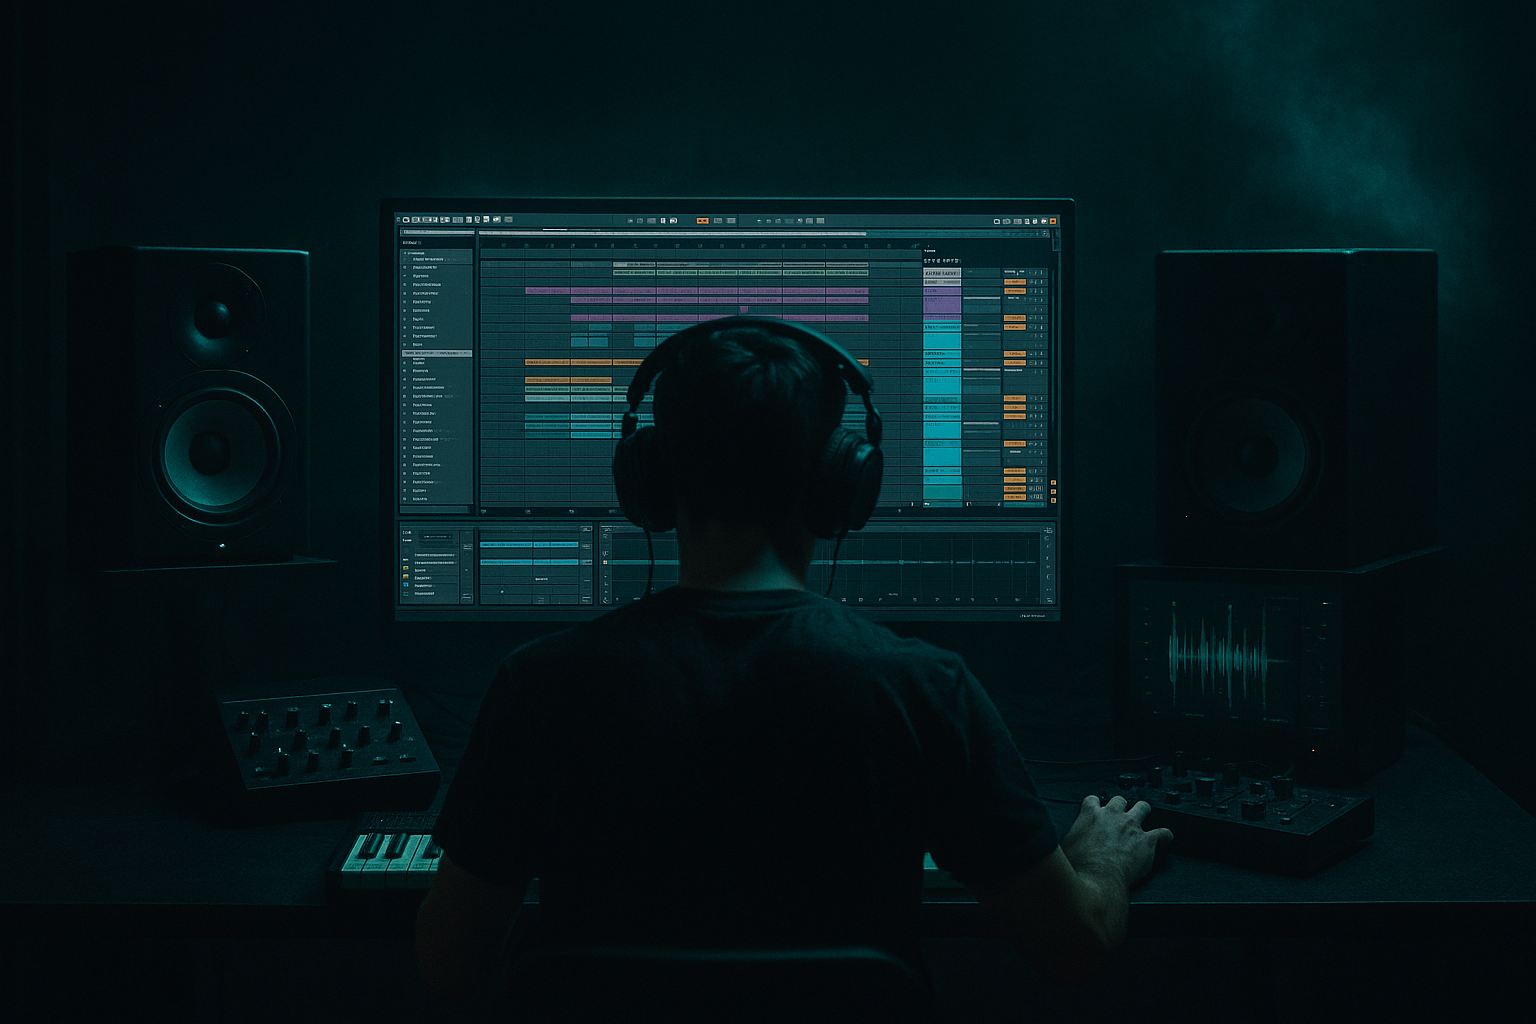
DNB COLLEGE

Drum & Bass Ableton Live 12 Tutorials

LESSON DETAIL

Blend an Amen-style shuffle with modern punch and vintage soul in Ableton Live 12 (Beginner)

An AI-generated beginner Ableton lesson focused on Blend an Amen-style shuffle with modern punch and vintage soul in Ableton Live 12 in the Vocals area of drum and bass production.

Back to lessons
Blend an Amen-style shuffle with modern punch and vintage soul in Ableton Live 12 (Beginner) cover image

Narrated lesson audio

The voice track includes the tutorial plus extra teacher commentary.

Open audio file

Main tutorial

```markdown

Blend an Amen-Style Shuffle with Modern Punch and Vintage Soul in Ableton Live 12 (Vocals) 🎛️🎤

1) Lesson overview

In this lesson you’ll learn how to get that classic Amen-style shuffle (jungle swing, ghost hits, forward motion) while keeping modern DnB punch—and then glue it together with vintage, soulful vocal texture.

We’ll do it entirely in Ableton Live 12 using mostly stock devices, with a workflow that’s beginner-friendly but legit enough for rolling/jungle-inspired tracks.

Core idea:

  • Amen shuffle = micro-timing + ghosts + edits
  • Modern punch = transient control + clean low end + bus processing
  • Vintage soul = tasteful sampling, saturation, room/plate, and classic vocal chops
  • ---

    2) What you will build

    By the end you’ll have a 16-bar DnB loop at 170–174 BPM featuring:

  • A chopped Amen-style drum loop layered with a clean modern kick/snare
  • A vocal hook: either a soulful phrase or chopped one-shots (classic rave/jungle energy)
  • A call/response arrangement (drums push forward, vocals answer)
  • A simple vocal chain for vibe + clarity (EQ, compression, saturation, delay/reverb, filtering)
  • ---

    3) Step-by-step walkthrough

    Step 0 — Session setup (2 minutes)

    1. Set tempo to 172 BPM.

    2. Create tracks:

    - Audio 1: Amen Break

    - Audio 2: Kick Layer

    - Audio 3: Snare/Clap Layer

    - Audio 4: Vocal Sample

    - Return A: Delay

    - Return B: Reverb

    3. Set your loop brace to 16 bars.

    Ableton tip: Turn on Warp in Audio tracks and keep an eye on Warp Mode choices.

    ---

    Step 1 — Get an Amen-style shuffle foundation 🥁

    1. Drag in an Amen-style break (or any breakbeat) onto Audio 1.

    2. In Clip View:

    - Make sure Warp = ON

    - Set Seg. BPM close to the sample’s original (don’t worry if it’s off a bit)

    - Set Warp Mode: Beats

    - Under Beats, choose:

    - Transient Loop Mode: "Transient"

    - Preserve: 1/16 (good starting point)

    3. Right-click the clip → Slice to New MIDI Track…

    - Slicing preset: Built-in

    - Slice by: Transients

    - This creates a Drum Rack with your slices mapped across pads.

    ✅ Now you can program/edit the break like a drum kit.

    ---

    Step 2 — Program a rolling Amen-ish pattern (beginner-friendly)

    1. On the new MIDI track (sliced break), create a 1-bar MIDI clip.

    2. Start with this simple DnB skeleton (typical):

    - Kick-ish hit on 1

    - Snare-ish hit on 2 and 4 (in DnB time, think half-time backbeat)

    At 172 BPM in 4/4, your snare typically lands at:

  • Beat 2 (bar position 1.2)
  • Beat 4 (bar position 1.4)
  • 3. Add ghost notes (this is where the Amen shuffle lives):

    - Place quieter hits just before the snare (like a tiny pickup)

    - Add a couple of 16th-note ticks between main hits

    Velocity is everything:

  • Main snare slice: 100–127
  • Ghosts: 15–55
  • Extra hats/ticks: 30–80
  • 🎯 Goal: it should feel like it’s running forward, not like a stiff loop.

    ---

    Step 3 — Add swing the “right” way (without wrecking punch) 🕺

    Classic jungle swing is more about micro-timing than huge groove pool swing.

    1. Open Groove Pool.

    2. Try a subtle groove like:

    - MPC 16 Swing 55–58 (or similar)

    3. Drag the groove onto your MIDI clip.

    4. Set:

    - Timing: 10–25%

    - Velocity: 0–10%

    - Random: 0–5%

    If it starts flamming badly, reduce Timing.

    If it gets too robotic, increase Random slightly.

    ---

    Step 4 — Layer modern punch (kick + snare) 💥

    Breaks feel amazing but can lack “modern” impact. We’ll layer clean one-shots.

    #### Kick Layer (Audio 2)

    1. Pick a clean DnB kick (short, tight).

    2. Program kick on beat 1 (and optionally a light kick before beat 3 for momentum).

    3. Device chain on Kick:

    - EQ Eight

    - HP filter at 25–30 Hz

    - Small cut if boxy: 200–400 Hz (-2 to -4 dB)

    - Drum Buss

    - Drive: 2–8

    - Boom: 0–10 (careful in DnB)

    - Transients: +5 to +20 (for punch)

    #### Snare Layer (Audio 3)

    1. Choose a snare with a strong 200 Hz body and 5–8 kHz crack.

    2. Program on beats 2 and 4.

    3. Device chain on Snare:

    - EQ Eight

    - HP at 90–120 Hz

    - Optional boost: 200 Hz (small) for chest

    - Optional boost: 6–7 kHz for snap

    - Saturator

    - Mode: Soft Sine or Analog Clip

    - Drive: 2–6 dB

    - Turn on Soft Clip

    Quick alignment tip: Zoom in and nudge layered kick/snare a few samples earlier/later so it hits tight with the break.

    ---

    Step 5 — Make the break “vintage” but still clean 🧼🕰️

    On the break Drum Rack track, add this chain (after Drum Rack):

    1. EQ Eight

    - HP at 35–60 Hz (leave sub for bass/kick)

    - If harsh: dip 3–6 kHz slightly

    2. Saturator

    - Drive 1–4 dB

    - Soft Clip ON

    3. Glue Compressor

    - Attack: 3–10 ms

    - Release: Auto

    - Ratio: 2:1

    - Aim for 1–3 dB gain reduction

    4. Drum Buss (optional)

    - Transients: +5 to +15

    - Drive: 2–5

    🎛️ If the break loses its “air,” back off compression and use saturation instead.

    ---

    Step 6 — Bring in the “vintage soul” using vocals 🎤✨

    This is the Vocals part: you’ll treat vocals like an instrument in jungle/DnB.

    #### 6A) Choose a vocal approach

    Pick one:

    1. Soul phrase hook (1–2 bars, repeated)

    2. Chopped syllables (classic rave/jungle)

    3. Call/response (phrase answered by chopped hits)

    #### 6B) Warp vocals properly (so they groove with the Amen)

    1. Drag vocal into Audio 4.

    2. In Clip View:

    - Warp ON

    - Warp mode:

    - Complex Pro for full phrases

    - Tones or Texture for weird chopped/rave vibes

    3. Find the phrase start and set 1.1.1 correctly.

    4. Add warp markers only where needed:

    - Keep natural phrasing—don’t grid-lock everything.

    Pro beginner move: Try letting the vocal sit slightly behind the drums for soul.

    ---

    Step 7 — Build a vocal chain: modern clarity + vintage character

    On Vocal track, use this stock chain:

    1. EQ Eight (cleanup)

    - HP: 80–120 Hz

    - Dip muddiness: 200–500 Hz (-2 to -5 dB) if needed

    - If too sharp: small dip 4–8 kHz

    2. Compressor

    - Ratio: 3:1

    - Attack: 10–30 ms (keeps transients)

    - Release: 50–120 ms

    - Aim for 3–6 dB gain reduction

    3. Saturator (soul)

    - Drive: 1–5 dB

    - Soft Clip ON

    4. Auto Filter (movement)

    - Mode: LP 12

    - Cutoff: automate between 800 Hz – 8 kHz

    - Add slight resonance (5–15%) for character

    #### Sends (Returns)

  • Return A: Delay (Echo)
  • - Time: 1/8 dotted or 1/4

    - Feedback: 15–35%

    - Filter: HP around 200 Hz, LP around 6–8 kHz

  • Return B: Reverb (Hybrid Reverb)
  • - Algo: Plate or Room

    - Decay: 1.2–2.5 s

    - Pre-delay: 10–25 ms

    - HP on reverb: 200–400 Hz

    🎯 Keep vocals present: use sends, not huge insert reverb.

    ---

    Step 8 — Make vocals “play” with the drums (classic DnB glue)

    #### Option A: Sidechain vocals slightly to snare

    1. Add Compressor on Vocal track after EQ.

    2. Turn on Sidechain.

    3. Input: Snare Layer track

    4. Settings:

    - Ratio: 2:1

    - Attack: 1–5 ms

    - Release: 60–140 ms

    - Threshold so you get 1–3 dB dip on snare hits

    This creates space for the backbeat without making the vocal pump wildly.

    #### Option B: Chop vocal into Drum Rack (super jungle)

    1. Right-click vocal clip → Slice to New MIDI Track

    2. Slice by Transients or 1/8

    3. Play it like a kit:

    - Put stabs on offbeats

    - Use low velocities for ghost vocal bits

    ---

    Step 9 — Arrangement: 16 bars that feel like real DnB 📈

    Try this structure:

    Bars 1–4 (Intro groove):

  • Break + hat ticks
  • Filtered vocal (Auto Filter LP around 1–2 kHz)
  • Minimal kick/snare layer
  • Bars 5–8 (Drop 1):

  • Full kick/snare layers in
  • Vocal phrase full-range
  • Add a couple extra break chops at the end of bar 8
  • Bars 9–12 (Variation):

  • Remove main vocal phrase, use chopped syllables
  • Add a tiny drum fill: extra snare slice at bar 12.4
  • Bars 13–16 (Drop 2 / peak):

  • Bring back the hook
  • Slightly more send delay on the last word of each 2 bars
  • End bar 16 with a quick tape-stop style moment (optional):
  • - Use Frequency Shifter very subtly or automate pitch in clip (keep it tasteful)

    ---

    4) Common mistakes

  • Over-warping the vocal: if every syllable is pinned to the grid, it loses soul. Use fewer warp markers.
  • Too much swing: big groove amounts can make the snare late and weak. Keep groove subtle.
  • Break low-end fighting the kick/bass: high-pass the break (35–60 Hz) and keep kick sub clean.
  • Over-compressing the break: you’ll kill the shuffle. Use light glue + saturation instead.
  • Vocal reverb washing out the mix: use send reverb with EQ, and automate sends for emphasis.
  • ---

    5) Pro tips for darker/heavier DnB 🌑⚙️

  • Make vocals creepier without losing clarity:
  • - Duplicate vocal track:

    - Track 1 = clean

    - Track 2 = “dark layer” with Auto Filter LP, Saturator, and Hybrid Reverb

    - Keep the dark layer low in volume (it’s a shadow, not the lead).

  • Break brutality trick (still controlled):
  • - On break bus, add Roar (Live 12) gently:

    - Use a mild distortion model

    - Mix low (10–25%)

  • Snare weight without mud:
  • - Add a short room reverb to snare only (0.4–0.8s) and HP it above 200 Hz.

  • Keep the groove but tighten impact:
  • - Group all drums → Drum Bus

    - Glue Compressor: 1–2 dB GR

    - Optional Limiter just catching peaks (1 dB)

    ---

    6) Mini practice exercise (10–15 minutes) 🧪

    1. Build a 1-bar drum loop using sliced Amen + layered kick/snare.

    2. Add a vocal phrase and make two versions:

    - Version A: Complex Pro, minimal warp markers, natural timing

    - Version B: Slice vocal to Drum Rack and make a chopped call/response

    3. In both versions:

    - Add Echo send with 1/8 dotted

    - Automate the delay send on only the last word of every 2 bars

    Export both and compare:

  • Which one rolls harder?
  • Which one feels more soulful?
  • ---

    7) Recap ✅

  • You created Amen-style shuffle using slicing, ghost notes, and subtle groove—not just a loop.
  • You added modern punch by layering clean kick/snare and controlling transients with Drum Buss.
  • You brought vintage soul through vocal warping choices, saturation, plate/room space, and musical timing.
  • You arranged it like real DnB: variations every 4–8 bars and vocal call/response to keep it moving.

If you want, tell me what kind of vocal you’re using (full phrase vs chops) and your target subgenre (jungle, liquid, rollers, neuro-ish), and I’ll suggest a tight 8-bar pattern + vocal placement that fits it.

```

Ask GPT about this lesson

Chat with the lesson tutor, get follow-up help, or use quick actions.

Bigup 👽 Ask me anything about this lesson and I’ll answer in context.

Narration script

Show spoken script
Welcome back. Today we’re going to blend three things that usually feel like they live in different eras: the classic Amen-style shuffle, modern drum and bass punch, and that vintage, soulful vocal texture that makes a loop feel like a record, not a spreadsheet.

We’ll do it in Ableton Live 12, beginner-friendly, mostly stock devices, and by the end you’ll have a 16-bar loop sitting around 172 BPM that rolls hard, hits clean, and has vocals that feel alive.

Before we touch any effects, here’s the core mindset for this lesson.
Amen shuffle comes from micro-timing, ghost notes, and edits.
Modern punch comes from clean transient control, a solid kick and snare layer, and tidy low end.
Vintage soul comes from tasteful vocal timing, saturation, and space… but controlled space.

Alright, let’s build it.

First, session setup.
Set your tempo to 172 BPM.

Now create four audio tracks.
One called Amen Break.
One called Kick Layer.
One called Snare or Clap Layer.
One called Vocal Sample.

Then make two return tracks.
Return A will be Delay.
Return B will be Reverb.

Set your loop brace to 16 bars so you’re always building inside a real DnB-sized phrase, not an endless 1-bar loop that never turns into a track.

Quick Ableton tip: anytime you’re working with audio in Live, keep an eye on Warp being on, and which warp mode you’re using. Warp mode choices are a big part of whether something sounds tight, crunchy, or weird in a bad way.

Now Step 1: get an Amen-style shuffle foundation.

Drag an Amen break, or any breakbeat, onto the Amen Break track.
Click the clip, go to Clip View, and make sure Warp is on.
Set the Seg BPM roughly near the sample’s original. Don’t stress if it’s not perfect yet.

Set Warp Mode to Beats.
In the Beats settings, choose Transient as the loop mode, and set Preserve to 1/16 as a starting point.

Now here’s the move that turns a break into an instrument.
Right-click the clip and choose Slice to New MIDI Track.
Use the built-in slicing preset, slice by transients.

Ableton will create a Drum Rack full of slices mapped across pads, and now you can program the break like it’s a drum kit. This is where the “Amen energy” becomes controllable.

Step 2: program a rolling Amen-ish pattern, beginner-friendly.

On the new MIDI track that holds your sliced break, create a 1-bar MIDI clip.

Start simple. Don’t try to recreate the entire Amen immediately.
Place a kick-ish slice on beat 1.
Place a snare-ish slice on beats 2 and 4.

At this tempo, those snares are the backbone. If beats 2 and 4 don’t feel solid, nothing else will.

Now we add the thing beginners usually skip: ghost notes.
Put quieter hits just before the snare, like a tiny pickup.
Then add a couple of little 16th note ticks between the main hits.

And really hear this: velocity is the groove.
Set your main snare slice velocities somewhere around 100 up to 127.
Set ghost notes down around 15 to 55.
And those extra hats and ticks can live around 30 to 80.

Teacher tip: don’t randomize everything. Pick two or three ghost slices you like, and keep them consistently softer in a repeatable way. Controlled repetition is what makes it roll. Chaos is not groove.

Now Step 3: add swing the right way, without wrecking your punch.

Classic jungle swing is not “slam a groove at 100 percent and hope.” It’s subtle micro-timing plus those ghosts.

Open the Groove Pool.
Pick a subtle groove like MPC 16 Swing, somewhere around 55 to 58.
Drag that groove onto your MIDI clip.

Now set the groove controls to something gentle:
Timing around 10 to 25 percent.
Velocity at 0 to 10 percent.
Random at 0 to 5 percent.

Listen for flamming. If the snare starts feeling late and weak, pull Timing down. If it sounds too robotic, add a tiny bit of Random, but keep it tasteful.

Now Step 4: layer modern punch. This is where your loop goes from “authentic break” to “club-ready DnB.”

On the Kick Layer track, choose a clean DnB kick. Short and tight.
Program it on beat 1. Optionally add a light kick just before beat 3 for momentum, but keep it subtle.

Add EQ Eight on the kick.
High-pass around 25 to 30 Hz to clean up rumble you can’t use.
If it feels boxy, do a small cut around 200 to 400 Hz, like two to four dB.

Then add Drum Buss.
Drive around 2 to 8 depending on the sample.
Boom very low, maybe 0 to 10, and in DnB you usually want to be careful here because your sub and bass are going to need that space.
Transients up, somewhere like plus 5 to plus 20, to get that modern click and punch.

Now for the Snare Layer.
Pick a snare with a strong body around 200 Hz and a crack around 5 to 8 kHz.
Program it on beats 2 and 4.

Add EQ Eight.
High-pass around 90 to 120 Hz.
If you need more chest, a small boost around 200 Hz.
If you need more snap, a small boost around 6 to 7 kHz.

Then add Saturator.
Choose Soft Sine or Analog Clip.
Drive it around 2 to 6 dB, and turn Soft Clip on.

Now the super important layering tip: check alignment.
Zoom in and nudge your layered kick and snare a few samples earlier or later so they hit tight with the break.

And if your layered snare suddenly sounds thinner when you turn the break back on, that’s often phase or overlap. Nudge the snare slightly, or shorten one layer’s decay so tails don’t fight.

Step 5: make the break vintage but still clean.

On the break’s Drum Rack track, after the Drum Rack, add EQ Eight.
High-pass somewhere around 35 to 60 Hz. You’re leaving sub space for the kick and bass.
If it’s harsh, do a gentle dip around 3 to 6 kHz.

Then add Saturator.
Drive 1 to 4 dB.
Soft Clip on.

Then Glue Compressor.
Attack 3 to 10 milliseconds.
Release on Auto.
Ratio 2 to 1.
Aim for one to three dB of gain reduction. This is glue, not destruction.

Optionally add Drum Buss for a little extra edge.
Transients plus 5 to plus 15.
Drive 2 to 5.

If the break loses air or starts feeling flat, back off the compression first and lean more on saturation. Saturation keeps vibe without crushing the shuffle.

Now we hit the Vocals part. Step 6: bring in the vintage soul.

Think of vocals in jungle and DnB like an instrument, not just “a singer on top.”
You’ve got three beginner-safe approaches:
A soulful phrase hook that loops every bar or two.
Chopped syllables for that classic rave energy.
Or call and response: phrase, then chops answer.

Drag your vocal onto the Vocal Sample track.
In Clip View, turn Warp on.

If it’s a full phrase, choose Complex Pro.
If you want more weird chopped energy, try Tones or Texture.

Find the true start of the phrase and set it so it lines up correctly at 1.1.1.
Then, add warp markers only where needed. Don’t pin every syllable to the grid.

Here’s a pro beginner move: let the vocal sit slightly behind the drums. That’s where “soul” lives.
And instead of wrecking warp markers, try Track Delay.

Open mixer view and use Track Delay on the vocal.
Set it to plus 5 to plus 20 milliseconds so the vocal leans back.
If it feels late, pull it closer to zero, maybe plus 5.

Step 7: build a vocal chain that’s modern and clear, but still vintage and warm.

On the vocal track, start with EQ Eight.
High-pass around 80 to 120 Hz.
If it’s muddy, dip 200 to 500 Hz by two to five dB.
If it’s too sharp, do a small dip around 4 to 8 kHz.

Then add a Compressor.
Ratio 3 to 1.
Attack 10 to 30 milliseconds so you don’t kill the vocal’s initial consonants.
Release 50 to 120 milliseconds.
Aim for three to six dB of gain reduction.

Then Saturator for soul.
Drive 1 to 5 dB.
Soft Clip on.

Then Auto Filter for movement.
Use a low-pass 12 dB filter.
Automate cutoff between about 800 Hz and 8 kHz over the 16 bars.
Add a touch of resonance, around 5 to 15 percent, just for character.

Now set up your returns.

On Return A, put Echo.
Try 1/8 dotted or 1/4 timing.
Feedback around 15 to 35 percent.
Filter the delay: high-pass around 200 Hz, low-pass around 6 to 8 kHz so it sits like vintage repeats, not harsh digital clutter.

On Return B, put Hybrid Reverb.
Choose Plate or Room.
Decay around 1.2 to 2.5 seconds.
Pre-delay 10 to 25 milliseconds so the vocal stays forward before the reverb blooms.
High-pass the reverb return around 200 to 400 Hz so the low-mids don’t wash out.

Important mixing principle: separate tone from space.
Keep the main vocal fairly dry and forward, then create vibe with return sends. If the vocal starts sounding distant, reduce the sends before you start adding more compression.

Step 8: make the vocal play with the drums. Classic DnB glue.

Option A is subtle sidechain to the snare.
Put a compressor on the vocal after EQ.
Enable Sidechain.
Choose the Snare Layer as the input.
Ratio 2 to 1.
Attack 1 to 5 milliseconds.
Release 60 to 140 milliseconds.
Set the threshold so you get just one to three dB of dip on snare hits.

You’re not trying to make it pump. You’re carving tiny pockets so the backbeat stays dominant.

Option B is super jungle: slice the vocal into a Drum Rack.
Right-click the vocal clip, Slice to New MIDI Track, slice by transients or by 1/8.
Now you can place little stabs on offbeats, and ghost vocal bits at low velocities, like you’re playing the vocal as percussion.

Step 9: arrange it into 16 bars that feel like real DnB.

Bars 1 to 4, intro groove.
Bring in the break and a few hat ticks.
Keep the vocal filtered, low-pass around 1 to 2 kHz.
Kick and snare layers can be minimal here, just hinting at impact.

Bars 5 to 8, Drop 1.
Bring in full kick and snare layers.
Open the vocal full-range.
Add a couple extra break chops right at the end of bar 8 to signal progression.

Bars 9 to 12, variation.
Pull the main vocal phrase out.
Replace it with chopped syllables or smaller call and response hits.
Add a tiny drum fill near bar 12 beat 4, like an extra snare slice, to keep it moving.

Bars 13 to 16, Drop 2 or peak.
Bring the hook back.
Increase delay send slightly on the last word every two bars.
And if you want an optional end-of-16 moment, do a tasteful tape-stop style effect with subtle pitch automation or a very gentle Frequency Shifter move. Keep it quick, like a wink.

Now a few common mistakes to avoid.
If you over-warp vocals and grid-lock every syllable, you’ll remove the soul. Use fewer warp markers and let the phrase breathe.
If you use too much swing, your snare gets late and weak. Keep groove subtle.
If the break low end fights your kick and bass, high-pass the break around 35 to 60 Hz and keep the kick sub clean.
If you over-compress the break, you kill the shuffle. Light glue plus saturation is the safer path.
And if vocal reverb washes everything out, use send reverb with EQ and automate it for moments instead of leaving it huge all the time.

Quick extra coach move: before you get fancy, solo just the sliced break and the vocal and get their pocket right. If those two groove together, everything else snaps into place way faster.

If you want a little darker, heavier character without losing clarity, duplicate the vocal.
Keep one track clean.
On the duplicate, low-pass it, add saturation, add reverb, and keep it quiet. It should feel like a shadow behind the lead, not a second vocalist.

And for drum grit that doesn’t crush your transients, you can make a return called Drum Dirt.
Put Roar on it gently, then EQ high-pass around 150 to 250 Hz.
Send only the break, and maybe a touch of snare, into it at a low level. That gives old-record attitude while your dry drums keep the punch.

Mini practice exercise to lock this in.
Build a one-bar loop using the sliced Amen plus layered kick and snare.
Add a vocal phrase and make two versions.
Version A: Complex Pro, minimal warp markers, natural timing.
Version B: slice the vocal to a Drum Rack and do a chopped call and response.
In both versions, use Echo on a send with 1/8 dotted, and automate the delay send only on the last word every two bars.

Export both loops and compare at low volume.
Which one rolls harder?
Which one feels more human?
And if one loses, is it timing, tone, or space that needs the fix?

Let’s recap what you just built.
You created Amen-style shuffle with slicing, ghost notes, and subtle groove.
You added modern punch with clean kick and snare layers and transient control.
You brought vintage soul through vocal timing choices, saturation, and controlled plate or room space.
And you arranged it like real DnB, with changes every four to eight bars and a vocal call and response that keeps the listener locked in.

If you tell me what kind of vocal you’re using, like a sung phrase, a rap line, or a single-word sample, and what subgenre you’re aiming for, I can suggest a tight two-bar call and response map and exactly where to place the chops so it lands perfectly at 172.

mickeybeam

Go to drumbasscd.com for +100 drum and bass YouTube channels all in one place - tune in!

Generating PDF preview…