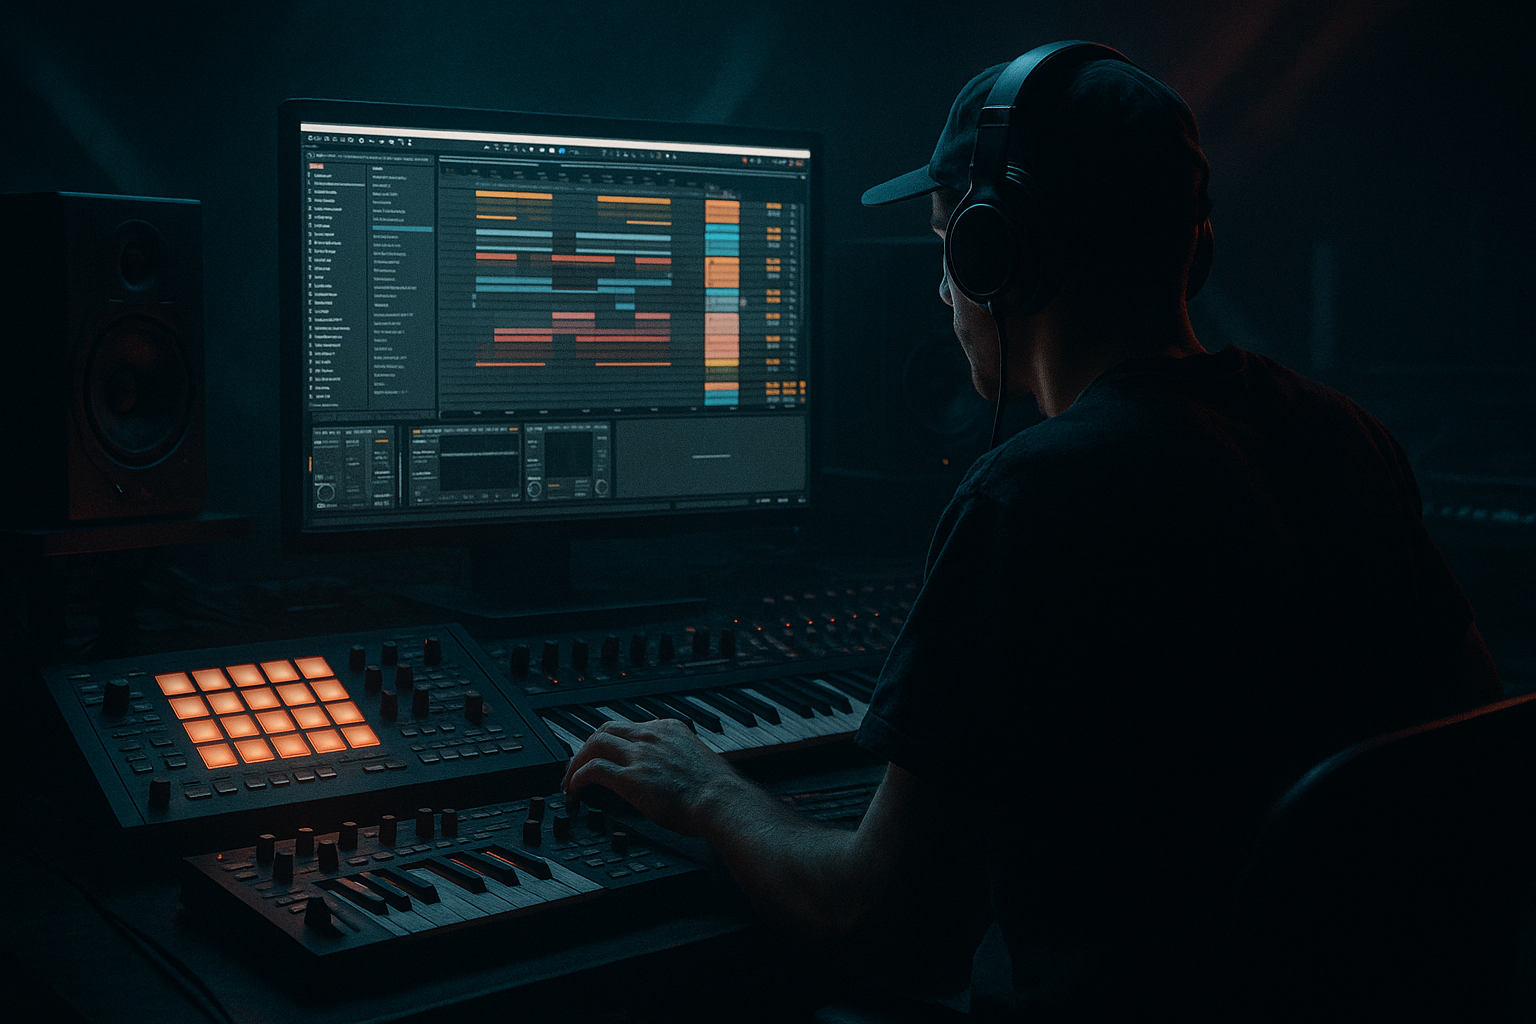
Main tutorial
Lesson Overview
This lesson is about turning a clean top loop into a chopped-vinyl-style texture that sounds like it came off a worn break record, not a pristine sample pack. In Ableton Live 12, that means resampling a loop, slicing it into playable fragments, and reshaping it so it sits like oldskool jungle/DnB top energy: restless, swung, imperfect, and full of character.
This technique lives in the upper drum layer of a track — above the kick, sub, and main snare — but it affects the whole record because it changes how the groove breathes. In jungle and oldskool DnB, the top loop is often the thing that makes the break feel alive: it fills gaps, adds shuffle, and gives the drop a human, chopped-up motion that keeps the listener locked without cluttering the low end.
Why it matters musically: a chopped top loop gives you instant forward motion and that “record being manipulated in real time” feeling. Why it matters technically: if you control the slice points, filtering, and transient shape, you can keep the loop exciting without smearing the kick/snare relationship or washing out your mix.
This works best for jungle, oldskool-styled DnB, rollers with a dusty edge, darker half-time sections that need top-end movement, and intro/drop hybrid sections where you want a vinyl-flavoured pulse. By the end, you should be able to hear a top loop that feels sliced, swung, and slightly unstable in a good way — present enough to drive the groove, but light enough that your drums and bass still own the room.
What You Will Build
You will build a chopped top-loop layer made from resampled audio in Ableton Live 12, shaped into a playable, loopable rhythmic part with vinyl character. The finished sound should be:
- dusty, narrow, and slightly broken-up in a musical way
- rhythmically busy but not chaotic
- placed like a top percussion “ghost band” around the main break
- polished enough to sit in a mix without fighting the kick, snare, or sub
- useful both for a 16-bar drop and for a DJ-friendly intro/outro variation
- Use the top loop as menace, not decoration. A slightly filtered, chopped high layer can create pressure above a heavy sub without making the drop feel empty.
- If the track is dark and minimal, let the loop be almost “broken machinery” rather than busy percussion. Short, repetitive slices with occasional glitchy interruptions can feel more threatening than a full busy break.
- For heavier rollers, keep the loop rhythmically aligned but timbrally degraded: a little saturation, slight high-cut movement, and some short dead space between hits can create weight through restraint.
- If you want a more underground jungle feel, leave more room tone and transient grime in the source print. Don’t polish away all the dirt; that dirt is often the character.
- Use automation to open and close the top loop across sections instead of changing the sound every bar. A small filter move over 8 bars can add tension without wrecking punch.
- For mono compatibility, keep the sub and kick completely separate from the loop’s processing. The chopped top layer should live above the low-mid danger zone so it survives club playback cleanly.
- If the loop feels too “digital,” print a second pass with slightly different saturation or filtering and alternate between them on phrase changes. Tiny differences feel like real record manipulation.
- use only stock Ableton devices
- high-pass the loop so it does not interfere with the kick/sub
- create at least one 1-bar variation
- keep the pattern playable in context with drums and bass
- one 4-bar audio or MIDI loop that has a clear chopped-vinyl feel and can loop cleanly over a drop
- Can you still hear the snare clearly?
- Does the loop add forward motion without sounding crowded?
- Does it feel like a record being chopped, not just a hat loop repeating?
Success sounds like this: the loop makes the track feel like it’s breathing and rolling forward, with chopped fragments that imply a classic record-slice aesthetic, while the drum pocket stays hard and the low end stays clean.
Step-by-Step Walkthrough
1. Start with a loop that has the right top-end attitude
Pick a break or top loop that already has some movement in the hats, ride, ride bleed, ghost hits, or room texture. You do not want a loop that is overly polished and dead-flat; the whole point is to resample something with enough information that chopping creates new rhythm.
In Ableton, drop the loop into an audio track and trim it so you are working with a clean 1-bar or 2-bar phrase. If the loop is too full-range, use EQ Eight first and high-pass around 180–300 Hz to get the kick/body out of the way. For a more brittle oldskool flavour, you can go higher, closer to 300–500 Hz, but only if the loop still has enough texture to stand on its own.
What to listen for: the loop should already “walk” on its own when repeated. If it sounds stiff, over-quantized, or too modern-clean, it may need more room tone or a different source.
2. Resample the loop into a fresh audio pass
Create a new audio track and set its input to resample, or route the loop track to a resampling path if you already use a print workflow. Record 8 or 16 bars of the loop playing. This is where the vinyl character starts: you are committing the loop as audio, so any slight timing drift, level inconsistency, or processing becomes part of the material instead of something you keep “perfectly fixable.”
This matters in DnB because sampled jungle energy often comes from printed, slightly imperfect audio that can be cut and rearranged like a break on a sampler. A clean MIDI pattern can be too straight for this role unless you intentionally humanize it.
After recording, rename the resampled clip clearly, such as “TopLoop_Print_174bpm_01,” so you can version quickly.
Workflow efficiency tip: print a few versions in one pass — one dry, one with slight filtering, one with saturation. Having three printed choices makes the later slicing stage much faster than trying to reinvent the sound after every tweak.
3. Shape the printed loop before slicing
Put an EQ Eight on the printed clip track and remove low-end that could cloud the drum bus. A practical starting point is a high-pass around 200–350 Hz, with a gentle slope if you want some weight from the room tone, or a steeper slope if the loop is mostly hats and shakers.
Then add Saturator or Drum Buss, depending on the colour you want:
- Saturator: start with Drive around 2–6 dB for controlled grit
- Drum Buss: keep Drive modest, often around 5–15%, and use it more for density than for obvious distortion
If the loop feels too glossy, slightly darken it with Auto Filter or EQ Eight by trimming some 8–12 kHz. If it feels too dull, do not simply boost highs aggressively; instead, add a little saturation and maybe a narrow boost around 6–9 kHz so the texture comes forward without turning into fizz.
What to listen for: after this stage, the loop should sound a touch older and narrower, but still crisp enough that the slices will have a defined edge.
4. Slice the loop into playable fragments
Right-click the printed audio clip and slice it to a new MIDI track. For this style, slice by transient or by a sensible rhythmic grid if the loop is stable. The goal is not perfect micro-editing; the goal is to capture enough slice points that you can create a vinyl-chop feel quickly.
Use a Drum Rack or Simpler-based slice setup so each hit can be triggered independently. If the source has strong transient variety, slice by transient. If it is more steady and you want a tighter oldskool pulse, a beat-based slice approach can keep the phrasing more musical.
Once sliced, play the loop back and identify which slices do the useful work:
- tight hat ticks
- slightly longer hat swells
- ghosty shuffles
- tiny snare-bled textures
- occasional noisier tail slices
Delete or ignore the slices that are just clutter. The chopped-vinyl illusion gets stronger when the pattern feels curated, not maxed out.
5. Build a 1-bar or 2-bar chop pattern with a clear drum-pocket role
Program a basic pattern in MIDI with 1/16 or 1/32 movement, but do not fill every subdivision. Oldskool DnB top loops work because they imply motion around the snare, not because they endlessly occupy space.
A strong starting shape is:
- keep the first beat relatively sparse
- place a slice just before the snare to create lift
- answer the snare with a short tail or hat slice
- add a small pickup at the end of the bar to push into bar 2
In 174 BPM material, even tiny timing decisions matter. Nudge a few slices slightly late if you want lazy pocket, or slightly early if you want urgency. In Ableton’s MIDI editor, subtle timing offsets of a few milliseconds can completely change the feeling.
A versus B decision:
- A: tighter, grid-aware chops for a more modern, weaponized roller feel
- B: looser, slightly offset chops for a more authentic, dusty jungle swing
Choose A if your drums are already very swung and busy. Choose B if the track feels too clean and needs a more human, record-like instability.
6. Add controlled movement with a stock-device chain
Here are two realistic Ableton stock chains you can use depending on flavour:
Chain 1: for dusty, chopped vinyl grit
- EQ Eight: high-pass around 200–350 Hz
- Saturator: Drive 3–6 dB, Soft Clip on if needed
- Auto Filter: low-pass somewhere around 9–14 kHz, animated lightly
- Utility: reduce width if the loop feels too modern or phasey
Chain 2: for a darker, more aggressive top texture
- Drum Buss: Drive 5–15%, Crunch used sparingly
- EQ Eight: cut any harsh band around 3–5 kHz if it bites too hard
- Glue Compressor: very light compression, just 1–2 dB of gain reduction to keep slices even
- Auto Filter: movement on a narrow range to create tension before transitions
If the top loop is fighting the snare, carve a small pocket around the snare’s crack area — often somewhere in the 2–4 kHz band — but do it gently. You want the snare to punch through without making the loop disappear.
What to listen for: the loop should feel more like a textured instrument than raw sample playback. If every slice hits at the same emotional level, it will sound mechanical rather than chopped.
7. Use groove, swing, and micro-variation on purpose
Apply groove carefully if the track already has a strong pocket. A light groove can help the loop sit with the break, but too much swing can make it sound detached from the rest of the drums.
If you use groove in Ableton, keep it subtle and test it against your kick/snare. For a jungle vibe, a little late hat energy often works well. For a tougher roller, tighter alignment can keep the top loop glued to the main break.
Add variation over 4 or 8 bars:
- remove one repeated slice every 2 bars
- replace a slice with a shorter version
- add one fill bar where the loop becomes more fragmented
- let one tail ring out into the next bar as a transition cue
This is where the loop stops sounding like wallpaper and starts sounding like a part. The listener should feel motion without being able to predict every repeat.
8. Check the loop in context with drums and bass, not in solo
Now bring in the kick, main snare, sub, and bassline. This is the real test. A chopped top loop can sound amazing alone and still ruin a drop if it steals attention from the groove hierarchy.
In context, ask two things:
- Can I still clearly feel the snare backbeat?
- Does the subline keep its body, or does the loop make the whole mix feel busy in the wrong frequency range?
If the loop masks the snare, reduce its level first before EQing. If it still crowds the snare, cut a little 2–4 kHz or shorten slice tails with Clip Gain or envelope shaping inside the sampler. If it crowds the sub, your high-pass is too low or the source has too much low-mid leakage.
Successful result: the top loop should energize the groove while leaving the drum fundamentals and bass note movement obvious.
9. Decide whether to keep it dry and raw or commit to a more finished print
This is a good commit point. If the chop pattern is working, stop tweaking endlessly and print it to audio. Commit this to audio if the loop has a strong identity and you are about to start arranging the drop or writing fills. Once printed, it becomes easier to cut, reverse, mute, and automate as arrangement material.
If you want a rawer tune, keep the loop more exposed with minimal processing. If you want a more produced, modern edge, print the processed chop and then do small edits on the rendered audio.
Trade-off: keeping it live gives flexibility, but printing forces decisions and often makes the groove feel more intentional.
10. Arrange it like a real DnB record, not a loop demo
Use the chopped loop as a phrase tool, not a constant layer. A common oldskool/jungle structure is:
- intro with filtered or reduced-loop fragments for 8 or 16 bars
- drop with fuller chops entering on bar 1 or bar 9
- variation at bar 17 or bar 33 where one or two slices change
- breakdown or half-time switch where the loop drops out or becomes sparse
- second drop where the pattern evolves, not just repeats
Example arrangement move: in bars 1–8 of the drop, use a tighter chop pattern. In bars 9–16, add one extra tail slice every second bar and open the filter slightly. On bar 17, drop out the loop for half a bar, then slam it back in with a different slice order. That tiny structural contrast makes the section feel like a proper record, not a static loop.
This works in DnB because DJ ears respond to phrasing and contrast. A chopped top loop can mark the section boundary without needing a huge riser or overdone FX sweep.
Common Mistakes
1. Leaving too much low-end in the loop
Why it hurts: it blurs the kick and sub, especially in dense jungle and roller arrangements.
Fix: use EQ Eight high-pass around 200–350 Hz as a starting point, and go higher if the loop is mostly top texture.
2. Over-chopping every transient into constant motion
Why it hurts: the groove turns into noise and the snare loses authority.
Fix: leave gaps. Build phrases with silence and short tails, not endless subdivisions.
3. Making the loop too wide and glossy
Why it hurts: chopped-vinyl character usually feels more focused and slightly narrower; overly wide top loops can sound modern and phasey.
Fix: use Utility to reduce width slightly, then check mono. If the groove collapses in mono, your stereo treatment is too aggressive.
4. Distorting the loop before it has a clear role
Why it hurts: heavy saturation can blur the chop identity and smear transient detail.
Fix: first decide the rhythmic pattern, then add moderate saturation. If needed, print both a clean and dirty version and compare in context.
5. Ignoring the snare pocket
Why it hurts: the top loop steals the backbeat and the drop loses impact.
Fix: carve a small EQ dip around the snare crack area or shorten overlapping slices around snare hits.
6. Soloing the loop for too long
Why it hurts: a top loop that sounds exciting alone can still be rhythmically wrong in the track.
Fix: check it immediately against kick, snare, and bass. The real test is whether the groove gets stronger, not busier.
7. Repeating the same chop for the whole drop
Why it hurts: DnB arrangement depends on micro-evolution and call-and-response.
Fix: create one 4-bar variation every 8 or 16 bars, even if it is just one changed slice or one filtered bar.
Pro Tips for Darker / Heavier DnB
Mini Practice Exercise
Goal: build one 4-bar chopped top-loop phrase that can sit over a jungle or oldskool DnB drop.
Time box: 15 minutes.
Constraints:
Deliverable:
Quick self-check:
Recap
A good chopped top loop in DnB is not just “busy hats.” It is a resampled, shaped, and deliberately phrased top layer that adds swing, grit, and oldskool motion while protecting the kick, snare, and sub. High-pass early, chop with intention, vary the phrase, and always check it in context. If it feels like a dusty record slice helping the groove move forward without stealing the drop, you’ve nailed it.

