Main tutorial
Lesson Overview
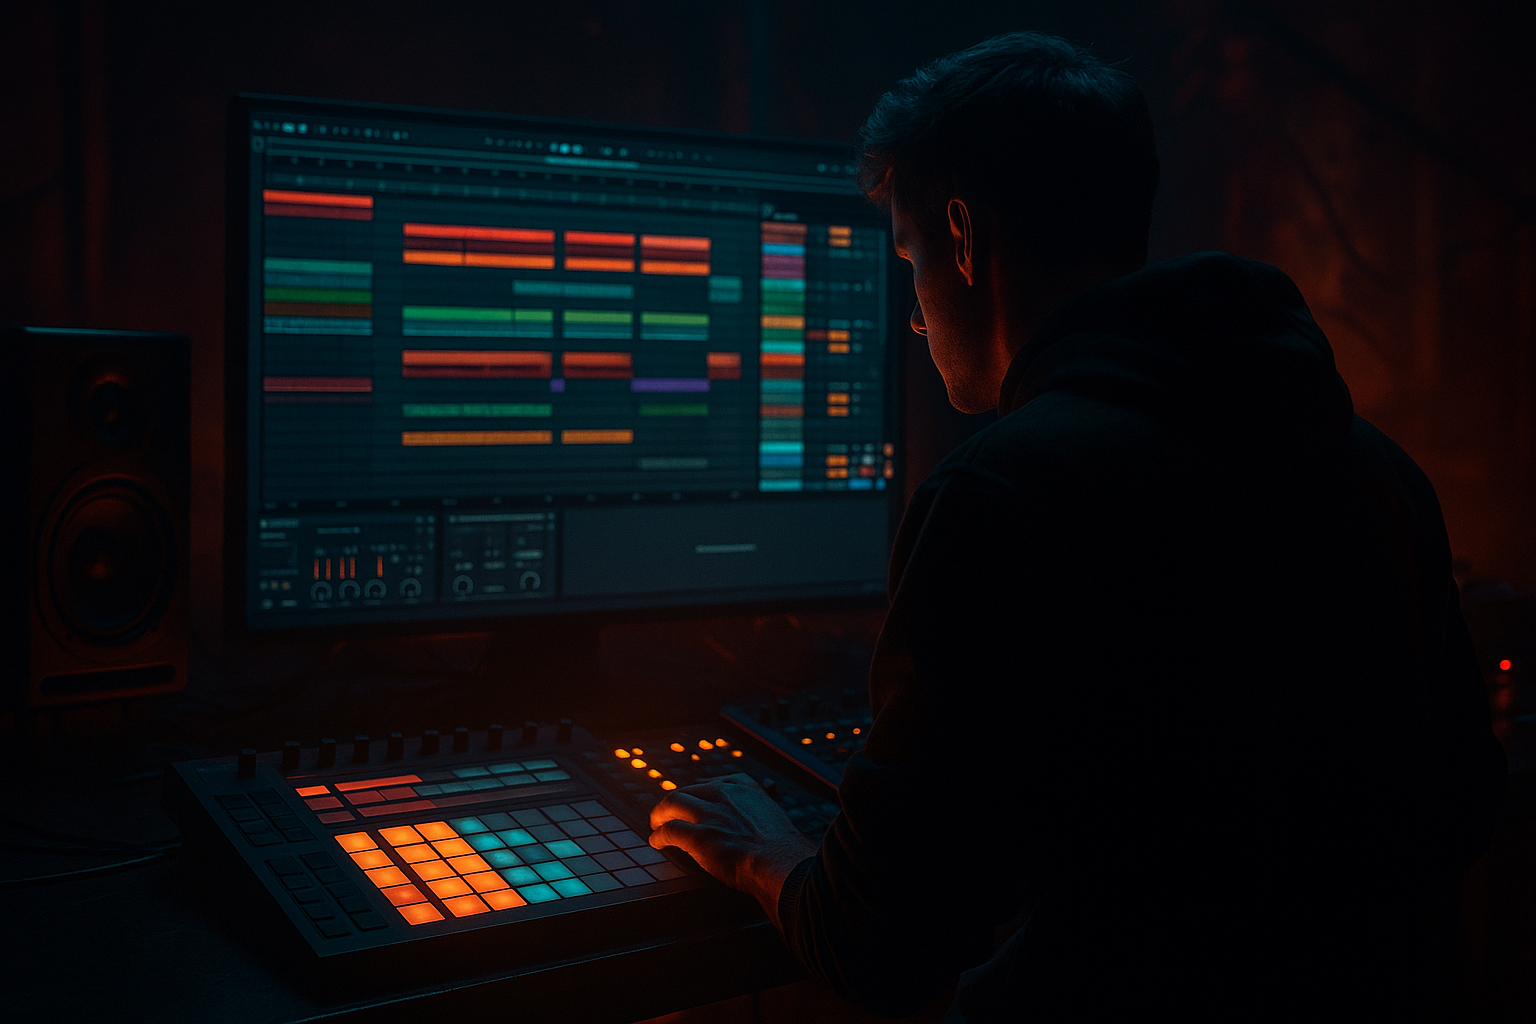
This lesson is about turning a chopped-vinyl idea into a modern DnB weapon: something that still feels dusty, soulful, and human, but hits with the clean punch and low-end discipline of a current club record. In Ableton Live 12, that usually means building a short musical loop from vinyl-style chops, then shaping it so it lives alongside heavy drums and a controlled bassline without turning into mud.
This technique sits in the DJ tools / groove utility zone of a track: intros, breakdowns, drop transitions, switch-ups, fake-outs, and second-drop variation. In Drum & Bass, that matters because a vinyl-textured element can do two jobs at once: it gives the track identity and musical memory, and it also creates a useful foreground layer that can be teased in a mix, looped under an MC, or used as a tension bridge before the full drum/bass weight returns.
It works especially well for:
- rollers with soul and movement
- darker liquid / deep DnB with a worn, human edge
- jungle-influenced modern tracks where break culture meets clean sub
- half-time or halftime-to-2-step hybrids that need contrast
- neuro-adjacent tracks that want a melodic or textural foil without losing menace
- a warm, dusty midrange character
- a tight rhythmic pocket
- controlled transient shape so it doesn’t fight the snare
- a filtered low end that stays out of the sub
- a modern punch layer so the chops feel current rather than washed out
- enough vintage soul to give the track memory and vibe
- Use grit as a midrange tool, not a loudness trick. A touch of saturation around the chop can make it feel older and more dangerous, but if you push it until the upper mids fizz, it will flatten the drum impact. A little harmonic density near 1–4 kHz often reads better than raw distortion.
- Let negative space do some of the menace. In darker DnB, a chopped-vinyl part is more effective when it leaves air around the snare and bass hits. One missing chop can feel heavier than three extra ones.
- Print a version with slight timing asymmetry. A few micro-late chops can create that “tired machine” swagger that suits jungle-leaning or grimy rollers. Keep it subtle; if the groove drags, tighten it back up.
- Use reverse tails for tension, not decoration. A short reversed chop before a drop can feel like the track inhaling. Keep the reverse clean and short so it doesn’t sound like a stock riser.
- Keep the bassline aware of the chop’s harmonic center. If your sampled phrase leans around a particular note or chord tone, make sure the bass isn’t constantly hammering a conflicting harmonic center underneath it. That friction can be exciting, but if it’s not intentional, it just sounds sour.
- For more underground character, leave a little edge in the top. Don’t polish every transient to death. A bit of grain, a little sampler-style roughness, and a controlled noise floor can make the texture feel less sterile, especially in darker arrangements.
- Try short mute automation around fills. Pull the chop down for one beat before a drum fill or bass switch, then bring it back hard on the downbeat. That brief absence makes the return feel bigger without adding another layer.
- Use only one sample source
- Use only stock Ableton devices
- Keep the chop’s low end high-passed above 120 Hz
- Make exactly one variation for bar 9–16
- No more than two parallel layers
- A 16-bar loop with:
- Does the snare still feel like the strongest backbeat element?
- Can you hear the chop clearly in mono without low-mid smear?
- Does bar 9–16 feel like an evolution, not just a repeat?
By the end, you should be able to hear a chopped-vinyl texture that feels intentionally “old” but still sits like a modern element: rhythmic, controlled, and mix-ready. The goal is not lo-fi for its own sake. The goal is a texture that can survive a drop, not just decorate an intro.
What You Will Build
You’re going to build a short, loopable vinyl-chop layer in Ableton Live 12 that has:
The finished result should feel like a chopped phrase or sampled guitar/keys/horn/vocal snippet that has been re-ordered into a syncopated DnB motif. It should not sound like a generic hip-hop loop pasted over drums. It should sound like a musical hook that can survive 170–175 BPM, duck around the snare, and sit above the bass with clarity.
Success looks like this: when the drums and bass enter, the chop still reads instantly, but it does not clog the center or blur the kick/snare relationship. It should feel slightly worn, slightly unstable, and very intentional — like a vinyl-sourced idea that was rebuilt for a club system.
Step-by-Step Walkthrough
1. Choose a source with real musical identity, then trim it to a playable phrase
Start with a sample that has a clear emotional fingerprint: a chord stab, sung phrase, horn hit, piano chord, guitar lick, or dusty spoken fragment. For DnB, you want a source with enough midrange character to survive heavy drums, but not so much low-end that it competes with your sub.
In Ableton, drop the sample into Audio Track 1 and set the clip warp mode carefully. If it’s tonal and relatively steady, Complex Pro can work; if it’s percussive or chopped aggressively, Beats or Texture may feel better. For this workflow, trim the clip to a phrase that has at least 1–2 interesting transients or note changes.
Practical target:
- trim the source to 1–4 bars
- keep the useful material between roughly 200 Hz and 6 kHz
- remove any heavy low rumble under 120 Hz at the source if it exists
Why this works in DnB: a chopped vinyl texture needs rhythmic identity more than full-range fidelity. The track’s drums and bass will provide the weight; your sample provides the story.
What to listen for:
- does the sample have a natural attack that survives time-stretching?
- does it still feel musical when looped at 174 BPM?
2. Slice the phrase into performance-ready chops
Right-click the clip and use slicing to create separate playable pieces. For advanced workflow, keep the slices meaningful: don’t over-slice into tiny fragments unless the source really supports it. In DnB, a few good chops usually outperform a thousand micro-cuts because the groove needs shape, not clutter.
Make the slices short enough to create swing and call-and-response. A strong starting layout is:
- one longer slice for a phrase tail
- two medium slices for rhythmic punctuation
- one short slice for a pickup or turn-around
If you’re building in Simpler after slicing, let the slices sit in a Drum Rack or a sampler-style device so you can trigger them like a performance part.
Useful timing move: nudge a few chops 5–20 ms late if they feel too eager against the drums. For a more urgent jungle feel, push one or two ghost cuts slightly earlier, but only if the groove remains readable.
3. Decide the flavour: A versus B
This is your first real creative decision.
A: Dirty-soul, more vintage
- use a slightly wider slice spacing
- leave more transient edge
- keep the sample’s noise floor and grime
- emphasize flutter, wobble, and imperfect timing
B: Tight-modern, more club-precise
- shorten the chop tails
- tighten fade-ins and fade-outs
- remove more low-mid haze
- make the rhythmic grid more exact
If you want a roller, deep, or liquid-leaning feel, A often wins. If you want a darker jump-up, neuro, or peak-time hybrid feel, B often works better. There’s no moral victory here — the right choice is the one that leaves room for drums and bass.
Stop here if the chops already have a convincing groove on their own. If the phrase only works when the drums are playing, the sample is probably too dependent on context and needs better re-selection.
4. Build a processing chain that preserves soul but adds punch
Here’s a solid stock-device chain for the chop bus or chop track:
EQ Eight → Saturator → Compressor → Auto Filter
Suggested starting points:
- EQ Eight: high-pass around 120–180 Hz to clear sub overlap; gently reduce 250–400 Hz if the chop feels boxy; tame any harshness around 2.5–5 kHz if the source is brittle
- Saturator: keep Drive modest, often 2–6 dB; use Soft Clip if the source needs density without obvious distortion
- Compressor: light control only, aiming for around 1–3 dB of gain reduction on peaks
- Auto Filter: low-pass the chop into sections for arrangement control, often somewhere between 500 Hz and 8 kHz depending on how exposed the part is
Why this works in DnB: saturation gives the chop enough midrange density to survive layered drums, while EQ keeps the sample from stealing the kick’s body or the bass’s sub lane. Light compression helps the chops feel “printed,” which suits vinyl texture.
What can go wrong:
- too much saturation makes the chop spit and fuzz in a way that masks the snare crack
- too much compression flattens the transient and makes the sample feel like wallpaper
- too much low-pass kills the soul and turns the idea into a generic wash
5. Create a rhythmic pocket that respects the snare
Put the chops in direct relationship with the drum pattern. In a standard DnB context, the snare is often the anchor on 2 and 4; your chop should either answer that snare or stay out of its way.
Try one of these placements:
- a pickup before the snare
- a response after the snare
- a syncopated offbeat stab that leaves the downbeat open
- a call-and-response pattern over two bars
A useful arrangement example:
- Bar 1: two short chops before the snare, then a tail into the gap
- Bar 2: one longer chop that sustains into the next downbeat
- Bar 3–4: variation with one missing chop to create a breath before the drop returns
Listen for:
- does the chop help the snare feel bigger, or does it mask the snare’s impact?
- is the groove dancing with the drums, or just sitting on top of them?
6. Layer a modern punch path underneath the vinyl texture
This is where the result becomes genuinely current. Keep the dusty chop as the character layer, then add a parallel layer for definition. Two strong stock-device options:
Option 1: Transient-friendly parallel layer
- duplicate the chop track
- on the duplicate, use EQ Eight to narrow it into the midrange attack zone
- add Drum Buss lightly, or use Saturator plus a touch of Compressor
- high-pass higher than the main layer, often around 250–400 Hz
- keep this layer low in the mix, just enough to sharpen the front edge
Option 2: Resampled punch layer
- record the chop playback with your drum groove into a new audio track
- trim the best transient moments
- use that printed audio as a short accent layer
The trade-off:
- Option 1 is faster and easier to adjust
- Option 2 sounds more committed and often feels more “record-like”
If the chop is getting lost once the drums hit, this is the moment where a small dose of punch can fix it without destroying the vintage feel.
7. Add movement with filtering and very selective automation
Don’t automate everything. In DnB, too much movement in a textural layer can make the arrangement feel indecisive. Use automation with purpose.
Good moves:
- automate Auto Filter cutoff to open from around 500–1,000 Hz in an intro to 4–8 kHz at the drop
- automate a subtle volume dip of 1–2 dB when the snare or fill lands
- automate send levels to reverb or delay only in transitions
- automate a short filter close before a restart or fake-out
For vintage soul, a small amount of movement goes a long way. You want the sample to feel alive, not seasick.
Workflow efficiency tip: once the chop pattern is working, commit the main loop to audio. That lets you cut, fade, reverse, and print variations quickly without endlessly tweaking the source device chain. In a real session, this saves you from getting trapped in loop perfection.
8. Control space with reverb and delay like a DJ tool, not a wash
Use reverb and delay to create phrasing and depth, not a permanent fog. A short Reverb with a small room or plate feel can add dimension, while Echo can give the sample a pre-drop tail or a call-and-response after a cut.
Suggested practical settings:
- reverb decay around 0.4–1.2 s for compact depth
- pre-delay around 10–25 ms to preserve the chop attack
- delay feedback kept modest, often under 25–30% unless it’s a special transition
- filter the delay return so it doesn’t spill low mids into the bass lane
Keep the wet signal controlled. If the texture starts smearing the snare transient or flooding the center, reduce the return or shorten the decay. The best DJ-tool-style FX are the ones that create anticipation without stealing the mix.
Decision point:
- if you want classic jungle / break-era smoke, let the reverb be a little dirtier and shorter
- if you want modern soulful DnB, keep it cleaner and more stereo-controlled
9. Check the chop in context with drums and bass before you fall in love with it
This is the point where serious records get made or broken. Loop the chop with your kick, snare, hats, and bass. Don’t judge it solo.
Pay attention to:
- can you still identify the snare crack clearly?
- does the sub remain centered and stable?
- does the chop occupy a useful lane above the drums, or is it fighting for midrange dominance?
If the bassline is a reese or mid-bass with strong harmonics, carve a little more from the chop around 200–500 Hz and possibly another touch around 1.5–3 kHz if that’s where the bass speaks. If the bass is sparse and sub-led, you may keep more midrange in the chop for character.
Mix-clarity note: keep the chop’s low end mostly mono-compatible and restrained. Any widening should live above the core body. If the sampled texture loses authority in mono, you’ve widened too low or delayed the stereo content too much.
10. Arrange it like a real DJ tool, not a loop demo
The best chopped-vinyl textures earn their keep through arrangement. In DnB, a great pattern often enters as a teaser, returns as a hook, and mutates on the second drop.
A practical structure:
- Intro (8–16 bars): filtered chop with percussion fragments, no full bass
- Pre-drop (4–8 bars): chop opens, a few rhythmic gaps appear, tension rises
- Drop 1 (16 bars): chop answers the drums in a stable pattern
- Mid-section or breakdown: chop becomes more exposed, maybe with delay throws
- Drop 2: same core idea, but with a changed chop order, a missing bar, or a higher octave accent
Strong second-drop evolution ideas:
- reverse one chop every 4 bars
- remove the first hit of the phrase on bar 9 or 17
- shift a single chop to create a new syncopation
- layer a brighter duplicate for only the final 8 bars
This is where the soul becomes arrangement value. A chopped-vinyl texture should not only sound good; it should help the track breathe, DJ cleanly, and escalate over time.
Common Mistakes
1. Leaving too much low midrange in the chop
- Why it hurts: it muddies the kick/snare relationship and makes the bass feel smaller.
- Fix: use EQ Eight to high-pass around 120–180 Hz, then gently reduce 250–400 Hz if the loop feels cloudy.
2. Over-chopping until the groove becomes mechanical
- Why it hurts: the part loses its human swing and starts sounding like edit noise.
- Fix: keep at least one longer phrase element, and let a few slices breathe across the bar.
3. Making the sample too wide too early
- Why it hurts: stereo low mids can destabilize mono playback and weaken club translation.
- Fix: keep the core body centered; if widening is needed, reserve it for upper harmonics or the FX return.
4. Using too much reverb on the main chop
- Why it hurts: the transient loses focus and the groove turns blurry against fast drums.
- Fix: shorten decay to around 0.4–1.2 s, add pre-delay, or move the reverb to a send and automate it only on transitions.
5. Letting saturation replace arrangement
- Why it hurts: distortion alone can make something sound busy without making it musical.
- Fix: use Saturator to support the tone, then change chop order, density, or phrasing across sections.
6. Ignoring the snare anchor
- Why it hurts: the chop may be cool on its own but fights the backbeat.
- Fix: place key stabs before or after the snare, not directly on top of its main transient unless that clash is a deliberate effect.
7. Never printing the idea to audio
- Why it hurts: you keep tweaking forever and never get to arrangement.
- Fix: once the loop works, commit it to audio and build variations by editing the waveform.
Pro Tips for Darker / Heavier DnB
Mini Practice Exercise
Goal: Build a 16-bar chopped-vinyl DnB texture that works over drums and a bassline without muddying the drop.
Time box: 15 minutes
Constraints:
Deliverable:
- one main chop pattern
- one punch-support layer or resampled duplicate
- one automation move for transition or filter opening
Quick self-check:
Recap
A strong chopped-vinyl texture in DnB is not about nostalgia alone — it’s about turning a human, soulful phrase into a tool that survives modern drum pressure. Keep the low end out of the way, shape the attack so the groove stays sharp, and use saturation, filtering, and selective automation to make it feel alive. The best result sounds dusty but disciplined: emotional enough to remember, tight enough to mix, and strong enough to carry a drop or a transition without collapsing under the weight of the drums and bass.

