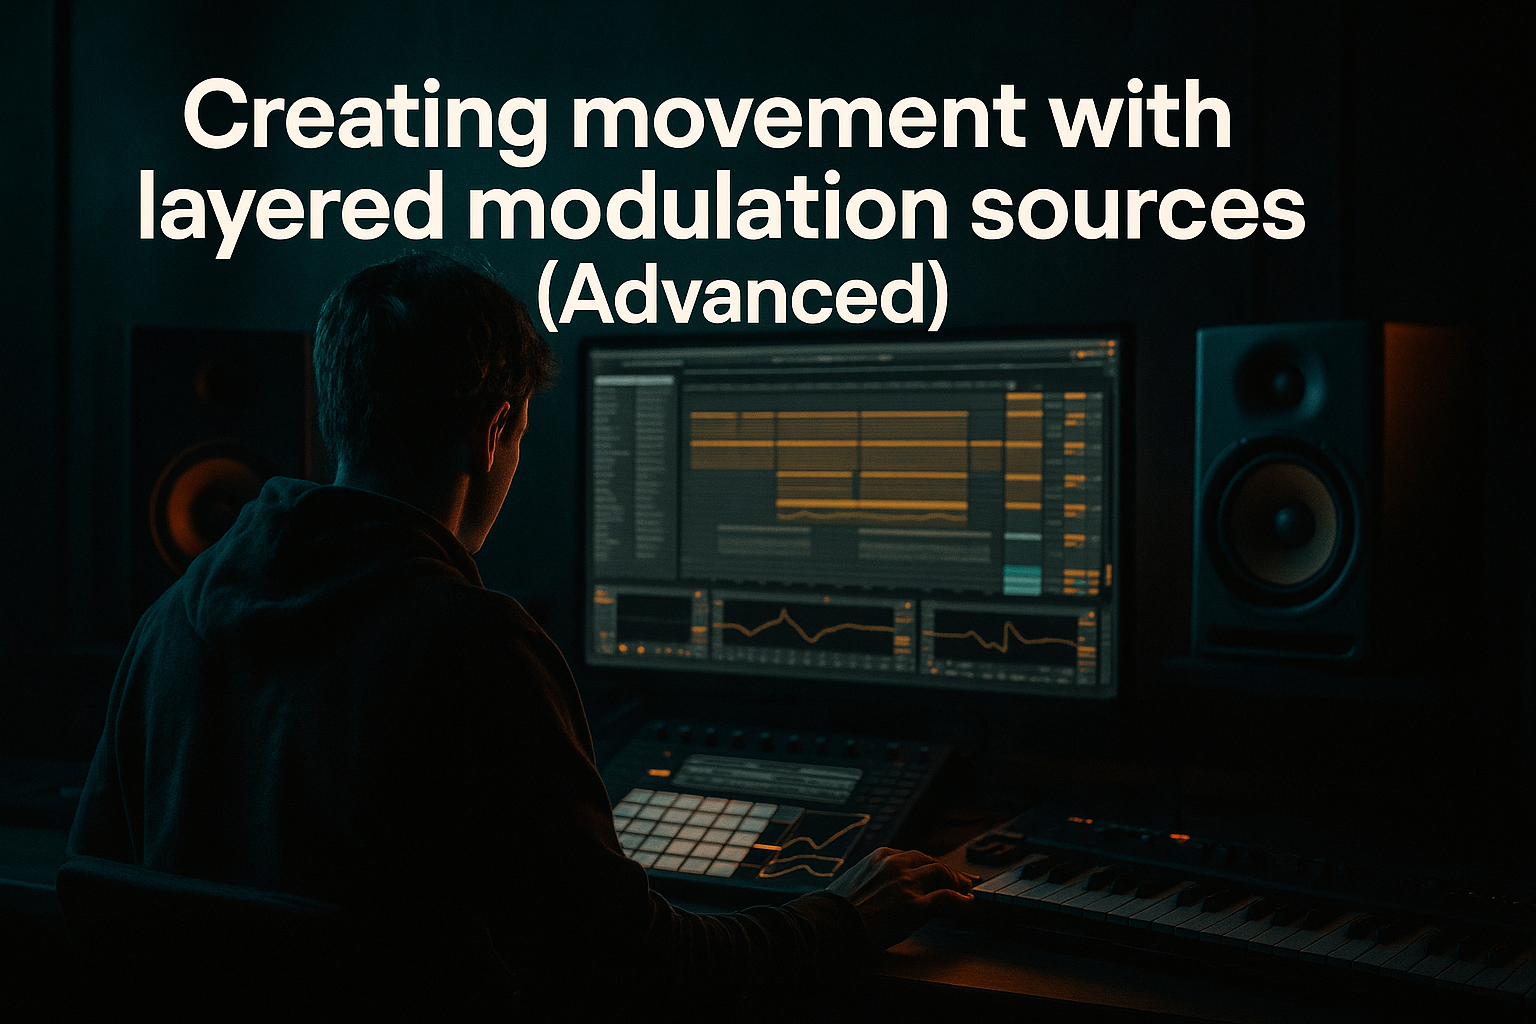
Main tutorial
1. Lesson Overview
"Blame masterclass: glue the vocal atmosphere in Ableton Live 12 with groove pool tricks" is an intermediate workflow lesson that shows how to make a drifting, cohesive vocal atmosphere sit as one organic element in a Drum & Bass mix. We'll extract rhythmic microtiming and dynamics from a vocal or related rhythmic source using Live's Groove Pool, and use those grooves to lock together the vocoded vocal, carrier pad, and supporting background elements. The result: a glued, moving vocal bed that breathes with the drums and bass without losing intelligibility or presence.
2. What You Will Build
- A glued vocal atmosphere (dry vocal textures + processed vocoder layer) that grooves with the drums at 170–175 BPM.
- A vocoder chain where the vocal is the modulator and a synth pad is the carrier.
- A set of Groove Pool grooves extracted from the vocal and drum material, applied to:
- Final blend with EQ/compression/reverb so intelligibility is preserved and the effect sits in the Drum & Bass mix.
- Ableton Live 12 session at 174 BPM (typical DnB tempo).
- You have: a vocal atmosphere audio clip (breathy pads, oohs, or chopped vocal layers), a Drum & Bass drum loop or programmed beats, and a simple pad instrument (Ableton stock like Wavetable, Analog, or Sampler) to use as carrier.
- Over-using Timing: cranking Timing to 100% can make things swing too much and break DnB energy—start small.
- Applying groove only to audio and forgetting MIDI carrier: the vocoder carrier must groove to match the vocal; otherwise the vocoded result can feel off-grid.
- Putting Vocoder on the vocal track as the main device without routing the carrier correctly: always confirm the Vocoder sidechain (carrier track has Vocoder device and modulator selected in Sidechain).
- Neglecting pre-EQ on the modulator: unshaped vocal feeding the Vocoder leads to muddiness or unintelligibility.
- Using too many bands incorrectly: Too few bands kills intelligibility; too many with incorrect filtering can make the vocoder barn-like. Adjust bands with context.
- Forgetting to bus and compress: each element may sound fine soloed but lack glue; light bus compression and subtle saturation are key.
- Duplicate and experiment: Always duplicate the carrier track before “committing” grooves so you can A/B different groove stacks.
- Use transient shaping on the vocal before extracting groove to emphasize the rhythmic hits you want captured.
- Try extracting groove from a rhythmic element (hi-hat loop) and apply only velocity to pads for dynamic cohesion while leaving timing untouched.
- Automate Vocoder band count or Dry/Wet: increase bands during choruses for clarity, drop bands in breakdowns for a robotic texture.
- Stereo placement: keep the vocoder slightly wider than the dry vocal but narrower than the pads; use Utility > Width control.
- Use follow actions and clip envelopes for micro-variation; small manual edits + groove make the atmosphere feel alive.
- If the vocal has sibilance, insert a De-Esser (Compressor sidechained to a high-pass EQ) before extracting groove and before the vocoder so the analysis isn't dominated by sibilant bursts.
- Session: Set Live to 174 BPM. Load a drum loop, a 4-bar vocal atmosphere clip, and create a Wavetable pad.
- Step A (5–10 min): Prep the vocal: EQ high-pass at 150 Hz, light compression, Consolidate clip.
- Step B (5 min): Right-click vocal clip → Extract Groove. Open Groove Pool and set Timing = 25%, Random = 8%, Velocity = 20%.
- Step C (5 min): Apply that groove to a short sustained MIDI chord on the pad carrier. Insert Vocoder on the carrier track, sidechain to the vocal track.
- Step D (5–10 min): Set Vocoder to 24 bands, Attack 5 ms, Release 80 ms, Dry/Wet 50%. EQ the vocal pre-vocoder to boost 2–4 kHz by ~3 dB.
- Step E (5 min): Group the vocoded output and bus-compress with Glue Compressor for 2–3 dB of gain reduction. Listen and tweak Timing/Amount to taste.
- The carrier MIDI clip (so the vocoder's carrier matches the vocal's rhythmic feel)
- Reverse/atmos audio clips and background pads (so all elements micro-time together)
3. Step-by-Step Walkthrough
Project setup assumptions:
A. Prep the vocal atmosphere (modulator)
1. Drop your vocal atmosphere clip on an Audio Track and warp it so it follows the project (Complex or Complex Pro if full-band; beats if more transient). Trim silence and consolidate (Cmd/Ctrl+J) if you’ll extract groove.
2. Clean for intelligibility (pre-processing):
- Insert EQ Eight before other effects. High-pass around 120–200 Hz to remove low rumble. Cut a little around 300–500 Hz if muddy.
- Add a gentle compressor (Glue Compressor or Compressor) to smooth dynamics: ~3:1 ratio, medium attack (10–30 ms), release auto or around 60–120 ms, 2–5 dB gain reduction. This keeps the modulator consistent for the vocoder and makes groove extraction more stable.
B. Extract groove from the vocal (Groove Pool trick #1)
3. Extract a groove from the vocal atmosphere:
- Right-click the vocal clip → Extract Groove (this creates a groove in the Groove Pool based on the clip’s timing and amplitude envelopes).
- Open the Groove Pool (View → Groove Pool). Locate the new groove. Name it “VoxAtmos_Groove”.
4. Tweak the groove parameters in the Groove Pool:
- Timing: start around 15–35% to give microtiming feel (positive value will make elements sit slightly behind the grid; negative pushes them forward — choose what breathes with your drums).
- Random: 5–15% to add human variation.
- Velocity: 10–30% to transfer the vocal dynamics onto MIDI velocity (useful for a carrier synth).
- Note: For DnB, small timing values keep tightness; don’t overdo it.
C. Set up the carrier (carrier creation)
5. Create a MIDI track with Ableton Wavetable (or Analog):
- Patch: simple pad or saw-based patch, long release, low-pass filter with slight movement.
- MIDI clip: program a sustained chord progression or single long root note that matches the vocal atmosphere timing. This is your carrier for the vocoder.
6. Apply the groove to the carrier MIDI clip:
- Select the MIDI clip, in Clip View choose the Groove chooser → select “VoxAtmos_Groove”.
- Adjust the Clip’s “Groove Amount” slider (start ~70–100% to strongly transfer feel).
- If needed, set Timing/Velocity influence individually in Groove Pool to taste.
D. Set up Vocoder — modulator and carrier routing (required explicit steps)
7. Routing and device placement (standard and flexible method):
- Put the Vocoder device on the carrier synth track (the track producing the carrier sound).
- In the Vocoder, open the Sidechain input and select the vocal atmosphere audio track as the modulator ("Audio From" or sidechain menu). This tells the Vocoder to analyze the vocal as the modulator while using the synth as the carrier.
8. Configure Ableton Vocoder:
- Bands: start at 16–32 bands. More bands = better intelligibility, fewer bands = more robotic texture. For a natural glued atmosphere, 24–32 is a good middle ground.
- Attack: 3–10 ms; Release: 40–150 ms. Shorter release gives more reactive articulation; longer release smooths the result.
- Dry/Wet: start at 30–60% wet so original vocal texture can still be heard underneath; you can automate this later for transitions.
- Formant/Sift (if available): small adjustments can shift perceived vowel content; be subtle to maintain vocal feel.
- Window/Analysis options: if present, try the FFT size / analysis settings for different timbral responses — larger windows for smoother results.
9. Shaping intelligibility (important):
- Place an EQ Eight on the vocal (modulator) before the Vocoder sidechain (i.e., on the vocal track). Boost clarity region ~1.5–4 kHz (+2–4 dB), reduce extreme highs to control sibilance (use a gentle shelf or de-esser via Compressor with Sidechain).
- On the carrier, apply a high-pass at ~200 Hz to remove unnecessary low energy that muddies bands.
- If intelligibility is still lost, increase Vocoder bands to 32 or add parallel dry vocal and compress to sit with the vocoder.
10. Blend the affected voice in context:
- Use a Utility after Vocoder to control stereo width (narrow if masking the bass).
- Add a Reverb (Convolution Reverb or Hybrid Reverb) with short pre-delay (~20–40 ms) and short decay (1–2 s) on an AUX to place the vocoded result slightly behind the lead.
- Use an EQ after reverb to notch extraneous build-ups and carve space for drums/bass.
- Automate Dry/Wet or send levels to have the vocoder swell under emotional moments.
E. Glue everything using Groove Pool to other elements (Groove Pool trick #2 and #3)
11. Extract groove from drums (or use an existing drum groove) and place it in the Groove Pool too. Compare properties of the vocal groove and drum groove; create a composite approach:
- Apply the vocal groove to pads and reversed vocal slices so they micro-time with the vocal.
- Apply the drum groove to percussion and lightly to the carrier MIDI clip too; experiment with layering grooves. Live allows multiple grooves in the pool, but a clip can only reference one groove at a time — use the “Commit Groove” workflow to bake timing from one groove and then apply another.
12. Committing Grooves (to combine grooves):
- Duplicate your carrier track as a backup.
- Select the carrier clip with the vocal groove applied, adjust to taste, then right-click clip and choose Apply Groove/Commit Groove (or Export/Render Clip to audio if you prefer). This will bake the timing into the clip.
- Now set a second groove onto the baked audio (e.g., a subtle drum groove) and apply a small amount so that the carrier is now a composite of both microtimings.
- Repeat for background atmos layers so they breathe with drums and vocal simultaneously.
F. Final glue with dynamics and spatial processing
13. Bus processing:
- Send the vocoder + vocal dry to a Bus (Group) called “VoxAtmos Bus”.
- Insert Glue Compressor on the bus: slow attack (~30 ms) to preserve transients, fast-ish release, 1.5–3 dB gain reduction to glue layers.
- Add subtle saturation (Saturator) in soft clip mode with low drive (~1–3 dB of gain) to add harmonic coherence.
14. Check in mix: mute/solo the bus, then bring back drums and bass. Tweak groove timing amounts, Vocoder bands, EQs, and bus compression to achieve the desired glued atmospheric feeling without interfering with the low-end energy.
4. Common Mistakes
5. Pro Tips
6. Mini Practice Exercise
Time: 25–40 minutes
Goal: You should end up with a vocoded atmosphere that already feels rhythmically connected to the vocal and drums. Save two states: one with groove applied and one without to A/B the difference.
7. Recap
This lesson — "Blame masterclass: glue the vocal atmosphere in Ableton Live 12 with groove pool tricks" — walked you through extracting groove from vocal material, using that groove to align a vocoder carrier and supporting atmos elements, and routing/configuring the Ableton Vocoder so the vocal modulator retains intelligibility. Key takeaways: extract and sculpt your groove, route the carrier/modulator correctly (carrier track with Vocoder + vocal as sidechain modulator), boost clarity with pre-EQ and appropriate band count, and use Groove Pool commit/apply techniques to glue multiple rhythmic feels together. The result is a vocal atmosphere that breathes with your Drum & Bass track while remaining clear and mix-friendly.

