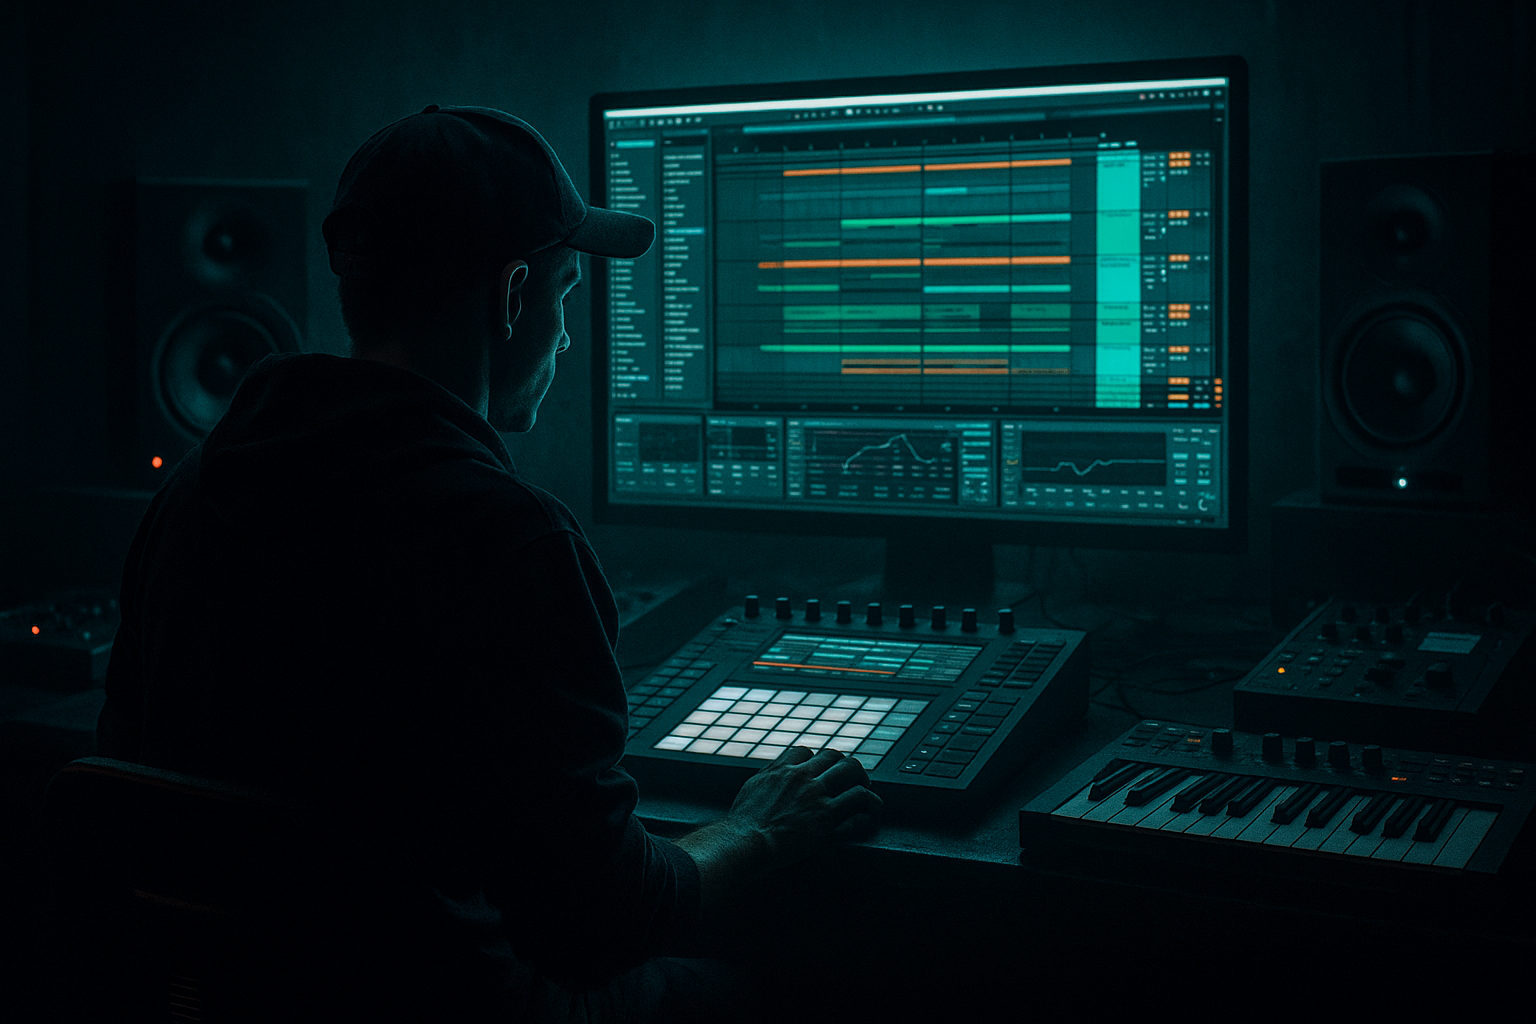
Main tutorial
Bassline Theory + Jungle Vocal Texture (Ableton Live 12)
Beginner-friendly DnB/jungle vocal workflow + arrangement practice 🎛️🔊
---
1. Lesson overview
In drum & bass and jungle, your bassline does two jobs:
1) It locks with the drums (especially the kick/snare pattern)
2) It creates tension and release across the arrangement
A classic jungle trick is using vocal textures (short phrases, chops, pads made from voice) to add character without cluttering the mix.
In this lesson you’ll learn how to:
- Write a simple, strong rolling bassline with basic theory
- Turn a vocal into jungle-style texture (chops, stabs, ambience)
- Arrange a full DnB section in Ableton Live 12 (intro → drop → variation → outro)
- Use stock Ableton devices effectively
- Drums: fast breakbeat + punchy kick/snare
- Bass: sub + mid “reese-ish” layer (simple but powerful)
- Vocal texture: chopped phrase + washed atmospheric layer
- Arrangement: intro, drop, 2nd phrase variation, short breakdown, outro
- Tempo: 170–175 BPM (try 174)
- Key: F minor (easy on bass + dark vibe)
- Put Kick on 1, Snare on 2 and 4 (half-time counting at 174 = classic DnB feel).
- Snare: beat 2 and 4
- Kick: beat 1, and a small push before snare (tasteful)
- Hats/ride: 1/8 or 1/16 for motion
- On DRUMS group:
- Root note (most stable)
- 5th (adds power)
- Minor 7th (classic dark movement)
- Occasional octave jumps
- Gate (tighten noise and tails)
- EQ Eight:
- Saturator (Drive 1–4 dB)
- Hybrid Reverb (small room or plate)
- Delay (Echo or Delay device)
- Bars 1–16 (Intro):
- Bars 17–32 (Drop 1):
- Bars 33–40 (Break / Reset):
- Bars 41–48 (Drop 2 / Variation):
- Automation (A key):
- Fills & transitions:
- Risers (stock-only):
- Sub bass too long: long notes smear the groove at 174 BPM. Keep sub notes tight.
- Vocal too “lead”: jungle texture is usually supporting, not dominating. Use chops + ambience.
- No frequency separation: mid bass fighting sub, vocals fighting snares. Use EQ Eight deliberately.
- Over-reverb in the drop: big reverb sounds great in intro/break, but can ruin punch in the drop.
- No arrangement contrast: if everything plays all the time, the drop won’t hit.
- Use minor 2nd tension (carefully): in F minor, a quick Gb passing note into F can sound nasty (use briefly).
- Distort mids, protect sub:
- Parallel drum dirt:
- Vocal “ghost layers”:
- Automate “space”:
- Rolling DnB basslines are about rhythm + root movement, not complicated melodies.
- Build bass in layers: clean mono sub + character mid.
- Jungle vocals work best as texture: chops for rhythm, washes for atmosphere.
- A strong DnB track is arrangement contrast: intro/break = space, drop = impact.
- Ableton stock devices (Operator, Wavetable, EQ Eight, Saturator, Auto Filter, Hybrid Reverb, Glue, Drum Buss) are more than enough to get pro results.
---
2. What you will build
A 16–32 bar rolling jungle/DnB loop that expands into a structured arrangement:
Target settings:
---
3. Step-by-step walkthrough
Step 0 — Set up the Ableton project (clean + fast)
1. Set BPM to 174.
2. Create groups:
- DRUMS (Group Track)
- BASS (Group Track)
- VOCALS (Group Track)
3. On the Master, leave headroom: don’t clip. Aim for -6 dB peak during building.
---
Step 1 — Build a simple jungle drum foundation 🥁
You can use Drum Rack or audio loops. As a beginner, do this:
Option A (quick): Use a break loop
1. Drag a breakbeat audio loop into an Audio Track (e.g., an Amen-style loop).
2. Right-click → Slice to New MIDI Track (choose “Transients”).
3. In the new Drum Rack, program a 1–2 bar pattern.
Option B (clean): Use Drum Rack + samples
DnB pattern starter (1 bar at 174):
Stock devices to add punch:
- Drum Buss
- Drive: 5–15%
- Boom: 0–20% (be careful with sub)
- Crunch: 5–20%
- Glue Compressor
- Attack: 3 ms
- Release: Auto
- Ratio: 2:1
- Aim: 1–3 dB gain reduction
Keep it snappy. Jungle energy comes from transients.
---
Step 2 — Bassline theory (beginner, DnB-focused) 🎸
For rolling DnB, think in short repeating phrases that emphasize:
If we choose F minor, the notes are:
F, G, Ab, Bb, C, Db, Eb
Useful bass tones: F (root), C (5th), Eb (minor 7th), Ab (minor 3rd)
Rhythm matters more than complexity. A 1–2 bar loop with good syncopation beats a complicated melody every time.
---
Step 3 — Create a 2-layer bass in Ableton (Sub + Mid)
We’ll do this in the BASS group as two tracks:
#### A) SUB track (clean sine)
1. Create MIDI track → load Operator.
2. Operator settings:
- Oscillator A: Sine
- Envelope (Amp):
- Attack: 0 ms
- Decay: ~200–400 ms
- Sustain: -inf (or very low)
- Release: 50–120 ms
3. Add EQ Eight after Operator:
- Low-pass-ish shaping: keep it clean
- Optional: small dip around 200–300 Hz if it feels boxy
4. Keep SUB mono:
- Add Utility
- Width: 0%
#### B) MID bass track (character layer)
1. Create another MIDI track → load Wavetable (or Operator if you prefer).
2. Wavetable settings (starter “reese-ish”):
- Osc 1: Saw
- Osc 2: Saw (detune slightly)
- Unison: 2–4 voices (don’t go crazy)
- Filter: LP24
- Cutoff: 200–800 Hz (automate later)
- Drive: light
3. Add Saturator
- Drive: 2–6 dB
- Soft Clip: On
4. Add Auto Filter (for movement):
- LFO Amount: 10–25%
- Rate: 1/8 or 1/16 (sync)
5. Add EQ Eight:
- High-pass around 80–120 Hz (so it doesn’t fight the sub)
✅ Rule: Sub owns <80–90 Hz, mid layer lives above that.
---
Step 4 — Write a rolling bassline (simple, effective)
1. On both SUB and MID tracks, create a 2-bar MIDI clip.
2. Start with a basic rhythm (example in F minor):
- Bar 1: F (short), F (short), C (short), Eb (short)
- Bar 2: F (short), Ab (short), C (short), F (short)
3. Make notes short and tight (important for DnB).
- Typical note lengths: 1/16 to 1/8, with gaps.
Groove tip: Try nudging a couple of bass hits slightly late using Groove Pool (subtle), but keep the sub mostly tight.
---
Step 5 — Sidechain the bass to the kick (cleaner drop) 🔥
1. On BASS group, add Compressor.
2. Enable Sidechain → select Kick (or Drum Rack kick chain).
3. Settings:
- Ratio: 4:1
- Attack: 1–5 ms
- Release: 50–120 ms (tempo-dependent)
- Threshold: adjust for 2–6 dB gain reduction on kick hits
This makes the bass “breathe” with the drums.
---
Step 6 — Create jungle vocal texture (chops + atmosphere) 🎤✨
You want vocals to feel textural, not like a pop lead.
#### A) Vocal chop track (rhythmic)
1. Drag a short vocal phrase into an Audio Track.
2. Warp mode:
- Try Complex Pro for natural sound
- Or Tones for tighter/cleaner stabs
3. Right-click → Slice to New MIDI Track (Transients).
4. In the Drum Rack, trigger chops like percussion:
- Place hits on offbeats, around snare gaps
- Keep it call-and-response with the drums
Processing chain (Ableton stock):
- High-pass 120–250 Hz
- Dip harshness 2–5 kHz if needed
- Decay: 0.6–1.4s
- Pre-delay: 10–25 ms
- 1/8 or dotted 1/8 for jungle bounce
- Low Cut: 200 Hz, High Cut: 6–10 kHz
#### B) Vocal wash track (ambient layer)
1. Duplicate the vocal audio (or resample the chop track).
2. Stretch it:
- Warp mode Texture
- Grain size: adjust until it becomes airy
3. Add:
- Hybrid Reverb (bigger space)
- Decay: 3–8s
- Mix: 15–35%
- Auto Filter
- High-pass slowly moving (automation)
- Utility
- Width: 120–160% (only on the wash, not sub)
This gives you that “old-school jungle atmosphere” behind the drums.
---
Step 7 — Arrange it like real DnB in Arrangement View 📏
Switch from Session to Arrangement View and build sections.
#### Suggested 48-bar structure (easy + authentic)
- Drums filtered / less busy
- Vocal wash fades in
- Tease 1–2 vocal chops (sparingly)
- No full sub yet (or very low)
- Full drums
- Full bassline (sub + mid)
- Vocal chops as rhythmic hooks
- Remove sub
- Let vocal wash + a filtered break roll
- Add a single “statement” vocal chop
- Bring bass back
- Change last 2 notes of bass phrase for variation
- Add extra chop hits or a different slice
#### Ableton arrangement tools to make it move:
- Filter cutoff on MID bass for tension (lower in intro, open on drop)
- Reverb send on vocals (more in intro/break, less in drop)
- 1-bar drum fill before bar 17 (drop)
- Use Reverse vocal tail into the drop (duplicate audio → reverse it)
- Create noise with Operator (white noise) → filter sweep with Auto Filter
---
4. Common mistakes
---
5. Pro tips for darker/heavier DnB 😈
- Saturate the MID bass more
- Keep SUB clean + mono
- Create a return track with Roar (if available in your Live suite) or Saturator + Drum Buss
- Send breaks to it lightly for aggression
- Pitch one vocal chop down -7 or -12 semitones, low in the mix, filtered—adds menace.
- In drops, reduce reverb send
- In breaks, increase reverb + delay feedback for that cavern feel
---
6. Mini practice exercise (20–30 minutes)
1. Make a 2-bar drum loop at 174 BPM (kick/snare + hats + one break slice).
2. Write a 2-bar bassline using only F, C, Eb, Ab.
3. Create two vocal tracks:
- Track 1: chopped hits (4–8 hits per 2 bars)
- Track 2: stretched wash (Texture warp + big reverb)
4. Arrange 16 bars:
- Bars 1–8: intro (no full bass)
- Bars 9–16: drop (full bass)
5. Add one automation lane:
- MID bass filter cutoff opening into bar 9
Export a quick bounce and listen on low volume: can you still feel the groove and the vocal vibe?
---
7. Recap
If you want, tell me your chosen key and whether you’re using a break loop or one-shots, and I’ll give you a specific 2-bar bass MIDI pattern + vocal chop rhythm tailored to your vibe.

