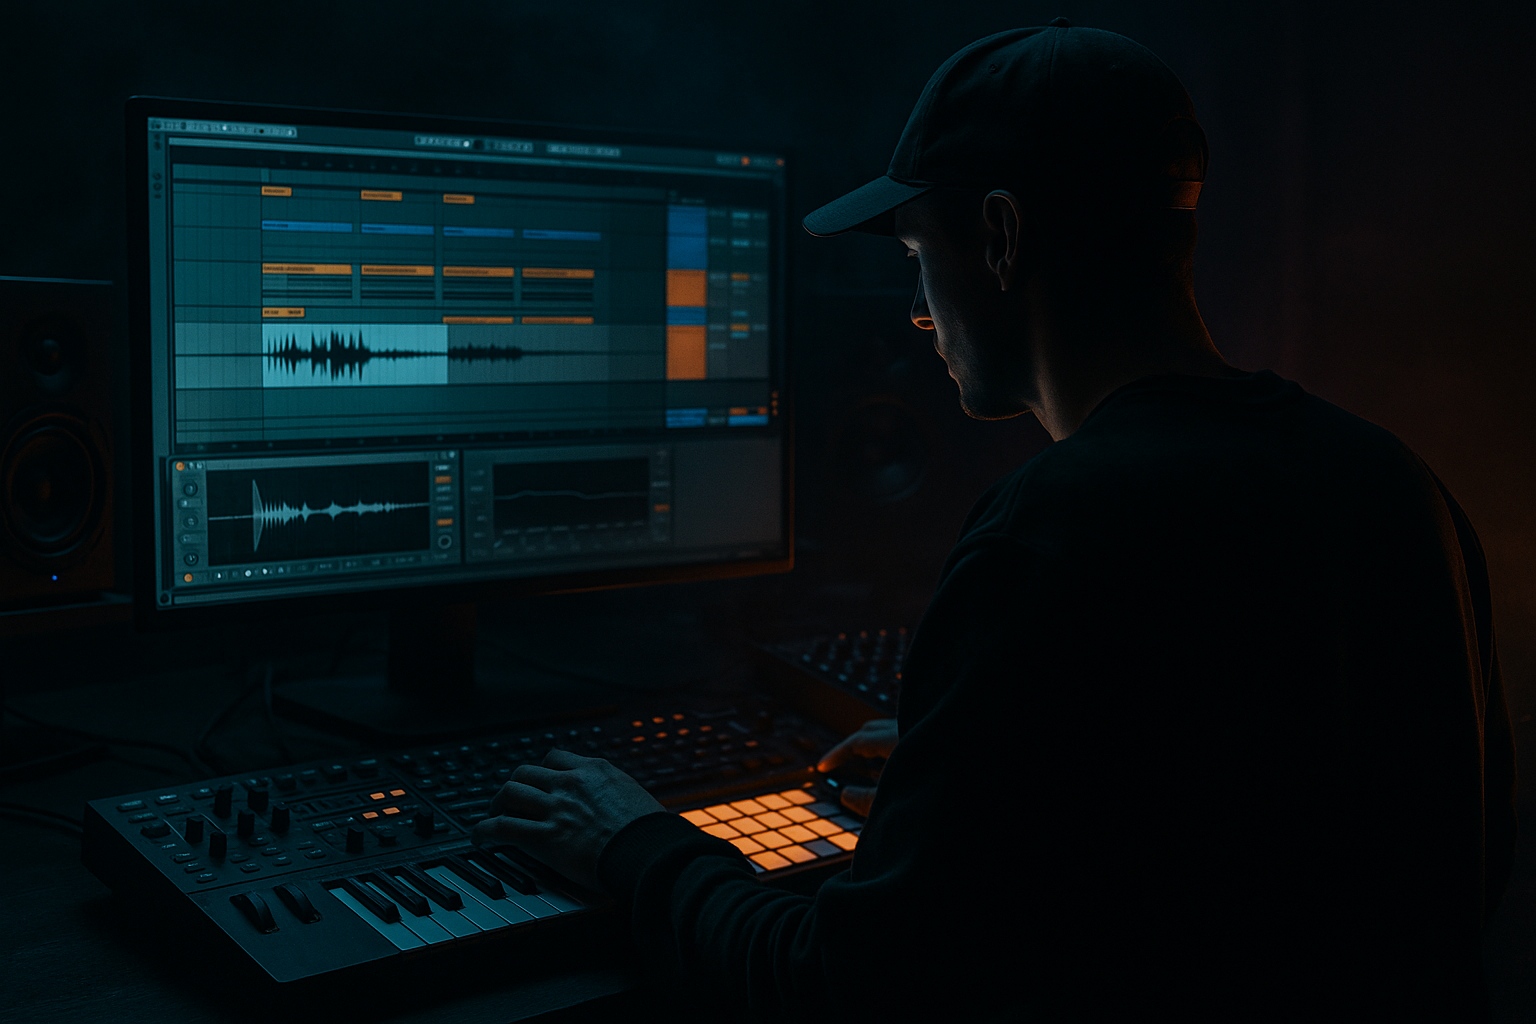
Main tutorial
Lesson Overview
A jungle switch-up is one of the most effective DJ tools in Drum & Bass: it gives the floor a surprise, resets energy, and makes your tune feel alive without needing a full new drop. In this lesson, you’ll build an advanced bassline theory switch-up in Ableton Live 12 that moves from a rolling low-end phrase into a more syncopated jungle bounce, then flips back into a DJ-friendly return. The focus is not just sound design — it’s arrangement logic, phrasing, and low-end discipline.
This technique sits right in the middle of a DnB track’s second half or final drop variation, often after the listener has already locked into the main groove. In a club context, the switch-up works because it creates contrast without losing identity: the drums keep motion, the bassline changes language, and the arrangement tells the crowd, “something new is happening now.” That’s especially useful in roller, darkstep, neuro, and jungle-influenced sets where the bassline needs to stay hypnotic but still evolve.
Why it matters: a strong switch-up can turn a repetitive loop into a proper arrangement. It also gives DJs clean mix points, fills, and phrase resets that feel intentional. In DnB, that’s gold.
What You Will Build
You’ll build a two-part bassline system in Ableton Live 12:
- A main rolling bass phrase with a sub-led foundation, reese movement, and controlled stereo width.
- A jungle switch-up section that introduces more chopped rhythmic bounce, call-and-response phrasing, and drum/bass interplay.
- A transition toolkit using stock Ableton devices for fills, risers, downlifters, and a DJ-friendly return to the main groove.
- An arrangement that works in a 16-bar or 32-bar phrase, with clear tension/release and an outro that can be mixed by a DJ.
- Bars 1–8: a solid roller with a firm sub and restrained movement
- Bars 9–12: a build of rhythmic tension using bass gaps, break edits, or pitch-based fills
- Bars 13–16: a jungle-style switch-up with more syncopation and a punchier drum response
- Bars 17–24: a return or variation of the original bassline to keep the drop cohesive
- Sub lane: a clean Operator sine or triangle-based patch
- Mid lane: a Reese or distorted mid-bass made with Wavetable or Operator
- FX/movement lane: filtered noise, resonance hits, and short pitch accents
- Oscillator A: sine wave
- Keep it mono
- Set the amp envelope fast attack, medium-short decay, no sustain if you want more articulation
- Use glide only if the tune needs sliding notes; otherwise keep it tight
- Start with a saw-based wavetable
- Keep unison moderate, around 2–4 voices if you need width, but don’t overdo it
- Use Filter 1 in low-pass mode, then modulate the cutoff lightly with an LFO
- Add Saturator after the synth, drive around 2–6 dB for edge, then use EQ Eight to clean low clutter
- Root note on the first beat or just after the kick
- A syncopated answer on the offbeat
- A short pickup note before the snare
- A rest where the snare can breathe
- Keep the main phrase anchored around 1 or 2 scale tones
- Use octave jumps sparingly for emphasis
- Introduce one chromatic passing note only if the tune wants tension
- Velocity range: 70–110 for most notes
- Accent notes: 115–127
- Leave 1–2 short gaps per bar for groove
- Keep sub notes longer than mid notes if you want clean weight
- Use Drum Rack for your kick/snare/hat system
- Layer a chopped jungle break in Simpler, Warp mode On, set to Beats
- Add ghost notes on the snare or rim to keep motion
- Use Drum Buss lightly on the drum group for glue, then Saturator if you need edge
- Drum Buss Drive: 5–15%
- Crunch: subtle, just enough to thicken break transients
- Boom: usually low or off on the drum bus if your sub is already strong
- Simpler start points: trim break slices so transient hits are immediate
- Clean kick on the downbeat or as the tune requires
- Snare solid on 2 and 4
- Hats and break ghosting filling the spaces
- Mute the sub for the first half-bar or bar
- Keep a filtered mid stab or a short bass pickup
- Let the break or fill carry the momentum
- Reintroduce the sub on a slightly different rhythmic placement
- Automate a low-pass filter on the bass group down to around 120–250 Hz cutoff for the pre-switch tension
- Automate reverb send on the final bass hit before the switch
- Automate Utility width narrowing on the bass group before the drop, then snap back wider on the mid layer after the switch
- Bar 1–2: full roller
- Bar 3: bass thinning
- Bar 4: fill and lift
- Bar 5: jungle switch-up lands
- One-note stabs that answer the break
- Two-note syncopated bursts
- Call-and-response between low stab and higher mid hit
- Occasional rests where the break is exposed
- Short bass hit on beat 1
- Gap
- Offbeat response
- Another short pickup before the snare
- A held note only when you want contrast
- Use the same synth patch but shorten the amp envelope
- Add Auto Filter with envelope modulation to make each hit speak differently
- Use a touch of Overdrive or Saturator for bark
- If needed, resample the phrase to audio and chop it for tighter rhythmic control
- Bounce the bass lane to audio
- Slice to new MIDI track using Transient or Warp Markers
- Rearrange individual hits for a more authentic jungle edit feel
- Automate a small 1–2 dB dip in bass group volume during key snare hits
- Automate filter cutoff on the bass to open slightly after a break fill
- Use transient shaping indirectly by automating Device Activator on a distortion device for specific hits
- Send only select bass notes to a short room reverb or echo for character, not the full low end
- Echo: very short delay times, low feedback, filtered heavily
- Hybrid Reverb: use tiny room settings for selected FX layers, not the sub
- Saturator: Soft Sine or Analog Clip style drive for bass emphasis
- Utility: mono the sub lane and manage width on the mid lane separately
- Keep the sub lane mono with Utility Width at 0%
- Keep the mid lane wider, but check correlation
- High-pass any FX returns aggressively so they don’t cloud the low end
- Give the intro and outro 16 bars of drum-led material
- Leave at least one section with drums plus restrained bass for cueing and blending
- Keep some bars with reduced sub for EQ mixing
- Add a drum-only bar before the switch-back for clean transition
- Mix in on the intro with drums and atmos
- Blend the main roller over 16 bars
- Use the switch-up as a peak or surprise
- Transition out using a drum-heavy passage or stripped bass outro
- Use scene-based arrangement in Session View to audition different switch-up lengths
- Then commit the best version to Arrangement View
- Mark key sections with locators for quick reference when exporting or performing edits
- Sub below 100–120 Hz should be stable and centered
- Mid bass should avoid masking the snare fundamental or kick thump
- Use EQ Eight to cut unnecessary low-mid buildup around 200–400 Hz if the bass gets boxy
- On the bass group, use very gentle compression only if the envelope is uneven
- EQ Eight low cut on mid bass: 24 dB/oct around 90–140 Hz
- Saturator drive: 2–8 dB depending on source
- Glue Compressor on bass group: low ratio, very light gain reduction, just 1–2 dB if needed
- Use Utility on the master or bass group for a mono check
- If the switch-up loses too much energy in mono, reduce widening and simplify the phasey layers
- Making the switch-up too busy
- Letting sub and kick fight each other
- Over-widening the bass
- Adding fills without phrase logic
- Using too much distortion on the entire bass chain
- Forgetting the DJ angle
- Resample your best bass phrase and chop it into audio for micro-edits. This gives you that grim, edited bounce that feels more “arranged” than programmed.
- Use short reverse cymbals, downlifters, or noise swells before the switch-up, but keep them filtered so they don’t wash out the mix.
- Try subtle pitch modulation on the mid bass using an LFO or envelope for an unstable, neuro-leaning edge.
- Duplicate the bass clip and slightly alter the second version with one extra note or a different rest pattern. That variation can make the drop feel twice as expensive.
- Use very short echo throws on the last note before the switch, then kill the return before the next downbeat. That creates tension without clutter.
- If the tune needs more menace, lower the harmonic content rather than adding more layers. Dark DnB often hits harder when the arrangement is controlled, not overfilled.
- For grimey energy, add a parallel Saturator or Overdrive return and blend it in only on selected hits. Keep the main lane cleaner for definition.
- Build the bass in layers: sub, mid, and movement.
- Use the switch-up to reduce weight first, then reintroduce bounce with tighter phrasing.
- Let drums and bass answer each other for authentic jungle energy.
- Keep the low end mono-stable and the mid bass controlled.
- Make the arrangement DJ-friendly with clear phrase lengths, breathing room, and mix points.
Musically, the result should feel like:
This is especially useful if your track lives in the darker end of DnB, where the bassline needs to be functional, not overdecorated.
Step-by-Step Walkthrough
1) Build the bass architecture first: sub, mid, and movement lanes
Create a dedicated bass group in Ableton Live and split it into three lanes:
For the sub in Operator:
For the mid lane using Wavetable:
Why this works in DnB: the sub carries the physical weight, the mid gives translation on small systems, and the movement lane keeps the bassline alive during the switch-up. If you try to make one patch do everything, the low end usually gets blurry.
2) Write the main rolling phrase with “bassline theory” in mind
Start with a 2-bar or 4-bar MIDI clip and think like a drummer, not a pianist. In DnB, basslines often function as rhythmic percussion. Use fewer notes than you think, and place them to lock with the kick and snare grid.
A strong starting pattern:
Try these note choices:
Advanced move: create two slightly different 2-bar clips, not one looping 4-bar block. Alternate them manually or via Session View clips to create phrasing variation. That keeps the roller from feeling static.
Suggested MIDI behavior:
3) Lock the drums to the bass, not the other way around
Your switch-up will only hit if the drum pocket feels intentional. In a new drum group, use a break layer plus clean support drums.
Stock Ableton workflow:
Practical settings:
Keep the main roller drums relatively simple:
This matters because the switch-up needs a stable reference. If the drums are too busy before the change, the jungle section won’t feel like a lift — it’ll just feel crowded.
4) Shape the switch-up by removing weight before adding bounce
The best switch-ups usually begin with subtraction. Before the jungle variation lands, strip the bass down for 1–2 bars.
Arrangement move:
Use Automation in Ableton Live 12:
Suggested transition timing:
The psychological effect is huge. By reducing low-end density first, the switch-up feels bigger even if the new part is only slightly more active.
5) Design the jungle bounce with break-aware bass phrasing
Now make the switch-up feel like jungle, not just “more notes.” Jungle bounce comes from interplay between chopped drums and bass response.
Create a new MIDI clip for the switch-up and write in short phrases:
A good jungle-style pattern often uses:
For the mid bass:
Concrete Ableton idea:
This is where advanced workflow pays off. Audio editing often gives you tighter swing than pure MIDI, especially when you want the bass to “lean” around the break rather than sit perfectly quantized.
6) Add bass-to-drum call-and-response using automation and grouping
Create a bass group and a drums group, then use light group automation to make them converse.
Useful moves:
Stock FX choices:
Mixing note:
This is essential in darker DnB: call-and-response works because the groove feels interactive without sacrificing impact.
7) Build the DJ tools: intro, outro, and mix-friendly edit points
Since this is a DJ Tools lesson, the arrangement needs clean utility. Your switch-up can be deadly on the floor, but if the track can’t be mixed, it loses value.
Make these DJ-friendly decisions:
Arrange your track so a DJ can:
Advanced trick:
In DnB, DJ tools are not just utilitarian — they affect how your track gets played. If your switch-up has obvious 8-, 16-, or 32-bar phrasing, it becomes easier for DJs to trust it.
8) Polish the low end and movement with focused mixing
The bassline theory part is only complete if the mix translates.
Checklist:
Good parameter starting points:
Always check in mono:
Why this works in DnB: the dancefloor is brutally revealing. You need impact, but you also need the tune to survive loud systems, mono club playback, and layered DJ transitions.
Common Mistakes
Fix: reduce the number of bass notes and let the break do more of the rhythmic work.
Fix: choose clear note placements, trim release times, and sidechain lightly if necessary.
Fix: keep sub mono, widen only the upper-mid content, and check mono regularly.
Fix: place fills at the end of 4-, 8-, or 16-bar groups so the switch feels musical, not random.
Fix: split lanes; distort the mids, keep the sub cleaner.
Fix: leave mixable sections, clean intros, and breathing room around the switch.
Pro Tips for Darker / Heavier DnB
Mini Practice Exercise
Spend 10–20 minutes making a 16-bar jungle switch-up study in Ableton Live:
1. Build a 2-bar rolling bass phrase using Operator or Wavetable.
2. Duplicate it into a 4-bar loop and make one variation with fewer notes.
3. Create a drum group with a clean snare on 2 and 4 plus a chopped break layer in Simpler.
4. Mute the sub for the last half-bar before bar 9.
5. Write a new 4-bar switch-up where the bass responds to the break with shorter, more syncopated notes.
6. Add one automation move: filter cutoff, reverb send, or bass group volume dip.
7. Resample the switch-up to audio and make one chop-based edit.
8. Check the full loop in mono and adjust width, sub level, or distortion if needed.
Goal: by the end, your 16 bars should feel like one roller evolving into a proper jungle variation, not two unrelated ideas.
Recap
If you get the phrasing right, the switch-up becomes more than a trick — it becomes the moment the track really speaks.

