Main tutorial
Lesson Overview
In this lesson, you’ll build a classic jungle / oldskool DnB impact slice workflow in Ableton Live 12, then turn that slice into a musical bassline system that can sit in a full tune, not just sound cool on its own. The focus is not “how to make a bass sound big” in a generic way — it’s how to take a single impact sample, slice it intelligently, and extract a bassline vocabulary from its tonal body, transient edge, and rhythmic tail.
This matters in Drum & Bass because a lot of the most iconic low-end phrases came from sampling culture: hitting a break, isolating a hit, pitching it, chopping it, resampling it, then building a phrase that feels like it grew out of the drums. That’s especially true in jungle, oldskool rave DnB, darker rollers, and even neuro-adjacent bass design where the line must feel percussive, syncopated, and rhythmically alive. 🎛️
We’ll use Ableton stock tools to:
- slice an impact sample into playable parts
- identify which slice carries the most sub/body
- turn one impact into a call-and-response bassline
- reinforce it with sub weight, groove, and saturation
- automate arrangement moves so it works in a drop, not just in isolation
- a sub-supported root note
- a midrange reese-ish tail extracted from the impact’s harmonic content
- a rhythmic slice pattern that answers the drums
- a DJ-friendly 8 or 16 bar section with tension, break edits, and a drop-ready contour
- a version that can work in:
- Using an impact sample with no tonal center
- Letting the bass slice carry too much sub
- Over-slicing and losing the phrase
- Too much stereo width in the low end
- Ignoring the kick/snare relationship
- Processing before deciding the musical note
- Harshness in the 1–4 kHz range
- Layer a clean sub with a dirty mid slice
- Automate Auto Filter cutoff on 8-bar phrasing
- Use contrast, not constant aggression
- Try tiny pitch automation on the sample layer
- Keep a “quiet” version of the bass
- Use Drum Buss cautiously
- Exploit call-and-response
- Resample after you like the rhythm, before you over-polish
- Use an impact sample with real tonal body, then slice it for playable bass material.
- Keep sub and character separated so the low end stays powerful and controlled.
- Phrase the bass around the drums with call-and-response, not constant motion.
- Use stock Ableton tools like Drum Rack, Simpler, Operator, Auto Filter, Saturator, Drum Buss, Compressor, and EQ Eight to shape the sound.
- Resample early to lock in grit, control, and arrangement-friendly variation.
- In DnB, the best sample-based basslines feel like they were played by the break — rhythmic, tense, and deeply musical.
By the end, you’ll have a repeatable advanced workflow for creating dark, gritty, oldskool-flavoured bass phrases that lock with breaks and still translate in modern DnB systems.
What You Will Build
You will build a bassline derived from a sampled impact that behaves like this:
- jungle: chopped, dusty, hypnotic
- oldskool DnB: gritty, short phrases with weight
- rollers: consistent pulse with movement
- darker / neuro-leaning DnB: controlled aggression and formant-like motion
The result is not a polished “preset bass.” It’s a sample-based bass instrument you can replay, reshape, and resample inside the arrangement.
Step-by-Step Walkthrough
1. Choose the right impact sample and prep it for slicing
Start with a sample that has a clear transient + body + tail. Good sources:
- a drum hit from a break
- a low tom or kick-resonance hit
- a distorted hit from a break layer
- a short impact made from a resampled bass stab
In Ableton Live, drag the sample into a new audio track and inspect it in Clip View. You want a hit with:
- a strong first transient
- some low-mid harmonic content around the body
- a tail that contains tonal information, not just noise
Trim the start tightly so the transient is clean. Then set Warp only if needed:
- For a stable one-shot, often Warp Off is cleaner.
- If the sample has drift or you want rhythmic alignment, use Beats mode with Transient preservation.
Advanced tip: if the sample is too long, duplicate it and create two versions:
- Version A: tight transient-only slice
- Version B: longer tail for tonal sustain
This gives you both percussive attack and usable bass body.
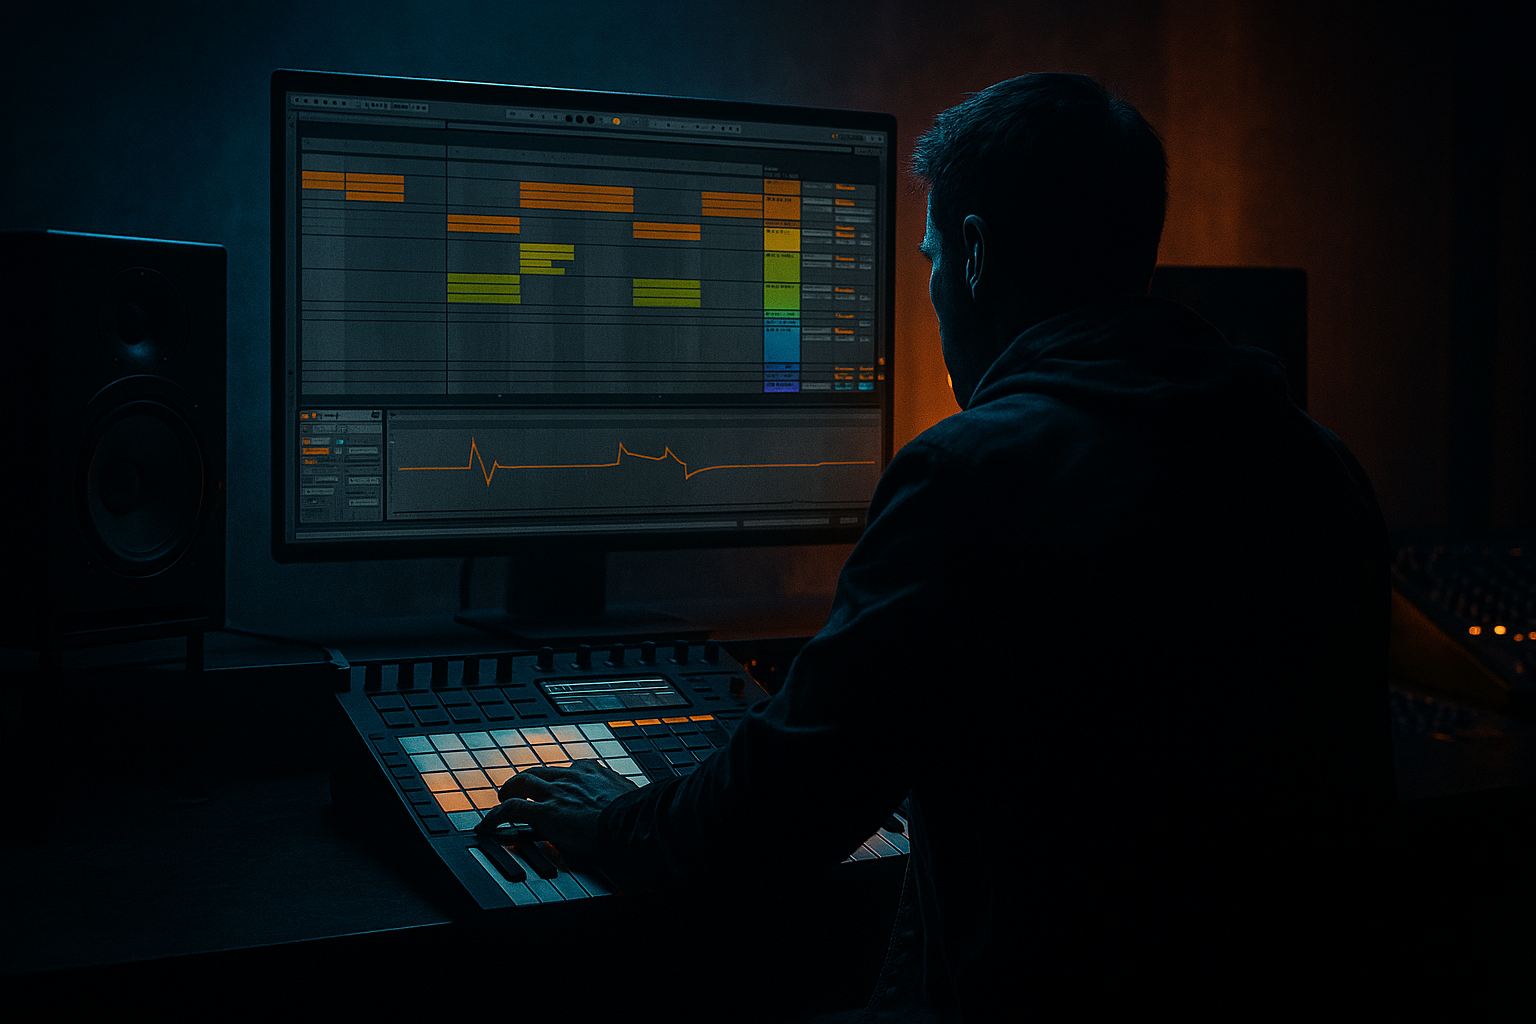
2. Slice the impact into a playable Drum Rack
Right-click the sample and choose Slice to New MIDI Track. For this style, slicing to transients is usually the best starting point, because the goal is to extract musical fragments from each hit or sub-hit inside the sample.
In the slicing dialog:
- Slice by: Transient
- Warp mode: keep it aligned if needed, but don’t over-stretch
- Create one-shot pads in Drum Rack
Once sliced, audition each pad. You’re listening for:
- a slice with the strongest low body
- a slice with a tonal resonance
- a slice with useful noise/attack for accenting the groove
Label the best slices immediately:
- `SUB BODY`
- `MID GRIND`
- `ATTACK`
- `TAIL`
- `NOISE`
This step is crucial because DnB basslines often work best when one “sound” is actually several strategically chosen fragments, not one static note.
3. Map the most musical slice to a bass instrument chain
Find the slice with the best tonal core. Put it on its own pad and build a focused chain:
- Simpler if you want direct one-shot control
- or keep it in Drum Rack and process the pad chain
On the chosen pad, add:
- EQ Eight: high-pass very gently if needed, but avoid thinning the body
- Saturator: Drive around 2–6 dB
- Drum Buss: Drive low, often 5–20% depending on density
- Utility: keep low-end centered with Width at 0% on sub-heavy content if necessary
If the slice has a pitch center, tune it to your track key using the Sample/Clip transpose. In a DnB tune, even a few semitones matter because the bass needs to align with the root movement and the kick pattern.
Practical range:
- transpose by ±1 to ±7 semitones to locate a stronger root
- if the resonance becomes too nasal, move it back down or use EQ to tame the mid peak
Why this works in DnB: the sampled impact already contains natural transient shaping and imperfect harmonic movement. That gives the bassline a human, broken, swing-friendly character that synthesized notes alone often miss.
4. Build a sub layer underneath the slice
The sampled impact gives you character, but the sub should usually be more controlled. Create a second MIDI track with Operator or Wavetable for a pure sub.
- Use a sine or near-sine oscillator
- Mono
- No unneeded stereo spread
- Shorter decay for tight phrases, longer sustain for rollers
Suggested starting points:
- Operator: sine oscillator, volume envelope with very short attack, decay as needed
- Wavetable: basic sine or triangle-like source, filter mostly open, no aggressive movement in the sub band
Route the impact slice and sub so they complement each other:
- impact slice for attack/body
- sub for fundamental support
Balance them carefully. In darker DnB, the sub should often feel like it is under the groove rather than dominating it. Keep headroom around -6 dB on the bass group before mastering.
If the sampled body contains enough low end, you can also use Chain Selector in Drum Rack to crossfade between sub-heavy slices and cleaner tonal slices, but be disciplined. The goal is consistency.
5. Turn the slice into a rhythmic bassline phrase
Now program a 1- or 2-bar MIDI clip that uses the sliced impact like a riffing instrument. Think in phrases, not just notes.
A strong oldskool/jungle pattern often uses:
- offbeat hits
- syncopated answers to the snare
- repeated motifs that shift on bar 2
- one longer held note to create tension
Suggested phrase structure:
- Bar 1: call phrase with 2–4 short hits
- Bar 2: response phrase with a slightly altered rhythm
- Include at least one rest after the snare to let the bass breathe
For example:
- hit on the “and” before beat 2
- answer after the snare on beat 2
- repeat with variation in bar 2
- hold the lowest note slightly longer at the end of the phrase
Use Velocity to shape groove:
- accents around 100–127
- ghost notes around 45–75
- leave some notes intentionally softer for that chopped jungle feel
Add Groove Pool swing from a break if the tune wants it. Common DnB starting points are subtle amounts of MPC-style or break-derived swing rather than extreme shuffle. If the bass feels too stiff, a touch of groove on the MIDI notes can glue it to the drums.
6. Use filtering and pitch movement to create reese-like motion
To push the impact-slice bass toward darker DnB territory, add motion with Ableton stock devices rather than relying only on note changes.
Try this chain on the bass sample:
- Auto Filter
- Saturator
- Phaser-Flanger very subtly, if needed for moving harmonics
- EQ Eight for cleanup
Auto Filter settings to try:
- Filter type: LP24 or BP
- Cutoff: automate between 120 Hz and 2.5 kHz depending on how exposed the line is
- Resonance: keep moderate, around 5–25%
- Drive: use sparingly if you want edge
For a reese-like feel, duplicate the bass chain and detune one layer slightly:
- one layer panned center, mono-safe
- another layer with slight detune or filtered movement
- keep the sub separate and centered
You can also use Frequency Shifter in very small amounts for tension:
- set it subtly, avoid obvious alien wobble unless that’s the goal
- use it on the mid layer, not the sub
This gives the impression of a living bass without destroying the fundamental. In DnB, movement should feel rhythmic and intentional, not random.
7. Edit the drums around the bassline, not the other way around
A great sample-based bassline only works if the drums leave it space. Put the bassline in context with a break pattern or modern drum grid.
In the arrangement, use:
- a chopped break layer for top-end motion
- a kick/snare backbone for clarity
- ghost notes and fill fragments to connect the phrases
Practical context example:
- 174 BPM
- 16-bar intro with filtered break + bass tease
- 16-bar drop where the bass answers the snare
- 8-bar switch-up with extra break chops and a higher-pitched slice
- 8-bar return with more open filter and stronger sub
Use Drum Buss on the drum group if the break needs extra punch, but watch the interaction with the bass. The bassline should leave a pocket around the snare and kick transient, not constantly occupy every low-mid gap.
If the kick is getting masked, use sidechain compression on the bass group with Compressor:
- sidechain from kick
- fast attack
- release timed to the groove, often 40–120 ms depending on tempo and feel
Keep the bass groove “pushing and pulling” around the drums rather than sitting on top of them.
8. Resample the phrase for extra grit and arrangement control
Advanced DnB workflow: once the bass phrase works, resample it.
Create a new audio track and record the bass phrase as audio. This lets you:
- warp or chop the phrase further
- reverse small sections
- apply arrangement-specific filtering
- commit to a gritty sonic identity
After resampling, try:
- Beat Repeat for controlled stutters
- Simpler in Slice mode for additional re-chopping
- Erosion very subtly for edge
- Saturator or Overdrive for density
You can now build call-and-response sections by alternating:
- original sample-based phrase
- resampled glitch version
- stripped sub-only version
- filtered intro teaser
This is where the idea becomes a tune, not just a loop.
Common Mistakes
- Fix: choose hits with a clear resonance or tune a pitched body layer underneath.
- Fix: separate the sub into a dedicated sine layer and keep the sample mostly for attack/body.
- Fix: keep at least one or two longer gestures per bar so the line breathes.
- Fix: keep sub mono with Utility, and check the bass group in mono regularly.
- Fix: phrase the bass around the snare hits and use sidechain carefully, not aggressively.
- Fix: tune first, then compress/saturate/filter. A badly pitched slice will never feel right.
- Fix: use EQ Eight with targeted cuts, then reduce drive if the slice becomes brittle.
Pro Tips for Darker / Heavier DnB
- This preserves club translation while keeping the sample character alive.
- Open slightly in bars 7–8 before the drop or switch-up to build tension.
- A short muted phrase before a bigger re-entry makes the heavy hit feel heavier.
- Even ±1 semitone movement across a phrase can add menacing instability without sounding obvious.
- A stripped, filtered version is gold for breakdowns and DJ-friendly intros.
- Great for bite and glue, but too much can smear the transient and blur the groove.
- Let the bass answer the snare or break fill, not just loop mechanically. That’s a huge part of authentic jungle phrasing.
- Oldskool character often comes from committing early and working with the audio imperfections.
Mini Practice Exercise
Spend 15 minutes making a two-bar impact-slice bassline:
1. Find one impact or short hit sample with tonal body.
2. Slice it to a Drum Rack using transients.
3. Pick one slice with the strongest low-mid character.
4. Tune it to your track key or a strong root note.
5. Layer a sine sub in Operator underneath.
6. Program a 2-bar MIDI phrase with:
- 3 short notes in bar 1
- 2 responses in bar 2
- one held note at the end
7. Add:
- Saturator: 2–5 dB Drive
- Auto Filter: automate cutoff between 200 Hz and 2 kHz
- Compressor sidechained to the kick
8. Resample the result and make one alternate version with a filter sweep or reverse chop.
Goal: create one phrase that feels like it belongs in a dark jungle or oldskool DnB drop, not just a sound design exercise.

