Show spoken script
Welcome, bass aficionados! In today’s lesson, we're diving deep into bass groove variation techniques that are specifically tailored for jungle and drum and bass production. By the end of this session, you’ll be armed with actionable strategies to create dynamic and rolling basslines that keep the energy flowing on the dance floor.
So, what are we building? Get ready for a bassline that features layered sub-bass and midrange elements, variations in rhythm and pattern, and automated effects that add texture and depth. Sound exciting? Let’s get started!
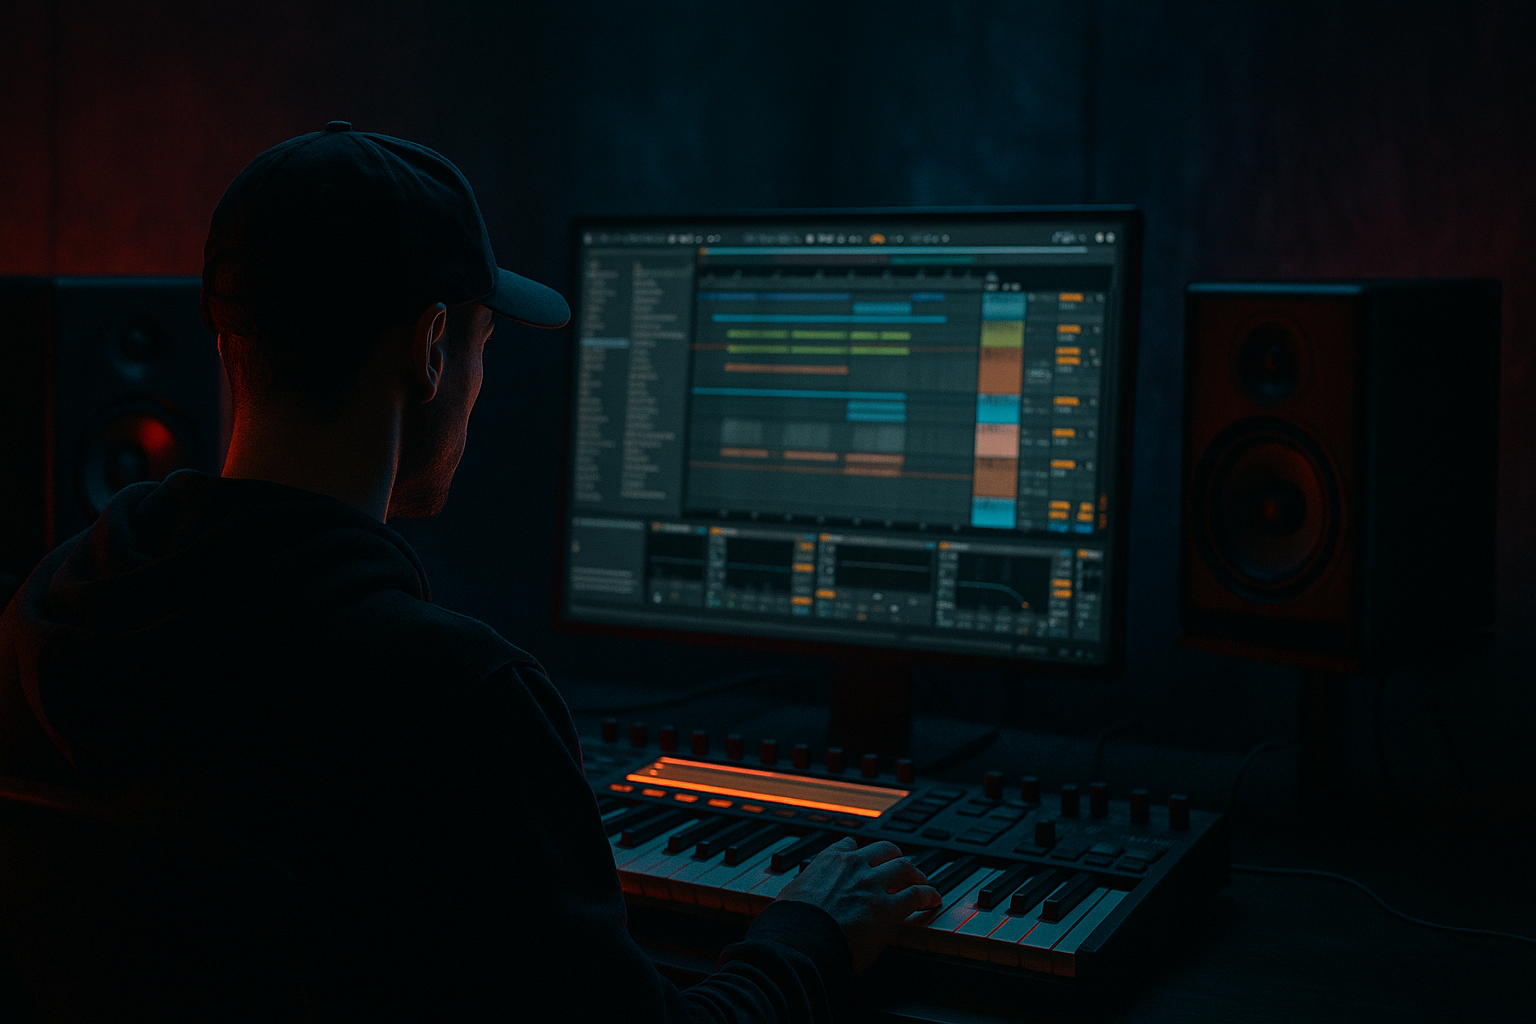
First, let’s set up your project in Ableton Live. Open a new project and set the BPM to around 170 to 180, which aligns perfectly with those jungle vibes. Then, create a MIDI track and name it “Jungle Bass.”
Now, let’s focus on taking your bass sound to the next level. Add instruments like Ableton’s Analog or Operator for that warm and rich bass sound. If you're using Analog, set Oscillator 1 to a saw wave and pitch it down one octave. Increase the filter cutoff between 80 and 120 Hz and apply a low-pass filter. Adding a pinch of resonance will help give it presence.
Next, it's time to craft your bassline. Start with a simple 1-bar MIDI clip, input notes from C1 to G1, and utilize dotted eighths to achieve that rolling feel. Now, we’re going to create some rhythmic variations. Duplicate your clip and change the length of some notes with quintuplets or triplets for added bounce. Consider shifting some notes slightly off the grid using audio quantization. Just right-click on your MIDI clip, select quantize settings, and adjust the swing to add that groove.
Let’s layer for texture. Duplicate your bass track and create a second one named “Mid Bass.” This time, use a slightly higher octave, around C2. On this Mid Bass track, add a saturator to warm it up—adjust to about +6 dB and choose a soft sine curve. Then, add a short reverb with a low wet setting, around 20 percent, to add depth.
Now, let’s implement some automation for variation. Select your Jungle Bass track, hit A to enter automation mode, and automate the filter cutoff to open gradually during your drop. This creates those tension-release effects that will keep your listeners engaged.
When arranging your track, start with a simple groove and gradually introduce variations in the second half. Consider using different sound layers for breakdowns and drops to maintain interest.
Common mistakes to watch out for? Overusing effects can muddy your bass sound. Start with a clean tone and add effects judiciously. Also, don’t neglect rhythm—rolling basslines thrive on variation. And finally, make sure you’re aware of phase issues. Ensure that your layering doesn’t create any phase cancellation. You can use the Utility plugin to adjust gain levels if needed.
For those looking to produce darker and heavier DnB, consider experimenting with distortion to add grit. Try Ableton’s Overdrive or Redux devices for that extra bite. Incorporate subtle LFO modulation on your synth parameters to create movement, and don’t forget to use sidechain compression with your kick drum. Set a high ratio on Ableton’s Compressor for that pumping effect.
For your mini practice exercise, create three different bass clips using what you’ve learned. Your first clip should maintain a constant groove, the second should introduce rhythmic variation or swing, and the third should include automated filter modulation. Bring these clips together in a new track and evaluate the overall flow.
To recap, today we've layered bass sounds, explored rhythmic variations, and automated effects to craft an engaging jungle bassline. You've learned the key elements of texture, groove, and arrangement—essential for producing tracks that truly stand out in the vibrant world of DnB.
As you embark on this creative journey, remember to experiment with these techniques and push the boundaries. Your jungle grooves will flourish! Until next time, happy producing!