Show spoken script
Welcome in. Today we’re doing basic saturation use for drum and bass mixing in Ableton Live. Beginner-friendly, but this is absolutely the same concept the pros use: small, controlled doses, on purpose, with your ears fully in charge.
Here’s the big idea. Saturation is a fast way to make a mix feel louder, thicker, and more finished without automatically reaching for more EQ and more compression. In DnB, it’s especially clutch because your sessions are dense. You’ve got kicks and snares fighting breaks, hats on top, bass eating the entire lower half of the spectrum, and you still need it to feel punchy and clean.
Saturation helps in four major ways.
One: it makes kicks and snares cut through busy breaks.
Two: it adds harmonics so your bass reads on small speakers.
Three: it can tame transients in a musical way, like a soft clipper vibe.
Four: it glues drum buses so the groove feels cohesive, not like a bunch of separate samples.
And one coaching note before we touch anything: think “purpose” before “plugin.”
When you add saturation, you’re usually doing one or two jobs.
Job one is tone: adding character and harmonics.
Job two is control: shaving peaks.
Job three is perceived loudness: filling in the body so it reads louder at the same peak level.
If you decide the job first, you’ll stop randomly cranking Drive and hoping for magic.
Alright, let’s build a practical setup. Drum bus saturation, bass saturation that protects the sub, a parallel saturation return you can blend like an energy knob, and an A/B workflow so you don’t get tricked by loudness.
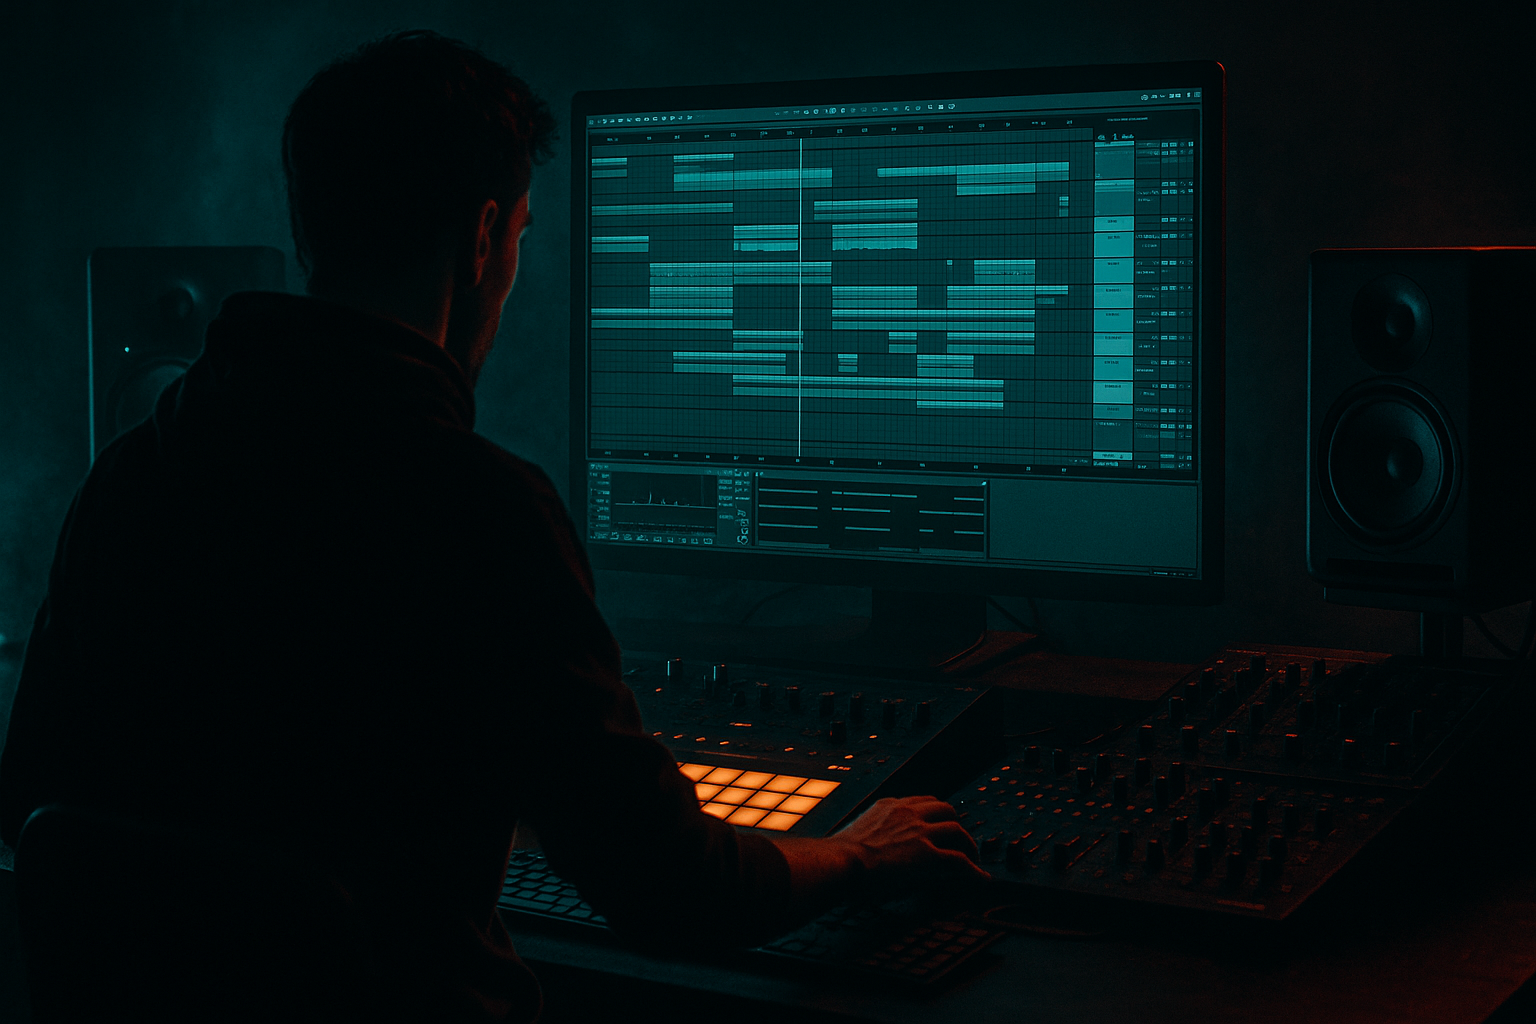
Step zero is quick routing. In your Ableton set, group your drums. Kick, snare, hats, percussion, break, all into a group called DRUM BUS. Then group your bass layers into BASS BUS, usually a sub layer and one or more mid bass layers. And keep the master clean for now. No heavy limiting yet. We’re mixing, not mastering.
Now step one, and this is crucial: gain stage before saturating.
Saturation reacts to level. So if your input level is changing all the time, your saturation will feel random, like you can’t dial it in.
On the DRUM BUS, add Utility at the top of the chain. Aim for peaks around minus six dBFS. This is not a law, it’s a guideline, but it gives you predictable behavior.
On the BASS BUS, also add Utility first. Aim for peaks around minus six to minus eight dBFS, depending on how heavy the bass is.
What you’re doing here is leaving headroom and creating consistency. You can always make it louder later. Right now, you want control.
Step two: drum saturation that keeps punch.
We want thicker drums, louder-feeling drums, but we do not want to flatten the groove. DnB needs transients to move the rhythm.
Option A is the fast musical move: Ableton’s Drum Buss.
On your DRUM BUS, drop in Drum Buss.
Start with Drive around 8 percent. Set Crunch around 10 percent. Leave Boom off at first. If you need a little more weight later, you can bring Boom in very gently, like 5 to 10 percent, but don’t start there.
Set Damp around 45 percent as a starting point, and think of Damp as your “stop it getting fizzy” control.
Then, Trim is everything. Adjust Trim so the output level matches when you bypass the device.
And that’s one of the most important skills in this lesson: gain-matched A/B.
Because louder almost always sounds better, even when it’s actually worse.
So when you toggle Drum Buss on and off, match the loudness with Trim until the comparison is fair.
What you’re listening for: the snare body gets thicker, hats get a little smoother, and the kick feels more forward without getting clicky or harsh.
Option B is adding a Saturator after Drum Buss for controlled edge.
So right after Drum Buss, insert Ableton Saturator.
Set the mode to Analog Clip. Great for drums.
Set Drive somewhere between 1.5 and 4 dB. Start at 3 dB.
Turn Soft Clip on.
Then pull the Output down to match level. Often you’ll end up somewhere like minus 1.5 to minus 4 dB output, depending on how hard you’re driving it.
Now do the same test: toggle the Saturator device activator on and off, and keep it gain matched. If you can’t tell if it’s “better” at the same loudness, it’s probably not helping, or it’s too subtle, or you’re listening in solo when you should be listening in context.
Quick coach note: A/B in context, not just solo.
Saturation can sound amazing solo and then completely mess up your mix. So yes, solo briefly to hear the character, but then un-solo and confirm it actually improves the groove and balance.
Step three: bass saturation without ruining the sub.
In DnB, the sub has to stay clean and stable. The grit usually belongs above about 100 Hz. If you saturate your sub too much, you lose weight, you lose clarity, and the low end starts wobbling in a way that feels uncontrolled.
So here’s the beginner-friendly method that sounds “pro” instantly: split your bass into a sub chain and a mids chain using an Audio Effect Rack.
On your BASS BUS, add Audio Effect Rack, and create two chains. Name them SUB and MIDS.
On the SUB chain, keep it clean.
Add EQ Eight and low-pass around 90 to 120 Hz. Choose a point that makes sense for your bass patch and your mix. You can also add a gentle high-pass around 25 to 30 Hz to remove rumble that eats headroom.
Then, Utility if needed, and the main rule is: keep this chain mono by not widening it. Don’t add stereo tricks to your sub chain.
On the MIDS chain, this is where the fun happens.
Add EQ Eight and high-pass around 90 to 120 Hz, so the sub stays out of the distortion path.
Then add Saturator. Mode can be Analog Clip if you want more edge, or Soft Sine if you want smoother harmonics. Start with Drive around 5 dB, anywhere from 3 to 8 dB is the general range. Soft Clip on. And again, output down to match.
Optional: add Dynamic Tube after Saturator if you want extra mid character, especially for reeses and rolling mids. Set Drive around 5 to 20 percent, try the Medium tube type, and keep it subtle. This is about making the bass speak, not about turning it into a chainsaw unless that’s your style.
What you’re listening for: the bass becomes audible on quieter speakers without the sub distorting or losing stability. If your sub suddenly feels smaller or fuzzier, you’re probably distorting too low in frequency, or you’re driving too hard.
Step four: parallel saturation return. This is the instant energy knob.
Parallel saturation is perfect for breaks and busy drum groups because you can blend aggression without destroying transients.
Create a Return Track called SAT PARALLEL.
On that return, build a simple chain.
First, EQ Eight. High-pass at about 120 Hz. This keeps low end clean and prevents the return from smearing your kick and sub.
Optionally, if hats get spicy, dip a little around 3 to 6 kHz, just a small move.
Second, Saturator. Analog Clip mode. Drive heavy, like 8 to 15 dB. Soft Clip on. Then output down so it’s not blasting.
Third, optional Glue Compressor for density. Attack 10 milliseconds, Release on Auto, Ratio 2 to 1. Aim for just 1 to 3 dB of gain reduction. If it’s pumping hard, it’s probably too much for a “parallel texture” lane.
Fourth, Utility. If the return gets messy in stereo, reduce width slightly. Try 80 to 100 percent.
Now send into it. Start by sending your break, snare, or even the whole drum bus into SAT PARALLEL, but start low. Something like minus 20 to minus 12 dB send level, then bring it up until you feel density, and then back off slightly. That “back off slightly” part is real. Parallel processing loves to creep up over time.
Arrangement tip: automate the send.
Bring it up in drops, fills, the second 16 bars, or the last couple bars before a drop for a ramp. This gives progression without changing your pattern, which is gold for rollers.
Step five: quick safe loudness control with soft clipping on buses.
If your drums are spiky, especially jungle breaks, soft clipping can tame peaks musically.
On your DRUM BUS, after your saturation, try one more Saturator very gently. Drive 0 to 2 dB, Soft Clip on, output matched.
This can act like a gentle limiter, but with vibe.
Keep it subtle. DnB needs transients. If your groove suddenly feels slower or smaller, you’ve clipped too much.
Now some common mistakes to avoid.
First, not gain matching your A/B. If you do one thing from this lesson, do that.
Second, saturating the sub too much. Distort mids, protect sub.
Third, overcooking hats and breaks. Saturation brings up harshness fast. High-pass before heavy saturation, and if needed, tame the top before you distort.
Fourth, stacking too many saturators just because it’s “vibey.” Two or three stages can be great, but each stage needs a job. Tone, control, or density. Not randomness.
Fifth, ignoring clipping indicators. Watch Ableton’s meters. Red on the master is not free loudness unless you very intentionally want to clip, and even then it needs to be controlled.
Extra coach notes that will level you up fast.
Pre versus post EQ changes the vibe massively.
EQ before saturation means you choose what gets distorted. Cleaner, more controlled.
EQ after saturation means you clean up what the saturation created, like fizz or boxiness.
Rule of thumb: if hats get spitty, tame highs before. If snares get cloudy, sculpt after.
Also, saturation is often better in small doses across stages.
Instead of one device doing 10 dB of Drive, try two devices doing 3 to 5 dB each. One for tone, one for peak control. It tends to sound more expensive and less broken.
And always watch device meters and track meters. When you saturate a bus, it’s easy to create hidden level jumps. Leave headroom. You don’t need master-loud during the mix stage.
Let’s lock it in with a quick 10 to 15 minute practice exercise.
Load a basic DnB loop. Kick and snare pattern, add a break underneath, add a simple sine sub and a reese mid.
On DRUM BUS, add Drum Buss. Drive 8 percent, Crunch 10 percent, Damp 45 percent.
Then add Saturator after it. Drive 3 dB, Soft Clip on.
Now gain-match by toggling bypass and adjusting output until loudness feels the same.
On BASS BUS, build the split rack. SUB chain low-pass at about 110 Hz and keep clean. MIDS chain high-pass around 110 Hz and saturate with about 5 dB drive.
Create the SAT PARALLEL return. High-pass 120 Hz, Saturator drive 12 dB.
Then automate the send so the last 8 bars of a 16 bar loop have a little more, like 3 to 6 dB more send. Not louder overall, just denser and closer.
If you did it right, your loop should feel more aggressive and finished without losing punch or low-end stability.
Before we wrap, here are a couple “next step” ideas you can try later.
If saturation softened your drum transients, you can use Drum Buss transient control on a second stage to bring snap back.
You can also do a two-lane parallel setup: one return for crunch with a high-pass around 150 Hz, and another return for air with a higher high-pass, like 500 Hz to 1 kHz, so you can add excitement without frying cymbals.
And if your mid bass fights the kick, try sidechain on the mids after saturation: a compressor keyed from the kick doing just 1 to 3 dB gain reduction, so the grit steps back on kick hits.
Recap.
Saturation equals harmonics, density, and controlled clipping, perfect for DnB energy.
Gain stage first so the results are consistent.
For drums: Drum Buss plus a light Saturator gets you punch and glue.
For bass: split sub and mids. Distort mids, protect sub.
Parallel saturation is a power move: blend aggression without wrecking transients.
And always A/B with matched loudness so you’re making real decisions.
If you tell me the style you’re aiming for, like liquid roller, jungle, jump-up, dark minimal, or neuro, I can suggest a saturation chain and safe drive ranges that match that vibe.