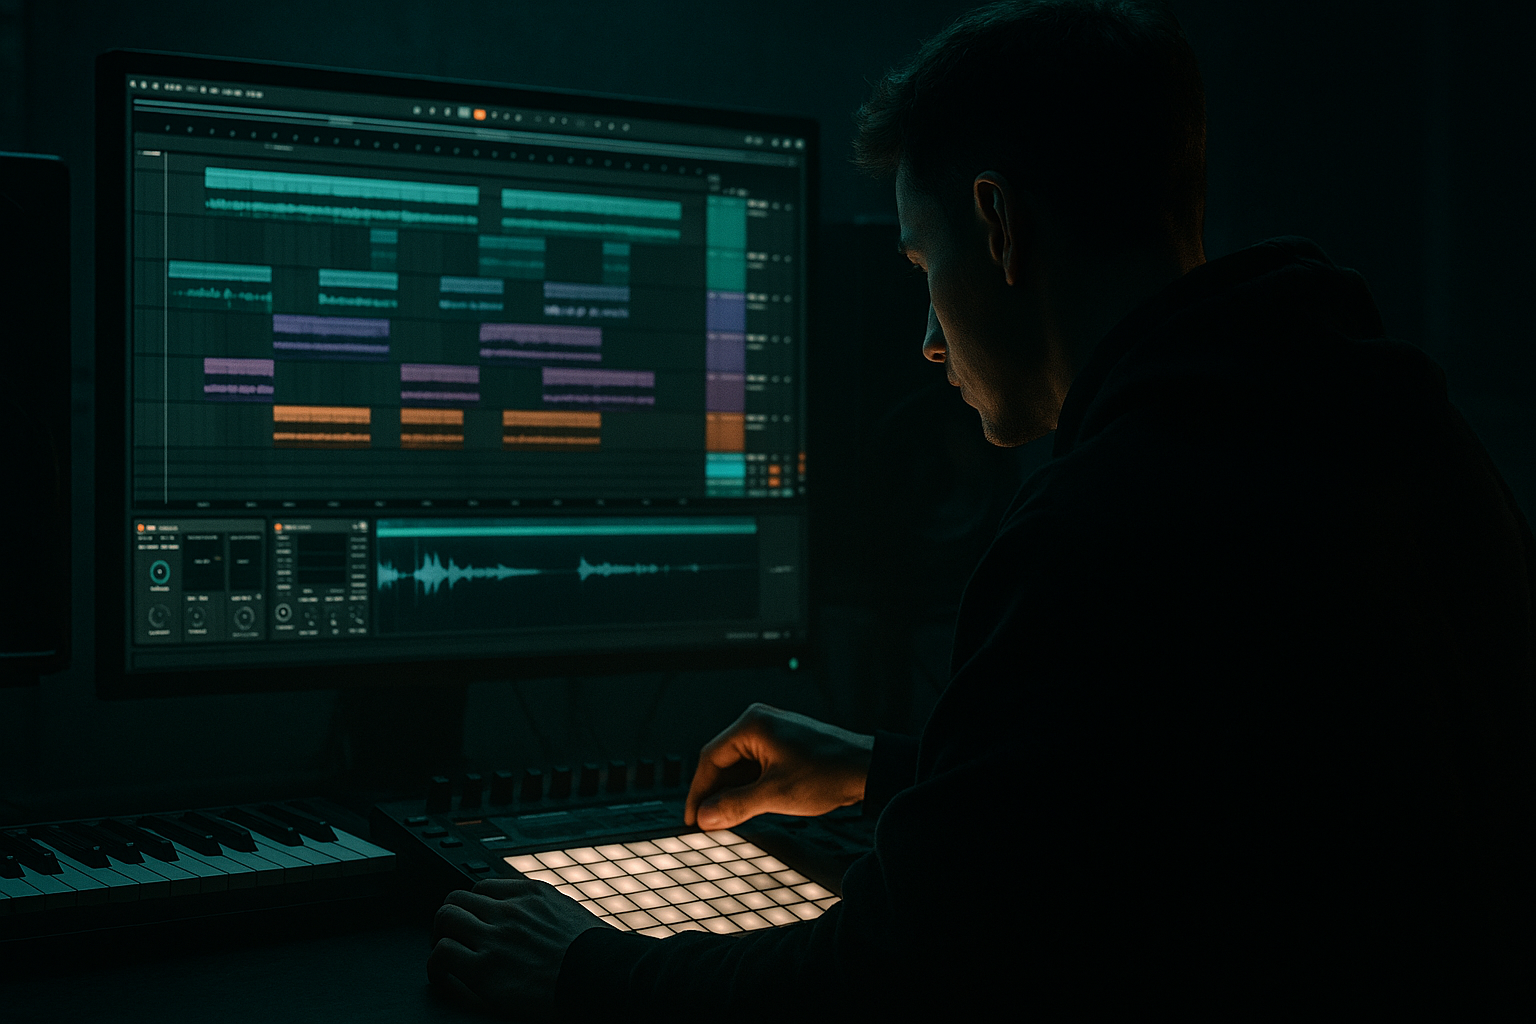
Main tutorial
```markdown
Balance Oldskool DnB Break Roll with an Automation‑First Workflow (Ableton Live 12) 🥁⚡
Skill level: Intermediate
Category: Breakbeats / Jungle / Rolling DnB
DAW: Ableton Live 12 (stock tools emphasized)
---
1) Lesson overview
Oldskool DnB/jungle break rolls have movement—micro-dynamics, little pitch flicks, ghost notes, and evolving tone. Modern production demands control—clean low end, consistent impact, and arrangement clarity.
In this lesson you’ll learn an automation‑first workflow in Live 12 that lets you:
- Keep the natural roll and swing of classic breaks
- Still achieve a tight, mix-ready modern DnB drum bus
- Build repeatable automation lanes you can resample, rearrange, and “perform” across an arrangement
- A breakbeat track that keeps the oldskool roll (ghost notes intact)
- A modern kick + snare reinforcement layer
- A Drum Bus / Glue chain that hits hard without flattening the groove
- Automation lanes for:
- A quick resample workflow to print “best moments” into new audio for arrangement
- Macro 1: “Tone (Dark↔Bright)” → Auto Filter Frequency
- Macro 2: “Bite” → Drum Buss Drive + Saturator Drive (both mapped)
- Macro 3: “Air Tame” → EQ Eight high shelf or Auto Filter Resonance
- Macro 4: “Width” → Utility Width
- Choose a tight DnB kick (short tail, good click).
- In Simpler (inside Drum Rack):
- Pick a snare that complements the break’s snare tone (not identical).
- Add a tiny room tone via reverb send later.
- Don’t over-program every break hit.
- Place kicks/snares mainly on the core grid (DnB feel depends on stable anchors):
- Layered kick/snare provide consistent impact
- Break provides roll, groove, texture, history
- Automate Macro 1 (Tone)
- Bars 1–8 (intro/tease): low-pass around 2–5 kHz
- 1 bar before drop: quick rise to 10–14 kHz
- Drop: open up 12–16 kHz, then slightly back down after 8 bars for ear fatigue control
- Keep it moderate during verses (avoid listener fatigue)
- Push it during fills, switch-ups, or when bass drops out for a bar
- Intro: 110–130% (lush break ambience)
- Drop: 80–100% (more mono-compatible, heavier center)
- End of 16: widen again for transition energy
- A: Reverb (Hybrid Reverb)
- B: Delay (Echo)
- Bars 1–4: Break only, dark filter, wider stereo
- Bars 5–8: Add kick/snare layer subtly, introduce small send throws
- Bar 9 (pre-drop): 1-bar roll (Bite up + Tone sweep up)
- Bars 10–13 (drop): Full tone open, tighter width, stable anchors
- Bar 14: Remove kick for 1/2 bar, let break + reverb throw hit
- Bars 15–16: New printed break variation + short delay throw into next section
- Parallel distortion on the break:
- Make the break “meaner” without more volume:
- Control harshness like a pro:
- Tighten drop impact:
- Print + re-chop for edge:
- Oldskool break roll = ghost notes + natural dynamics + swing
- Modern control = layered anchors + careful bus processing
- Automation-first workflow = build macro controls, automate musical arcs, and resample performances
- Use Live 12 stock devices (EQ Eight, Drum Buss, Saturator, Auto Filter, Utility, Glue, Hybrid Reverb, Echo) to sculpt the break while keeping it alive
We’ll focus on Amen/Think-style breaks, but the workflow works for any chopped break.
---
2) What you will build
A 16‑bar rolling DnB drum section with:
- Break tone morphing (darker → brighter)
- Roll intensity (more/less ghosting and transient bite)
- Fill moments (1‑bar edits and stutter throws)
- Reverb/delay “send throws” on snare hits
---
3) Step-by-step walkthrough
Step 0 — Session setup (fast, DnB-ready) 🎚️
1. Set tempo: 170–176 BPM (try 174 as a default).
2. In Preferences → Record/Warp/Launch:
- Enable Auto-Warp Long Samples: Off (prevents surprise warps)
3. Create groups:
- Group 1: `BREAK`
- Group 2: `KICK+SNARE (LAYER)`
- Group 3: `DRUM BUS (MASTER)` (optional—could be the parent group)
---
Step 1 — Choose and prep a break (warp without killing the roll) 🧠
1. Drop in a classic break (Amen, Think, Hot Pants, etc.) as audio onto a track named `Break Main`.
2. In Clip View:
- Warp: On
- Warp Mode:
- Start with Complex Pro if it’s very busy/realistic
- Try Beats if you want more bite (more “sampley”)
- Seg. BPM: set correctly so the bar count matches (e.g., a 2‑bar break should loop perfectly)
3. If using Beats mode:
- Preserve: Transients
- Transient Loop Mode: Off (usually cleaner)
- Envelope: ~40–70% (lower = sharper, higher = more body)
Goal: The break loops tight, but still breathes—ghost notes feel alive, not machine-gunned.
---
Step 2 — Create “automation-first” macro control (Audio Effect Rack) 🎛️
On `Break Main`, add an Audio Effect Rack called: BREAK CONTROL.
Suggested chain (stock devices):
1. EQ Eight (pre-shape)
- HP filter: 24 dB/oct @ 30–40 Hz (break shouldn’t fight sub)
- Gentle dip: 250–400 Hz if boxy (1–3 dB)
2. Drum Buss
- Drive: 5–15%
- Crunch: 0–10% (small amounts = vibe)
- Boom: 0 (usually leave boom for kick layer, not break)
- Damp: 3–8 kHz depending on harshness
3. Saturator
- Mode: Analog Clip or Soft Sine
- Drive: 2–6 dB
- Soft Clip: On
4. Auto Filter (for tone automation)
- Mode: LP 12 or LP 24
- Resonance: 0.7–1.2 (don’t whistle)
5. Utility (for width control)
- Width: 80–120% (breaks can be wider than kick/snare)
6. Optional: Glue Compressor
- Attack: 3 ms
- Release: Auto
- Ratio: 2:1
- Aim for 1–2 dB gain reduction max (don’t crush the roll)
#### Map key parameters to Macros (automation-friendly)
Open the rack’s Macro Map and map:
- Range: ~1.2 kHz → 16 kHz
- Keep ranges conservative (you’ll automate this a lot)
- Useful to calm hi-hats when you push brightness
- Range: 70% → 130%
Why this matters: You’re setting up a performance surface so you can draw automation like a DJ riding the break.
---
Step 3 — Layer modern kick + snare without killing the oldskool swing 🧱
Add a MIDI track `Kick+Snare Layer` with a Drum Rack.
Kick:
- Warp: Off
- Filter: On if needed, LP around 8–12 kHz if too clicky
Snare:
MIDI programming approach (important):
- Common: Kick on 1, snare on 2 and 4 (half-time feel inside 174)
- Or: Kick variations around 1 / 1.3 / 3 depending on sub/bass rhythm
Micro timing tip:
To preserve oldskool roll, keep the break as the groove leader.
If needed, nudge the layered snare 1–5 ms late (Track Delay in mixer) so it sits behind the break transient instead of flamming in front.
---
Step 4 — Create a Drum Bus group and balance properly (gain staging + punch) 🔥
Group `Break Main` + `Kick+Snare Layer` into a group called `DRUMS`.
On the `DRUMS` group, add this bus chain (stock):
1. EQ Eight (cleanup)
- HP @ 25–30 Hz
- Gentle dip @ 200–350 Hz if muddy
2. Glue Compressor (bus glue)
- Ratio: 2:1
- Attack: 10 ms (lets transients through)
- Release: Auto or 0.3 s
- GR: aim 1–3 dB on peaks
3. Drum Buss (optional for modern smack)
- Drive: 3–10%
- Transients: +5 to +20 (use sparingly)
- Damp: tune to taste
4. Limiter (safety, not loudness war)
- Ceiling: -0.8 dB
- Only catching occasional peaks
Balance rule of thumb (DnB):
If your break is louder than the anchors, you’ll get messy. If it’s too quiet, you lose jungle energy.
---
Step 5 — Automation-first: build 4 “DnB essential” automation lanes ✍️
#### Lane A — Break tone evolution (dark intro → bright drop) 🌘➡️🌞
On `Break Main` rack:
Example arrangement:
#### Lane B — Roll intensity (bite + ghost energy) 🌀
Automate Macro 2 (Bite):
Pro move: make Bite rise slightly over 8 bars (like +10–15%) to create forward momentum without adding new samples.
#### Lane C — Width management (wide breaks, tight anchors) 🎧
Automate Macro 4 (Width):
#### Lane D — “Throw” moments using Return tracks (classic jungle space) 🚀
Create Return tracks:
- Algorithmic or Convolution Small Room/Plate
- Pre-delay: 10–25 ms
- Decay: 0.6–1.2 s (DnB usually short)
- HP filter inside reverb: 300–600 Hz
- Time: 1/8 or 1/4
- Feedback: 20–35%
- Filter: HP 200–400 Hz, LP 6–10 kHz
- Modulation: subtle
Then automate Send A/B on specific snare hits or fills (not the whole loop).
This is how you get that classic spaciousness without washing the entire break.
---
Step 6 — Build oldskool break rolls (without manual chopping hell) ✂️
You’ve got two clean options in Live 12:
#### Option 1: Quick roll via clip duplication + micro edits (audio-friendly)
1. Duplicate your break clip to make a 1-bar “fill” clip.
2. In that 1-bar clip:
- Add 2–6 warp markers around the snare/ghost cluster
- Create a short repeated fragment (like 1/16 or 1/32 feel) by tightening spacing
3. Add Auto Pan (set phase to 0, use it as a tremolo):
- Rate: 1/16
- Amount: 10–25%
This can add urgency without changing the groove too much.
#### Option 2: Resample performance automation (best for arrangement speed) 🎯
1. Create a new audio track: `Break Print`.
2. Set `Break Print` input to Resampling (or “Break Main” Post-FX).
3. Arm and record while you ride macros (Tone/Bite/Width) and do send throws for 8–16 bars.
4. Pick the best 1–2 bars, consolidate (Cmd/Ctrl+J), and use them as:
- Fills
- Drop variations
- Turnarounds
This is the automation-first mindset: perform your break like an instrument, then curate.
---
Step 7 — Arrangement idea (16 bars that feels like real DnB) 🧩
Try this template:
---
4) Common mistakes ⚠️
1. Over-compressing the break
- If your ghost notes disappear, you killed the jungle. Ease off Glue/Drum Buss.
2. Layered snare flamming against break snare
- Fix with Track Delay (1–5 ms), or adjust the layer’s envelope/attack.
3. Too much high-end when opening the filter
- Use Macro 3 “Air Tame” to prevent harsh hats at drop energy.
4. Making every bar a fill
- DnB needs repetition to feel hypnotic; variation should be intentional.
5. Stereo chaos in the low mids
- Keep break wide if you want, but manage low mids with EQ and width automation.
---
5) Pro tips for darker/heavier DnB 🖤
Create a return with Saturator + EQ Eight (HP @ 200 Hz, boost 2–5 kHz), blend lightly for grit.
Use Drum Buss Transients gently (+5 to +15) and reduce sustain elsewhere.
Use Multiband Dynamics very lightly only on highs (or dynamic EQ via careful automation). If hats rip your ears off, your mix won’t translate.
Automate break Width down at the exact drop hit and open it slightly after 4–8 bars.
Resample your break after processing, then chop that audio. It gives you modern weight while keeping oldskool phrasing.
---
6) Mini practice exercise (15–20 minutes) ⏱️
1. Pick one break and loop 8 bars.
2. Build the BREAK CONTROL rack with 4 macros (Tone, Bite, Air Tame, Width).
3. Draw automation:
- Tone: dark → bright over 8 bars
- Bite: +10% increase every 2 bars
- Width: 120% in bars 1–4, 90% in bars 5–8
4. Add a kick/snare layer with minimal hits (anchors only).
5. Resample 8 bars while tweaking macros live.
6. Choose the best 1 bar and use it as a fill before a “drop”.
Deliverable: a 16-bar loop that clearly evolves without adding new drum samples.
---
7) Recap ✅
If you want, tell me which break you’re using (Amen/Think/etc.) and what sub style you’re aiming for (rollers, techstep, jump-up, jungle) and I’ll suggest a specific macro range + bus settings that match it.
```

