Main tutorial
Lesson Overview
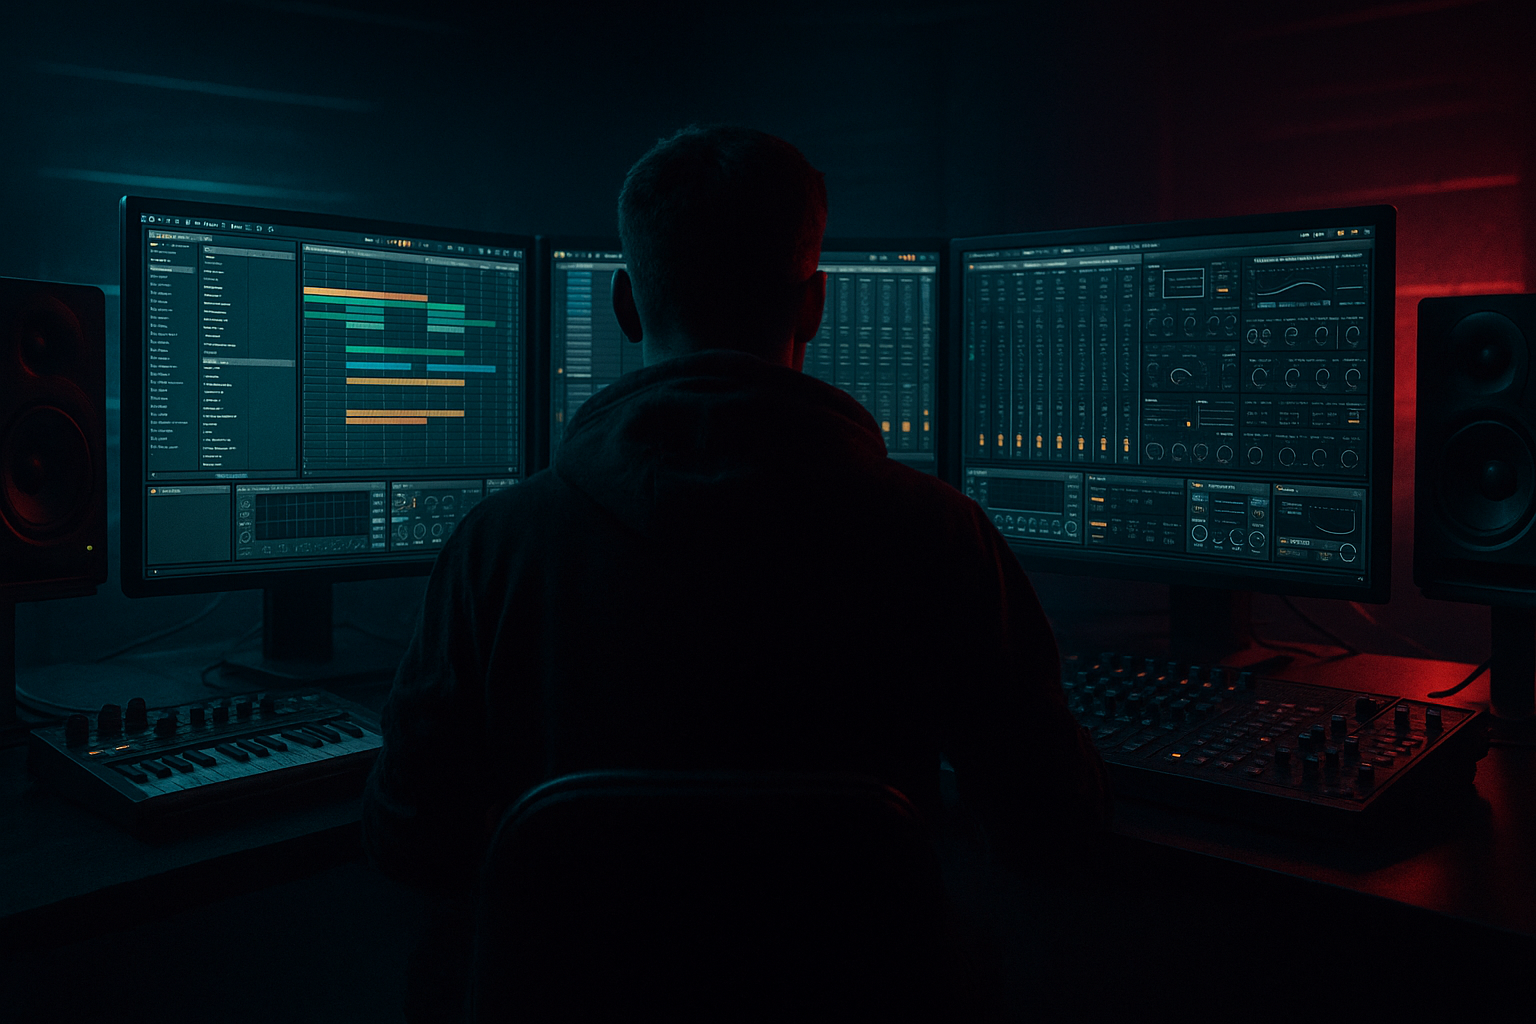
Balancing an Amen-style shuffle from Session View into Arrangement View is one of those DnB skills that quietly separates “loop-makers” from finished-track producers. In jungle, rollers, darker halftime-inflected DnB, and neuro-adjacent bass music, the Amen rarely works as a static loop for long. It has to breathe, evolve, and sit properly against sub, bass, atmospheres, and impacts while keeping that frantic forward motion intact.
In this lesson, you’ll build a clean, mix-aware workflow in Ableton Live 12 that starts with a Session View groove and turns it into a full arrangement with controlled energy changes. The goal is not just to make the Amen hit hard — it’s to make it stay balanced as the track develops. That means managing low-end separation, transient clarity, stereo discipline, and arrangement tension without losing the human swing that makes the break feel alive.
Why this matters in DnB: the Amen is often the emotional engine of the track. If it’s too loud, it fights the bass. If it’s too thin, the groove dies. If it’s too static, the drop feels flat. A good balance lets the drum loop read clearly in the mix while leaving enough space for sub weight, reese movement, call-and-response fills, and breakdown dynamics. That’s the difference between a loop and a record. 🎛️
What You Will Build
You will create a compact DnB arrangement with:
- A Session View launch setup built around an Amen-style break loop
- A layered drum chain with kick/snare emphasis and controlled break energy
- A sub + mid-bass pairing that leaves room for the break while still driving the drop
- A mix balance that translates in mono and stays punchy at club level
- An Arrangement View version with intro, drop, switch-up, and outro phrasing
- Automation moves for energy, filter tension, and transition FX
- A finished loop-to-arrangement workflow you can reuse for rollers, jungle, or darker bass tracks
- Drum rack or audio track for the Amen break
- Separate audio track for kick/snare reinforcement if needed
- Sub bass track
- Mid-bass / reese track
- Atmosphere or texture track
- FX track for risers, impacts, reverse hits, or noise sweeps
- Warp the Amen in Complex Pro only if the sample needs it; otherwise try Beats mode for cleaner transients
- For break loops, adjust transient preservation in Beats mode and set Preserve to 1/16 or 1/8 depending on the chop density
- Keep clip gain conservative so the loop doesn’t hit the channel too hard before processing
- EQ Eight
- Drum Buss
- Compressor or Glue Compressor
- Utility
- EQ Eight: high-pass very gently around 30–40 Hz to remove sub-rumble that doesn’t belong in the break
- If there’s muddy buildup, dip 200–400 Hz by 1–3 dB with a medium Q
- If the snare crack needs more presence, try a subtle lift around 2–5 kHz
- Drum Buss: Drive around 5–15%, Crunch low to moderate, Transients slightly positive
- Utility: reduce width or go mono if the break is washing out the center
- Attack: 10–30 ms
- Release: Auto or 0.1–0.3 s
- Ratio: 2:1 or 4:1
- Aim for only 1–3 dB of gain reduction
- Sub: clean sine or near-sine tone
- Mid-bass: reese, wobble, distorted growl, or restrained neuro texture
- Amen: mostly midrange and transients, not low-end overload
- Use Operator or simpler sampled sub if you want direct control
- Keep it mono with Utility
- Roll off anything above roughly 80–120 Hz if the sub source is not already clean
- Use Analog, Wavetable, Operator, or a resampled audio bass
- Add Saturator or Roar lightly if needed for harmonics
- Use EQ Eight to carve out unnecessary low mids
- High-pass the bass gently around 80–120 Hz if the sub owns the true bottom end
- Break + drums: audible and rhythmic, not dominating peak meter
- Sub: felt more than heard
- Bass: present in the low mids and stereo image controlled
- Utility on bass: Width 0–40% for low-mid-heavy bass, wider only if the low end is already carved
- Saturator Drive: 2–6 dB for subtle harmonics, up to 8–10 dB if you want rougher dark character, but check the low end carefully
- Duplicate the Amen to a second track if you want separate processing for “air” and “body”
- Use one track for the raw break and another for reinforcement
- Alternatively, use a Drum Buss or transient shaping feel via Drum Buss Transients
- Layer a tight snare sample under the break’s main snare
- Keep the layer low in the mix; the original break should still sound like the source
- Use EQ Eight to trim the layer so it only adds snap or body, not mud
- Drive: 5–20%
- Boom: often off or very restrained on break layers
- Transients: +10 to +30 for more attack
- Damp: adjust only if the top end gets too splashy
- Scene 1: Intro drums + atmos + filtered sub tease
- Scene 2: Full Amen + sub + sparse bass stab
- Scene 3: Drop A with full bass phrase
- Scene 4: Drop A with variation or fill
- Scene 5: Switch-up with break emphasis or halftime breakdown
- Scene 6: Breakdown / tension scene with filtered drums
- Scene 7: Drop B with stronger bass movement
- Amen full
- Amen filtered
- Amen with fill at bar 4 or bar 8
- Bass phrase 1
- Bass response phrase 2
- Atmos drone or reverse swell
- Impact hit for scene transitions
- Auto Filter cutoff on the Amen for intro building
- Bass low-pass opening across 4 or 8 bars
- Reverb send automation on snare throws or transition hits
- Bars 1–16: DJ-friendly intro with filtered Amen textures and sub hints
- Bars 17–48: main drop where the break and bass lock in
- Bars 49–56: switch-up where the Amen gets chopped harder and the bass changes phrasing
- Bars 57–72: second drop with more open bass and stronger fills
- Bars 73–88: outro with reduced low-end and less drum density
- Arm Arrangement recording
- Perform scene launches in time
- Let the first pass capture the broad structure
- Then refine the arrangement manually
- Trim clips so transitions land on 8-, 16-, or 32-bar phrases
- Leave space before the first drop for tension
- Add a small fill or break variation in the final bar before each section change
- Use automation lanes for filters, sends, and volume rides
- Check the bass and kick/snare balance at each section change
- Make sure the Amen doesn’t suddenly jump in level when a clip variation starts
- Use Utility to automate subtle gain changes if needed, especially on break-heavy sections
- Collapse to mono and verify that the bass still holds
- Confirm the Amen snare remains strong in the center
- If the bass disappears, your stereo information is too wide below the low mids
- Keep the master peaking comfortably below clipping while arranging
- Avoid chasing loudness too early
- Leave space for the final mastering stage
- High-pass atmospheric layers in intros
- Open the bass filter in the pre-drop
- Add reverb throws on the snare at phrase ends
- Increase distortion or saturation slightly in the second drop for intensity
- Pull back break brightness during breakdowns to make the next drop feel bigger
- Overloading the Amen with too much low end
- Making the bass too wide in the low end
- Mixing the break too loud because it sounds exciting solo
- Using heavy compression that kills groove
- Arranging without variation
- Forgetting mono compatibility
- Letting the snare get harsh in the 2–5 kHz range
- Run the Amen through Drum Buss lightly, then duplicate the track and process a parallel “grit” layer with more Drive and less low end.
- Use Saturator or Roar on the bass for harmonics, but keep the sub clean underneath. That gives the track weight without turning the low end into mush.
- For a more underground feel, automate a low-pass filter on the Amen during 4- or 8-bar tension sections, then snap it open on the return.
- Add tiny reverb throws only on select snare hits or fills; too much reverb will smear the break and soften impact.
- Use clip gain and transient control to emphasize the last hit before a phrase change — that little push can make a drop feel much larger.
- If the track feels too polished, resample a processed break and reintroduce it as a layer with slight saturation and reduced top end.
- In rollers or neuro-leaning DnB, let the bass answer the Amen in short phrases instead of playing constantly. Call-and-response keeps the groove heavy and readable.
- Keep your sub almost boring. The darkness comes from the movement above it, not from an unstable bottom end.
- The Amen stays audible but doesn’t overpower the bass
- The sub remains steady and centered
- The drop feels bigger than the intro
- The arrangement has at least one clear variation or switch-up
- Start in Session View with clearly separated drum, sub, bass, and FX roles.
- Balance the Amen against the sub and bass in context, not solo.
- Use stock Ableton tools like EQ Eight, Drum Buss, Glue Compressor, Saturator, Utility, and Auto Filter to control groove and weight.
- Keep the low end mono and the break transients clean.
- Turn Session View scenes into Arrangement View structure by recording performance, then refine with automation and phrase-based edits.
- In DnB, the best balance is the one that preserves break energy while leaving room for the bass to hit hard.
Musically, imagine this as a 174 BPM tune with a 16-bar intro, a 32-bar first drop, an 8-bar switch-up, and a DJ-friendly outro. The Amen drives the groove, the sub anchors the floor, and a reese or distorted mid-bass answers the break in phrases. This is a practical “start in Session, finish in Arrangement” method that keeps the track moving like an actual DnB record.
Step-by-Step Walkthrough
1. Set up the Session View foundation with clear role separation
Start in Session View and build your core lanes with a simple structure:
Keep the Amen on its own audio track rather than stuffing everything into one drum rack at first. That gives you better control over gain staging and warping. For a drum & bass tempo around 172–176 BPM, set the project to your target BPM before you start balancing.
Ableton workflow tip:
Why this works in DnB: the break’s transient detail is the groove. If you over-process it early, you lose the micro-swing that makes jungle and rollers feel alive. Keeping separate tracks lets you balance the Amen against the bass instead of forcing everything through one bus too soon.
2. Clean up the Amen with editing and bus control before mixing
Take the Amen loop and make it mix-ready before arranging. Duplicate the clip and create two versions: one full-energy loop and one slightly stripped version for breakdowns or lower-energy sections.
On the Amen track, use stock devices in this order as a starting point:
Suggested starting moves:
If you want a more aggressive drum-bus character, use Glue Compressor with:
The point is not to flatten the Amen. It’s to make the loop coherent enough to sit under a bassline and survive arrangement changes without spiking harshly.
3. Balance the sub and bass around the break, not on top of it
In DnB, bass balance is where a lot of break-based tracks fall apart. Your sub must be stable while the Amen stays alive. Create a clear low-end hierarchy:
On the sub track:
On the bass track:
Set your initial balance with the kick/snare and break first, then bring the sub in until it feels like the floor is moving. Only after that add the bass. A good starting relationship is:
Concrete parameter target:
Why this works in DnB: the Amen already occupies a lot of rhythmic space. If your bass also has too much transient information, the groove becomes cluttered. Separating sub from mid-bass gives the break room to breathe while still keeping the track weighty.
4. Shape the drum groove with layering, ghost notes, and transient control
To make the Amen translate in a modern DnB mix, reinforce the important hits. Usually that means anchoring the snare and sometimes the kick with layer elements or processing, while preserving the original break feel.
Inside Ableton:
Try this approach:
Useful Drum Buss settings:
If the break feels too dense, create a “ghost note” version by reducing clip gain on selected hits or using clip envelopes. Ghosted hats and lighter snare taps create forward motion without overloading the mix. This is especially effective in rollers and darker jungle where the break has to keep momentum while the bassline stays controlled.
5. Build your Session View scenes for arrangement energy
Now create scenes in Session View that represent sections of the track. Don’t think “loop variations” only — think arrangement energy states.
A practical scene set:
Use clip-launch variations for:
In Session View, use clip envelopes for filter automation:
A good DnB arrangement context example:
This approach keeps the energy intentional. You’re not just duplicating clips — you’re composing tension and release through section design.
6. Move from Session View into Arrangement View with structure first, polish second
Once your scenes feel musical, record your Session launch performance into Arrangement View. This is the fastest way to preserve the groove while turning it into a real track form.
Workflow:
After recording, clean up the arrangement:
Mixing focus during arrangement:
A useful move is to reduce the Amen by 1–2 dB in the loudest sections if the bass line gets busier. That tiny change can make the whole arrangement feel more powerful because the low-mid clutter drops away.
7. Polish the mix with mono checks, headroom, and sectional automation
Now that the arrangement exists, do a mixing pass on the whole track.
On the master or a monitoring chain, use Utility to check mono:
Good headroom target:
Use automation to create section contrast:
For darker DnB, the mix often benefits from contrast more than constant loudness. A slightly thinner pre-drop makes the full Amen hit feel twice as powerful when it returns.
Common Mistakes
Fix: high-pass gently around 30–40 Hz and keep the sub separate.
Fix: mono the sub, narrow low frequencies, and keep stereo width for higher harmonics only.
Fix: balance against bass and kick in context, not in solo.
Fix: reduce gain reduction and let transients breathe; use transient emphasis instead of flattening.
Fix: create alternate Amen clips, bass responses, and fill scenes before moving to Arrangement View.
Fix: check mono regularly, especially on the bass and break reinforcement layers.
Fix: use EQ Eight with a small cut or tame it with careful saturation rather than boosting blindly.
Pro Tips for Darker / Heavier DnB
Mini Practice Exercise
Spend 10–20 minutes making a two-section DnB loop that proves your balance is working.
1. Load one Amen-style break into Session View.
2. Create a sub track and a simple two-note bass phrase.
3. Make two scene variations:
- Scene A: full break + sub + minimal bass
- Scene B: full break + sub + busier bass response
4. Add EQ Eight to the break and remove sub-rumble below about 30–40 Hz.
5. Add Drum Buss to the break with mild Drive and positive Transients.
6. Record a short Session View performance into Arrangement View for 16–32 bars.
7. Automate a filter opening on the bass and a small snare reverb throw into the section change.
8. Collapse to mono and check if the groove still works.
9. Make one decision only: either improve drum clarity or improve bass separation.
10. Export a rough bounce and listen on headphones and speakers.
Success criteria:

