Main tutorial
Lesson Overview
A sunrise-set Amen riser is not just “a long rise.” In Drum & Bass, it’s a DJ tool transition with emotion: the kind of build that can lift a crowd out of a dark, locked-in roller and into that euphoric, first-light moment without losing low-end authority. The goal here is to balance an Amen-style riser so it feels wide, animated, gritty, and uplifting, while still leaving room for the kick, sub, and snare energy that defines DnB.
In Ableton Live 12, this matters because the best sunrise moments usually happen in context, not in isolation. You’re often moving from a deep, minimal section into a more open, harmonic passage, or you’re bridging into a new drop without killing the groove. That means the riser has to work as:
- a DJ-friendly transition tool
- a tension builder
- a spectral guide for the listener’s ear
- a mix-safe layer that doesn’t smother the drum/bass relationship
- starts with a tight, low-mid break texture
- gradually opens into brighter, wider, more emotional energy
- maintains rhythmic identity from the Amen break
- uses automation on filters, reverb, delay, saturation, and stereo width
- stays controlled in the sub region so it can sit over a rolling bassline or lead into a drop
- feels like a club-ready transition tool rather than a generic EDM riser
- Making the riser too bright too early
- Leaving too much low end in the Amen
- Over-widening the whole signal
- Using reverb that smears the groove
- Building tension with only volume
- Not leaving a clean transition point
- Add a parallel distortion return using Saturator or Overdrive, then blend it underneath the clean riser for extra menace without losing clarity.
- Use Redux very subtly on selected slices for broken, digital grit. A little goes a long way.
- Layer a subtle reese-style drone under the final bars, but high-pass it or keep it mono so it supports rather than clouds the low end.
- Automate Filter frequency + resonance + width together on the last two bars for a more intelligent lift.
- Use a ghost-snare or top loop behind the Amen to keep the high-frequency motion alive when the break gets more washed out.
- For neuro-leaning material, try a moving band-pass on the riser return with very restrained automation so the energy feels chemically alive rather than purely euphoric.
- If the tune is especially dark, let the riser end with a hard cut into the drop. That contrast can make the sunrise lift hit even harder.
- Keep your sub separate. A sunrise riser can be emotional and still respect the low-end architecture of a serious DnB system.
- Build the Amen riser from break evolution, not just white-noise FX.
- Control the low end early with EQ Eight and keep the riser out of the sub zone.
- Use automation on filter, reverb, delay, and width to create a sunrise emotional arc.
- Keep the riser phrased like DnB: strong, readable, and mix-friendly.
- Balance power and clarity so it works as a true DJ tool for darker, heavier Drum & Bass sets.
This lesson shows how to build and balance an Amen-style riser using stock Ableton devices, break slicing, automation, saturation, and arrangement choices that feel authentic in DnB, jungle, rollers, neuro-adjacent darker music, and sunrise set programming 🌅
What You Will Build
You will build a 4- to 8-bar Amen-style riser that:
Musically, the result should sound like a break-derived wash that grows from dusty and close into hazy, sunrise-tinged tension. Think of it as the space between a dark roller and a more expressive second drop: enough movement to keep DJs interested, enough emotion to cue the crowd’s next emotional peak.
Step-by-Step Walkthrough
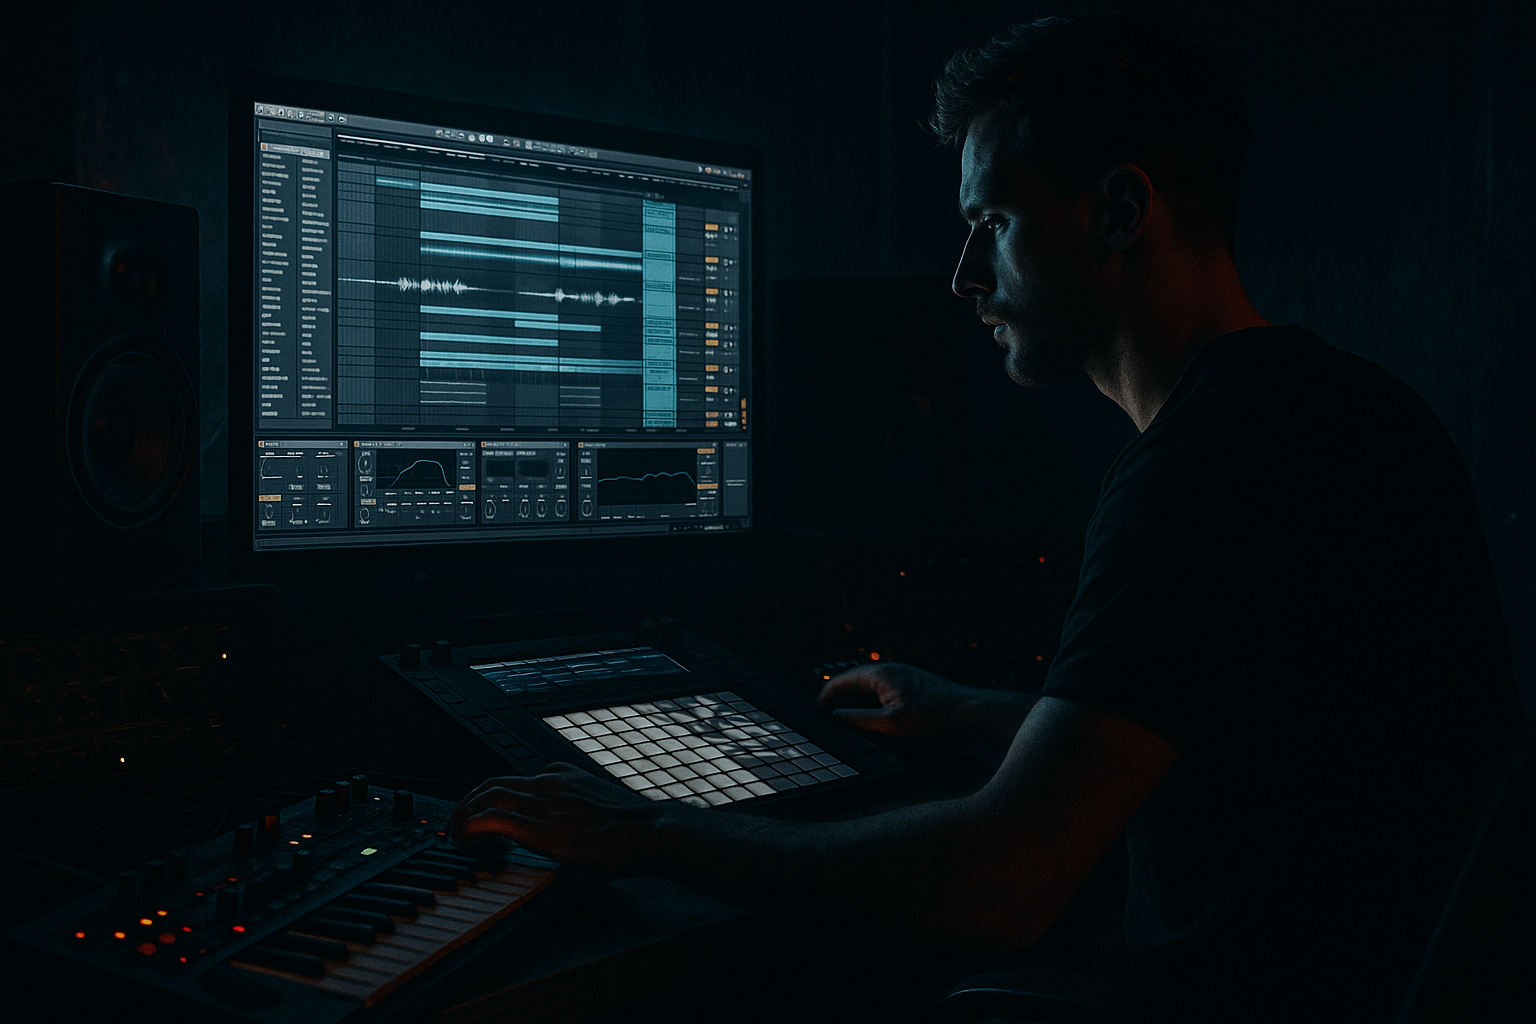
1. Choose the source material: an Amen break with attitude, not just clean audio
Start with a solid Amen-style break loop or an Amen-derived chop in Simpler. For an advanced DnB workflow, don’t use a pristine one-shot loop straight away—use a version with natural grit, room tone, and dynamic variation.
In Ableton Live 12:
- Drop the break into Simpler in Slice mode or use an audio clip warped to your project tempo.
- If slicing in Simpler, choose Transient or Beat slicing, then tighten the slice markers so the ghost notes and snare pickups remain intact.
- If using an audio clip, keep warp mode natural enough to preserve transient character. Complex Pro can smear breaks; use it only if needed.
Aim for a tempo range around 170–174 BPM if you want the riser to feel proper DnB. If the project is faster, preserve the rhythmic phrasing so it still breathes like a jungle/DnB hybrid.
Why this works in DnB: the Amen carries movement even when harmonics are minimal. That rhythmic identity gives the riser a genre-specific “engine,” so it doesn’t become just a noise sweep.
2. Build the riser from break evolution, not just FX
Make a 4-bar phrase and duplicate it to 8 bars if needed. The first half should feel constrained; the second half should open up.
A strong arrangement shape:
- Bars 1–2: mostly filtered break texture, low-mid focus, minimal stereo
- Bars 3–4: more snare brightness, added reverb tail, slight pitch lift or high-frequency opening
- Bars 5–6: more transient presence, widened ambience, subtle delay throws
- Bars 7–8: maximum tension, with the final bar leaving space for the drop or next section
To keep it DJ-tool friendly, leave the final beat or half-bar clean enough for a clean mix point. If this riser is meant for live set transitions, that last moment matters more than endless buildup.
3. Shape the break into a controlled frequency contour with EQ Eight and Auto Filter
Put EQ Eight first or early in the chain to manage balance. The most common mistake is letting the Amen’s low mids clutter the bassline or kick.
Suggested moves:
- High-pass around 90–140 Hz depending on how much low-end of the original break you want to keep
- Gentle dip around 250–500 Hz if the break gets boxy or masks the snare body
- Small presence lift around 2.5–5 kHz for snap and urgency
- If the top end is harsh, use a narrow cut around 6–8 kHz rather than flattening the whole high end
Follow with Auto Filter:
- Start with a low-pass around 1.5–3 kHz
- Automate it to open to about 8–12 kHz over the riser
- Use a moderate resonance setting, roughly 10–25%, to make the opening feel more emotional without whistling
For sunrise emotion, the filter opening should feel like the first light coming in. Don’t overdo it at the start; let the air arrive slowly.
4. Add movement and weight with Drum Buss, Saturator, and subtle resampling
For advanced DnB, the riser should have a little violence in the midrange, but not an uncontrolled smear.
Try Drum Buss:
- Drive: 5–20%
- Crunch: 10–30%
- Boom: usually off or very low for this use case, unless you want extra chest-hit on the final impact
- Damp: adjust so the high end stays smooth, not brittle
Then add Saturator after Drum Buss:
- Mode: Soft Clip on if you want cleaner loudness
- Drive: 2–8 dB
- Keep Output trimmed so the chain does not collapse the mix headroom
For a more characterful result, resample the break after processing:
- Solo the chain, bounce to audio, then re-import
- Slice the new audio again if you want more control over the final contour
This is very DnB-friendly because break-based transitions often feel stronger when they’ve been “printed” into a new texture. That slight audio commitment gives you a more coherent, finished DJ tool.
5. Create tension with automation on reverb, delay, and stereo width
Insert Hybrid Reverb or Reverb on a return track so you can automate send amounts cleanly. For sunrise emotion, use a long tail, but keep the source break itself fairly dry in the first half.
Suggested reverb starting points:
- Decay: 3.5–7 seconds
- Pre-delay: 20–45 ms
- Low-cut: 150–300 Hz
- High-cut: 6–10 kHz
Automate the send amount so the riser becomes more washed out toward the end. This makes the transition feel bigger without burying the initial drum articulation.
Add Echo or Delay on another return:
- Sync delay times around 1/8, 1/8D, or 1/4
- Feedback: 15–35%
- Filter the delay so repeats sit in the mid-highs, not the low mids
For stereo width:
- Use Utility and automate Width from 0–30% up to 80–120%
- Keep the initial section narrower so the riser feels like it expands into the room
Important: mono compatibility still matters. Check the riser in mono to make sure the filtered break doesn’t disappear when widened.
6. Design the rise using pitch, density, and slice re-ordering
An Amen-style riser becomes more compelling if its rhythm evolves instead of only getting louder.
Try one or more of these advanced moves:
- Pitch the break up by 1–5 semitones over the length of the riser using clip automation or Simpler pitch
- Increase slice density by duplicating ghost-note fragments in the last 1–2 bars
- Rearrange slices so the snare hits become more frequent near the end
- Use a short reverse slice or reverse reverb print before a big snare pickup
In Ableton, you can duplicate the chopped MIDI note pattern and then:
- move a few ghost notes earlier
- remove select kick transients in the second half to let the snare energy dominate
- add a final noisy tail slice just before the drop
A useful arrangement example: if your main tune is a dark roller at bar 33, you can use an 8-bar Amen riser from bar 25–32. The first four bars keep the groove grounded; the final four bars strip away the low end and expose the emotional top layer so the next phrase lands like the lights are coming up.
7. Balance against the bassline and drums with sidechain discipline
This is where the lesson becomes about actual DnB balance. The riser must support the groove, not compete with it.
Use Compressor with sidechain from the kick or main drum bus if the riser overlaps the drop:
- Attack: 2–10 ms
- Release: 50–120 ms
- Ratio: 2:1 to 4:1
- Aim for just enough gain reduction to carve space, not obvious pumping
If the bassline is active underneath, use Utility or EQ Eight on the riser to reduce stereo low mids and keep the sub region out of the way:
- Below 120 Hz, keep things minimal or filtered out entirely
- If needed, use a mid/side EQ approach to reduce side energy below 200 Hz
Why this works in DnB: kicks, subs, and snare transients are the hierarchy. A beautiful riser that fights the low end will make the drop feel smaller, not bigger.
8. Automate the emotional arc with arrangement decisions, not only sound design
A sunrise riser should feel like a story. Build that story in the arrangement view.
Good automation arc:
- Early bars: narrow, filtered, slightly dusty
- Middle bars: brighter, more reverberant, more delay feedback
- Final bars: open top end, less low-mid clutter, more transient flicker, more width
- Final hit: optionally cut the riser hard for a clean drop reveal, or leave a tiny tail if the next section is meant to feel seamless
If you want a more DJ-tool-oriented transition, place the riser so it can be mixed over the outgoing track:
- Let the riser begin while the previous tune is still carrying the room
- Keep the first bar less dramatic, so the transition feels natural
- Reserve the strongest filter opening for the last 2 bars before the new section
In Live 12, clip envelopes and track automation can both work well. Use clip envelopes for detailed musical movement inside the riser, and track automation for larger scene-level transitions.
9. Finish with bus shaping and headroom control
Route the riser to its own group or rack so you can control it like a DJ tool bus.
On the riser bus:
- EQ Eight for final cleanup
- Glue Compressor very lightly if needed
- Utility for final gain and width
- Optional Limiter only if the riser is peaking unpredictably
Suggested bus targets:
- Leave at least -6 dB peak headroom on the riser if it will live inside a full arrangement
- If it’s a standalone DJ transition stem, keep it loud enough to translate but still dynamically alive
- Check the relationship between riser and drum bus in context, not solo
Save this as a template chain. For DnB production, speed matters: if you can build a reliable Amen riser rack once, you can reuse it across rollers, jungle edits, and darker liquid-adjacent sunrise cuts.
Common Mistakes
- Fix: start with a low-pass or high-cut, then automate the open later. Early brightness kills the emotional lift.
- Fix: high-pass aggressively enough to protect the kick and sub. If the track already has a strong bassline, the riser does not need weight below 100–140 Hz.
- Fix: keep the start narrower and widen gradually. Check mono so the riser stays present on club systems.
- Fix: use pre-delay and EQ on the return. Keep reverb out of the low mids and let the original break retain some definition.
- Fix: add density, automation, stereo movement, and harmonic opening. In DnB, loudness alone rarely creates a satisfying rise.
- Fix: reserve a final beat, half-bar, or tail for the drop entry. DJs need readable phrasing.
Pro Tips for Darker / Heavier DnB
Mini Practice Exercise
Spend 10–20 minutes building a usable Amen riser from scratch:
1. Load one Amen break into Simpler or an audio track.
2. Create a 4-bar phrase and duplicate it to 8 bars.
3. Add EQ Eight, Auto Filter, Drum Buss, and Saturator.
4. Automate the filter to open gradually from about 2 kHz to 10 kHz.
5. Add a reverb return with a 4–6 second decay and automate the send upward in the last two bars.
6. Use Utility to widen the last half of the riser while keeping the first half narrower.
7. Bounce the result, re-import it, and make one final chop or reverse edit.
8. Test it against a rolling bassline at 172 BPM and check whether the riser feels emotional without masking the kick/sub.
Goal: finish with one transition tool that could genuinely sit in a DnB arrangement or DJ set.

