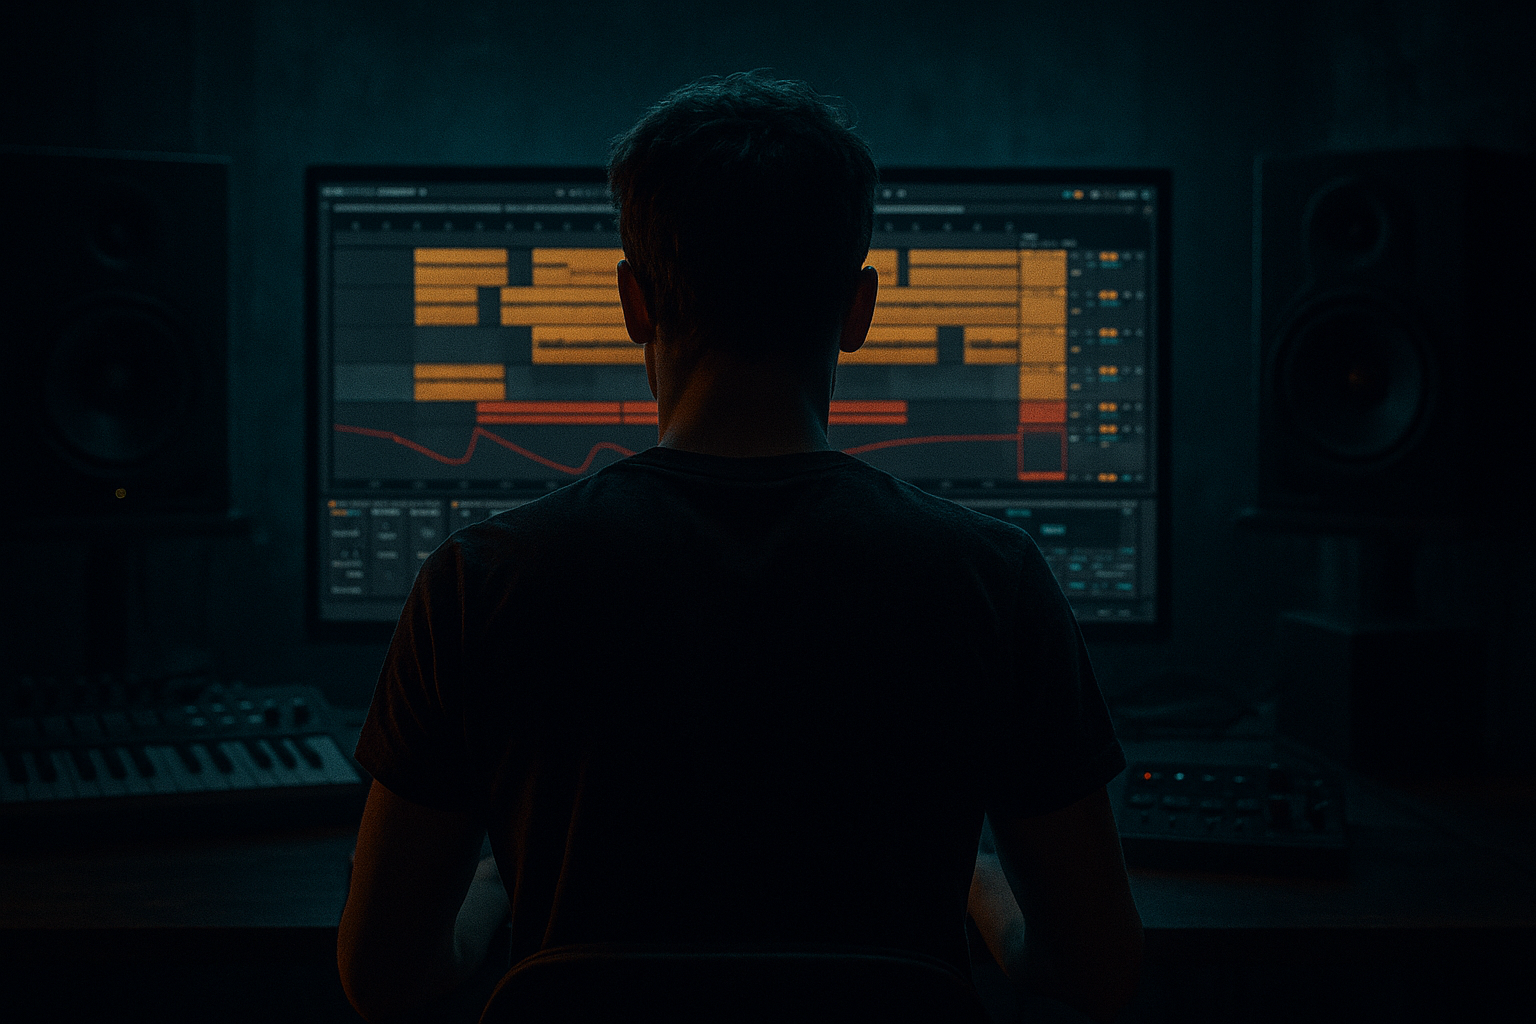
Main tutorial
Lesson Overview
This lesson is about building a bass-led jungle / oldskool DnB edit in Ableton Live 12 that hits hard, feels authentic, and stays light on CPU so you can actually finish the tune. The goal is not just “make a bass sound,” but to create a balanced edit where the breaks, sub, reese layers, and transitional FX all work together without choking your session.
In real DnB production, especially in darker rollers, jungle edits, and oldskool-inspired drops, CPU efficiency matters because you’ll often be juggling:
- multiple chopped breaks
- layered bass resamples
- saturation/distortion chains
- automated fills and switch-ups
- extra atmosphere and transition layers
- oldskool jungle energy from chopped breaks and call-and-response phrases
- roller-style low-end control with a solid mono sub
- darker reese movement using layered stock instruments and resampled audio
- minimal CPU load through consolidation, resampling, and efficient device choices
- a sub-first bassline with a controlled mono core
- a midrange reese layer that can switch from smooth to aggressive
- break edits that leave space for bass accents
- short automation moves that create tension and release
- a DJ-friendly structure that could sit in an intro, drop, or switch-up section
- Making the sub too complex
- Using too many heavy devices on every layer
- Letting the mid bass invade the sub range
- Over-wide bass that collapses in clubs
- Breaks fighting the bass in every bar
- FX cluttering the groove
- No phrase contrast
- Layer a filtered noise tail under the bass stab
- Use Drum Buss on the mid bass only
- Resample with effects baked in
- Exploit call-and-response phrasing
- Keep the low end brutally honest
- Use short, ugly transitions
- Try contrast between clean and dirty bars
- Keep the sub mono and simple
- Let the mid bass provide character and movement
- Use stock devices efficiently
- Resample once the bass idea works
- Shape the break and bass together
- Use phrase contrast for real DnB energy
- Check mono, headroom, and low-end separation constantly
If your project gets too heavy too early, you stop arranging and start troubleshooting. This lesson shows how to keep the energy of a proper edit while using Ableton stock devices, resampling, freeze/flatten logic, and smart routing to keep the session fast and stable. That means more time refining sub weight, note phrasing, groove, and bass movement—the stuff that actually makes the drop work.
Why this matters in DnB: the genre depends on precision in the low end, tight drum/bass interplay, and fast arrangement decisions. A 174 BPM jungle roller or a dark halftime-ish neuro-influenced edit can fall apart quickly if the bass is too wide, the edit is too cluttered, or the project is too CPU-heavy to experiment in. A lean workflow lets you shape the drop with confidence and keep the mix clean from the start.
What You Will Build
You’ll build a 16-bar bass edit for a DnB drop that sounds like a hybrid of:
The result will be:
Musically, think of a drop where bar 1–4 feels restrained, bar 5–8 introduces movement, and bar 9–16 opens into a more aggressive phrase with a few tasteful fills. The edit should feel intentional, not overproduced.
Step-by-Step Walkthrough
1. Set the project up for low-CPU DnB workflow
Start by making the session easy to manage before you write any bass. Set the project to around 172–176 BPM for oldskool/jungle DnB energy. Create these core tracks:
- Drums / Breaks
- Sub
- Mid Bass
- FX / Atmos
- Resample Print
Use return tracks sparingly. For this style, keep the main sound design on the tracks themselves and use sends only for a shared short room reverb and a dub-style delay if needed. Keep the master clean; put nothing heavy there while writing.
On the Sub track, load Operator or Wavetable. For CPU efficiency and cleanliness, Operator is ideal:
- Oscillator A: sine
- Set envelope to short, with no unnecessary tail
- Keep voices to mono if needed
- Add Saturator after it with Soft Clip on, Drive around 2–5 dB
On the Mid Bass track, use Wavetable with a simple waveform and then shape it with Ableton stock effects rather than stacking multiple instruments. In DnB, especially when balancing a bass edit, fewer sources usually win.
2. Build the sub and mid relationship first
In jungle and oldskool DnB, the bassline often works because the sub phrase is simple but rhythmically perfect. Program a 2-bar MIDI phrase on the sub:
- Root notes following the chord or tonal center
- Use note lengths that leave space for drum hits
- Keep most notes in the 30–80 Hz range
- Avoid constant sustained notes that blur the break
A strong starting shape:
- Bar 1: short root note on beat 1, then a pickup on the “&” of 3
- Bar 2: answer phrase with a longer note on beat 1, then a cut note before beat 4
Then layer a mid bass with the same MIDI, but make it rhythmically more active. Use:
- Wavetable or Analog for a reese-ish core
- Auto Filter with low resonance for movement
- Chorus-Ensemble very subtly if you want width above the low mids only
Keep the mid bass band-limited. A practical starting point:
- High-pass around 90–120 Hz
- Gentle resonance around the moving formant region
- Keep stereo width only above the fundamental zone
Why this works in DnB: the sub stays stable and mono, while the mid layer provides aggression and motion. That separation is essential when the drums are busy and the bass needs to read clearly on systems of all sizes.
3. Shape the bass with stock devices, not giant chains
For an advanced but CPU-aware edit, use a compact chain:
- Saturator
- Auto Filter
- Echo or Delay only if needed and mostly for special moments
- Utility
- optional Drum Buss on the mid layer, not the sub
Suggested settings:
- Saturator: Soft Clip On, Drive 2–8 dB, Output adjusted to match level
- Auto Filter: low-pass or band-pass movement with envelope modulation; keep resonance moderate
- Drum Buss on mid bass: Drive 5–15%, Boom usually off or very low for basslines, Crunch very lightly if you want bark
- Utility: set Width to 0% on the sub to ensure mono discipline
For oldskool/jungle character, use automation on the filter cutoff rather than adding more layers. A simple cutoff sweep across a 4-bar phrase often sounds more authentic than a hyper-complex modern bass patch. If you want tension, automate the mid bass filter to open from around 180 Hz to 900 Hz over 2 bars, then snap back down before the next drum phrase.
4. Resample the bass edit early
This is the biggest CPU saver in the lesson. Once the bass movement is working, resample it to audio so you can commit to the performance and keep the session light.
Create a new audio track called Bass Print and set its input to:
- Resampling, or
- a send from the bass group
Arm the track and record 4–8 bars of your current bass performance. Then:
- Consolidate the best phrases
- Warp only if needed; otherwise keep it as clean audio
- Split the audio into musical chunks for edits
Why this matters: in DnB, many bass sounds are not meant to be endlessly tweaked as MIDI instruments. They’re often performed, printed, and edited like drum hits. This gives you better CPU performance and also locks in a more decisive groove.
Once printed, you can:
- reverse a tail for a fill
- cut a note early to make room for a snare
- duplicate a bass stab into a call-and-response pattern
- apply clip gain to emphasize downbeats
Keep the original MIDI track muted but not deleted in case you want to revise the phrase later.
5. Edit the break around the bass, not the other way around
Advanced DnB editing means the bass and break are a conversation. If the break is too busy in the wrong places, the bass loses authority. If the bass is too dense, the break loses swing.
Use a chopped break track with:
- Simpler in slice mode, or
- manually edited audio clips
For an oldskool vibe, work with:
- kick/snare anchors on the main beats
- ghost notes tucked under the bass
- small snare drag or hat pickup into bar 4 / bar 8
Practical move: carve space in the break where the bass phrase hits. If the bass notes land on beat 1 and the “&” of 3, thin out competing break transients there. You can do this with clip gain, fades, or by moving a ghost hit slightly earlier/later.
A good arrangement example:
- Bars 1–4: stripped break + sub, no full reese yet
- Bars 5–8: introduce the mid bass on alternating phrases
- Bars 9–12: add a stronger break variation and a bass fill on bar 12
- Bars 13–16: full energy, then strip back for transition
This is classic DnB phrasing: restraint first, then escalation.
6. Use macro-style control without overloading the set
If your bass edit needs multiple versions, don’t duplicate huge chains. Use a Rack approach:
- Put your mid bass devices into an Audio Effect Rack
- Map macros for Drive, Filter Cutoff, Width, and Tone
- Use Chain Selector if you want two or three distinct bass characters
Example macro ideas:
- Macro 1: Saturator Drive, range 0–8 dB
- Macro 2: Auto Filter Cutoff, range 200 Hz–2.2 kHz
- Macro 3: Utility Width, range 0–120% but keep low end mono
- Macro 4: Drum Buss Crunch or Transients for attack emphasis
This lets you create:
- a clean intro bass
- a gritty drop bass
- a more open switch-up version
For CPU, keep only one active chain at a time if possible. If you’ve built a few favorite variations, print each one to audio and archive the instrument version.
7. Automate transitions and fills with intention
In darker DnB, the arrangement often lives or dies by the 8-bar phrase movement. Don’t overdo FX—use a few well-placed automation gestures:
- filter opens on the last 1–2 beats before a phrase change
- reverb send spike on a snare at the end of bar 8
- quick delay throw on a bass stab
- tiny pitch or filter movement on a 1-bar fill
Stock device suggestions:
- Echo for dubby throws on selected hits
- Reverb with short decay for atmosphere, not wash
- Auto Pan very subtly on atmos or mid FX, not on the sub
Concrete automation ideas:
- Automate bass filter from 350 Hz to 1.5 kHz over 1 bar, then cut hard at the drop
- Automate send to Echo for only the last snare of a phrase
- Mute the mid bass for a single 1/2-bar gap before the drop returns
These moves give the edit that “DJ record” feel—functional, readable, and hype without being cluttered.
8. Do a bass/drum balance pass with headroom discipline
Now balance the edit like a proper DnB mixdown, not like a loop demo. Start with the kick, snare, and sub. Bring the bass in until it feels powerful but doesn’t swallow the drums.
Practical checks:
- Sub should feel present but not louder than the snare’s impact
- Kick and sub should not fight around the same fundamental
- Mid bass should support the groove, not blur the break
- Use Utility on the bass group to audition mono
- If the bass loses too much in mono, narrow the mid layer or reduce stereo FX
Keep some headroom:
- Avoid hitting the master too hard while arranging
- Leave enough space for later mix processing
- If the bass sounds exciting only when very loud, simplify the patch instead of boosting it
A balanced DnB edit usually sounds slightly “underwhelming” soloed but massive in context. That’s normal.
Common Mistakes
- Fix: keep the sub as a simple mono sine or triangle-based tone with short note lengths.
- Fix: print basses to audio early and keep sound design chains short.
- Fix: high-pass the mid layer around 90–120 Hz and check in mono.
- Fix: keep width above the low end only; use Utility to control stereo discipline.
- Fix: create pockets. Remove or soften break hits where the bass speaks.
- Fix: use a few deliberate automation moments instead of constant movement.
- Fix: make bar 1–4 simpler than bar 9–12. DnB needs tension and release, not constant intensity.
Pro Tips for Darker / Heavier DnB
Use Operator or Analog noise very quietly, high-passed, then saturate lightly. This adds dirt and air without mud.
A little Crunch and Transients can give the reese more bite. Keep Boom minimal or off unless you’re shaping a specific hit.
For a darker vibe, print a bass pass with filter movement and saturation already committed. Then chop the audio for fills and reverses.
Let the bass answer the break. For example, a stab on beat 1, then silence, then a reply on the “&” of 3. That space creates weight.
Check the bass in mono regularly. If the drop still feels huge, you’re in good shape. If it only works in stereo, it’s too fragile.
A tiny reverse hit, clipped bass tail, or snare drag can feel more authentic than polished EDM-style risers.
One 4-bar phrase can be cleaner and more sub-led; the next can be more distorted and mid-heavy. That contrast is very jungle and very effective.
Mini Practice Exercise
Spend 15 minutes making a 16-bar bass edit using only stock Ableton devices.
1. Set tempo to 174 BPM.
2. Write a 2-bar mono sub phrase in Operator.
3. Add a mid bass using Wavetable with a simple reese-ish tone.
4. Shape the mid with Auto Filter, Saturator, and Utility.
5. Resample the bass to audio.
6. Chop the audio into 4 phrase blocks.
7. Add a chopped break with basic kick/snare anchors.
8. Remove or soften break hits wherever the bass lands hard.
9. Add one filter sweep and one Echo throw for a transition.
10. Bounce the result mentally: does it feel like a real DnB drop, or just a loop?
Goal: in 15 minutes, create something that has sub impact, groove, and arrangement movement without needing a huge plugin stack.
Recap
The key to balancing an edit with minimal CPU in Ableton Live 12 is to build the bass intelligently, print it early, and arrange around the groove.
Remember:
If your edit feels tight, heavy, and easy to manage in the project, you’re doing it right. That’s the sweet spot for jungle and oldskool DnB: raw enough to hit, clean enough to finish 🔥

