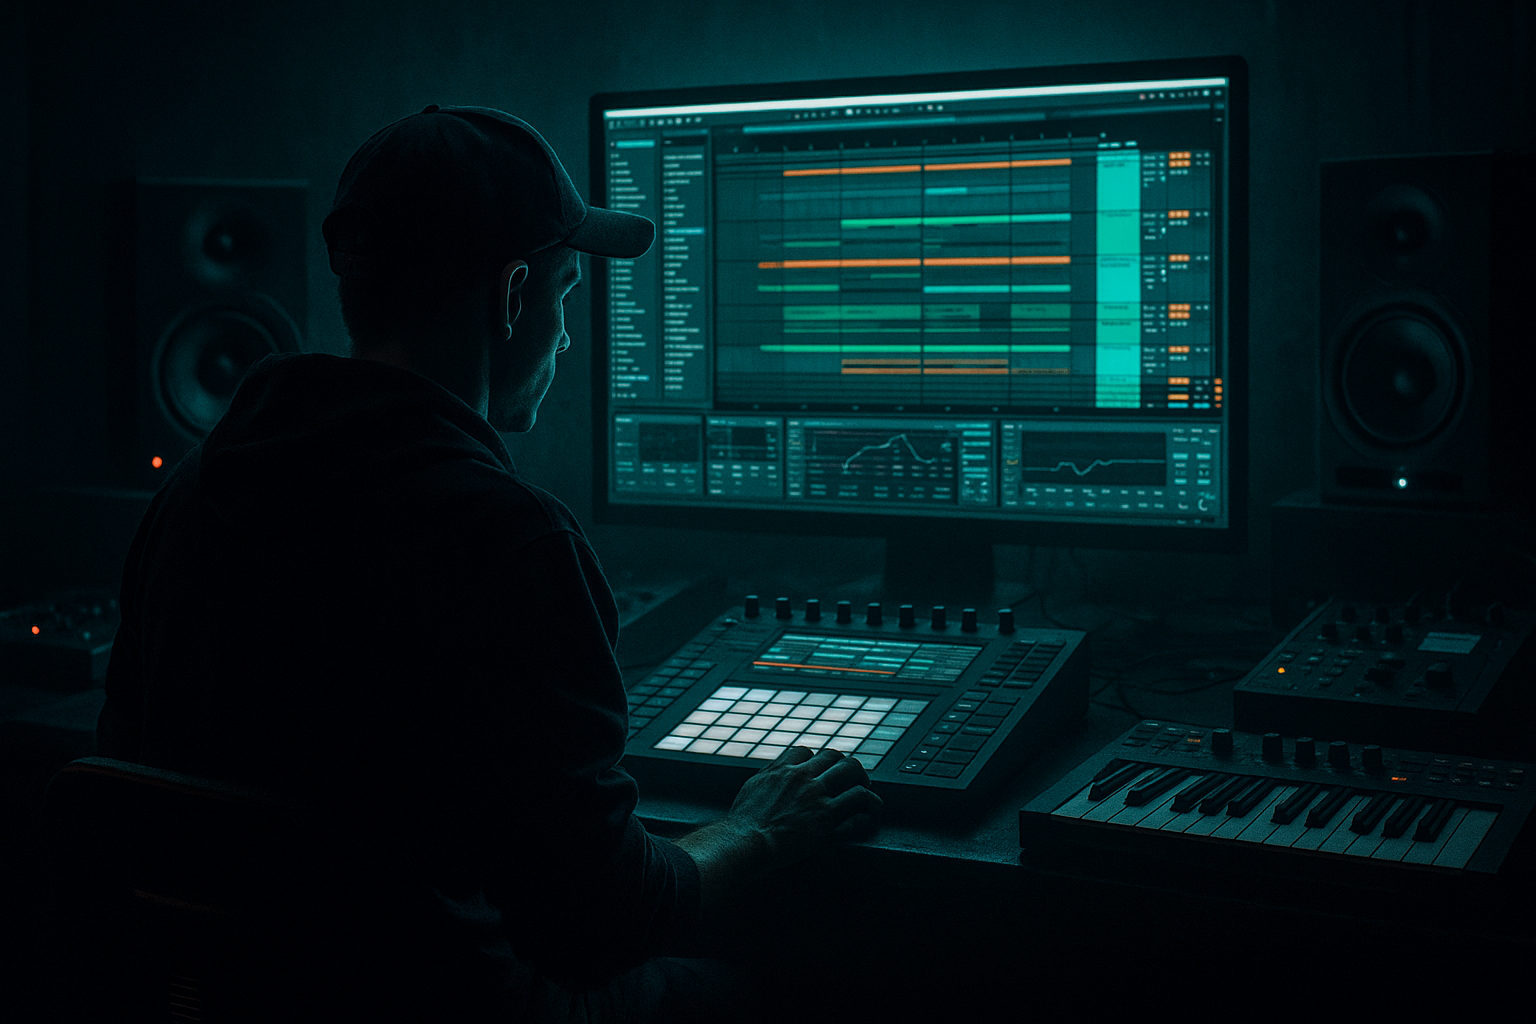
Main tutorial
Lesson Overview
A great DnB roll is not just “more drums.” It’s a controlled burst of momentum that makes the bassline feel more alive, more urgent, and more dangerous. In this lesson, you’ll learn how to balance a break roll with breakbeat surgery in Ableton Live 12 so the roll adds energy without masking the bassline, flattening the groove, or turning the drop into a wall of noise.
This technique matters most in the phrase leading into a switch-up, mini-drop, or 16-bar lift. In dark rollers, neuro-leaning tunes, and jungle-inflected arrangements, the break roll often acts as the bridge between two bass statements: first phrase feels solid and weighty, second phrase gets more unstable, chopped, and tense. If you place it well, the listener feels a clear escalation. If you overdo it, the kick-snare relationship collapses and the sub loses authority.
The key idea here is balance: keep the low-end anchored by the bassline, while the break roll adds texture, forward motion, and syncopated excitement above it. We’ll use Ableton stock tools to surgically edit the break, shape transients, control stereo, and make room for sub and reese movement. 🎛️
What You Will Build
You’ll build a 16-bar DnB drop section with:
- A solid sub anchor in the low end
- A gritty reese or mid-bass layer that ducks around the roll
- A sliced break roll that intensifies over 2 or 4 bars
- Ghost-note detail and micro-edits that feel like proper breakbeat surgery
- A bass/drum call-and-response where the roll pushes energy, then the bass answers hard
- Clean mono-compatible low end with enough width and grit above it for modern dark DnB
- Letting the break roll own the low end
- Over-slicing until the groove dies
- No dynamic contrast between the bass and roll
- Ignoring transient balance
- Too much stereo in the low end
- Roll feels detached from the drop
- Use a two-stage roll: first bar more human and open, second bar tighter and more aggressive. This creates tension before the drop hits harder.
- Layer a very quiet ghost snare or rim beneath the roll to give it a sharper sense of forward motion.
- Add Saturator on the break roll with soft clip mode and just enough drive to thicken transients without flattening them.
- Keep the sub almost boring on purpose. The heavier the drums get, the more valuable a steady low anchor becomes.
- Automate the mid-bass filter to open slightly after the roll, not during it. That delayed payoff feels bigger.
- For neuro-leaning dark rollers, try a reese with subtle LFO movement in Wavetable or Auto Filter, but avoid wide modulation below 120 Hz.
- If the roll is aggressive, reduce bass harmonics in the 300–800 Hz range so the snare crack and break texture stay readable.
- Use a short return send with Echo or Reverb only on selected break hits, not the whole roll. That creates depth without washing out the groove.
- Build the bass foundation first so the roll supports the tune, not the other way around.
- Slice the break with intention: preserve transient clarity, ghost detail, and rhythmic shape.
- Use Drum Buss, Glue Compressor, automation, and EQ to make space between break surgery and bass weight.
- Keep the sub mono and stable; let the break add motion above it.
- Shape the arrangement so the roll functions as a phrase device, not constant clutter.
Musically, this works well in a tune that opens with a restrained 8-bar intro, drops into a rolling bass statement, then uses a 2-bar break roll at the end of bar 8 or bar 16 to signal a switch into a heavier second phrase. Think of it like: “straight roller groove” → “chopped pressure” → “bass slam.” That structure is especially effective in DJ-friendly arrangements.
Step-by-Step Walkthrough
1. Choose the right break and prep it for surgery
Start with a clean break that has strong transient character and usable ghost detail. In DnB, classic Amen-style material, Think breaks, or a solid funk break all work, but the source must have enough body to survive slicing. Drag the break into an audio track and turn on Warp if needed.
In Ableton Live 12, set the clip Warp mode to:
- Beats for punchy, transient-heavy breaks
- Complex Pro only if the break needs full-time stretching and the texture is already dense
For breakbeat surgery, Beats mode is usually the move. Set transient preservation to tighten the attack. If the break feels too loose, shorten the segment by tightening the start and end markers.
Practical target:
- Break loop length: 1 or 2 bars
- Tempo: 170–174 BPM
- Keep the break in a lane where you can duplicate and mangle it without destroying the original
Why this works in DnB: the source break gives human movement and syncopation, but only if the transient shape stays readable at high tempo.
2. Build the bass foundation first, not last
The roll should orbit the bassline, not replace it. Put down your sub and mid-bass before finishing the drum surgery so you can hear what the roll is competing with.
Create two bass layers:
- Sub layer: Operator or Wavetable with a pure sine or near-sine
- Mid layer: Wavetable, Drift, or Operator with a richer waveform for a reese or growl
Suggested sub settings:
- Oscillator: sine
- Low-pass filtering: minimal, if any
- Mono mode: on
- Notes: keep them sustained or slightly staggered for weight
- Headroom target: leave the master peaking around -6 dB before mastering
Suggested mid-bass settings:
- Slight detune on unison, but keep it controlled
- Use Filter Drive or Saturator for weight
- High-pass around 80–120 Hz on the mid layer so it doesn’t fight the sub
- Add Auto Filter with subtle movement synced to 1/8 or 1/16 for motion
At this stage, loop 8 bars and confirm the bassline is already working on its own. The roll should enhance that groove, not save it.
3. Slice the break into usable performance pieces
Duplicate the break to a new track and turn it into a surgical source rather than a single loop. Right-click the clip and use Slice to New MIDI Track if you want a performance-based approach, or manually duplicate the audio clip and cut it into parts directly on the timeline.
For advanced control, a hybrid workflow works best:
- Keep one track as the “full break reference”
- Create one track for sliced kick/snare hits
- Create one track for top-loop fragments and ghost-note accents
If you use Simpler after slicing, switch to:
- Slice mode
- 1/8 or transient-based slicing depending on the source
- Pitch envelopes off unless you want tonal movement
Now create a 2-bar roll using:
- 1/16 snare repeats
- Double-time ghost hats
- Occasional reversed fragments leading into the next bar
- One or two tiny stutters before the downbeat
Keep the edits musical, not random. The break roll should sound like a controlled escalation, not a glitch demo.
4. Shape the roll with groove, velocity, and transient control
Open the MIDI clips for your sliced break if you used Simpler, or work directly with clip gain and fades if you stayed in audio.
For MIDI-sliced breaks:
- Vary velocities so every repeat isn’t identical
- Push the main snare accents higher
- Pull ghost notes down to keep them supportive
- Use slight note-length differences to stop the roll from sounding machine-gun rigid
For audio clips:
- Add tiny fades at cut points to avoid clicks
- Use Clip Gain to balance loud hits before hitting devices
- Shift some hits a few milliseconds late for groove if the break feels too stiff
Insert Drum Buss on the break roll group and try:
- Drive: subtle to moderate, around 5–20%
- Crunch: low to medium for edge
- Boom: cautious, only if the break needs extra lower-mid punch
- Transients: slightly up if the roll is too flat
Add Glue Compressor after Drum Buss if the chop feels fragmented:
- Ratio: 2:1 or 4:1
- Attack: 10–30 ms
- Release: Auto or around 0.1–0.3 s
- Aim for 1–3 dB of gain reduction
Why this works in DnB: the humanized dynamics create a rolling pressure that sits behind the bass rather than competing as a static drum loop.
5. Carve the bass around the roll with automation and selective ducking
The biggest balance issue is usually not the break itself, but the bass sustaining too much midrange during the roll. Use automation and dynamic shaping to make space without thinning the tune.
On your mid-bass track, automate:
- Filter cutoff down slightly during the roll
- Resonance up only if you want a nasty peak into the drop
- Distortion drive down a touch if the break is getting masked
Suggested automation move:
- Over 1 bar before the roll, gradually reduce mid-bass level by 1–2 dB
- At the roll, let the sub stay steady but pull the mid-bass down slightly
- Bring the mid-bass back full-force on the downbeat after the roll
Use Compressor or Glue Compressor sidechained from the break roll to the mid-bass if the bass is stepping on the drums. This is not about pumping for effect; it’s about creating a pocket.
- Fast attack
- Medium release
- Just enough reduction to clear the transient clutter
If the sub and kick are clashing, check the kick’s fundamental and the sub note choice. In darker DnB, a strong low anchor often sits around F, F#, or G territory depending on the tune. Don’t force the roll to compete in the same low register.
6. Create call-and-response between the roll and the bassline
In advanced DnB arrangement, the roll should feel like an answering phrase, not constant decoration. Use a call-and-response pattern:
- Bars 1–2: bassline dominates
- End of bar 2: break roll rises in intensity
- Bar 3: bass hits harder with fewer drum details
- Bar 4: roll returns as a transition or fill
A strong arrangement example:
- 8-bar drop phrase starts with a straight roller bassline
- Bar 7 includes a short 1-bar break chop with a reversed tail
- Bar 8 uses a 2-bar roll into a switch-up
- Second 8 bars bring in an extra top layer or a more aggressive reese modulation
This keeps the listener locked into phrasing. DnB thrives on repeatable structure with small but meaningful variation. If every bar is busy, nothing feels special.
Use Utility on the bass bus to manage width:
- Keep everything below around 120 Hz effectively mono
- Use width only on the mid layer, not the sub
- Check the roll in mono to make sure the groove still works
7. Glue the drums and bass with bus processing, not brute force
Route your break elements to a Drum Bus and your sub/mid layers to a Bass Bus. This gives you clearer control during the roll.
On Drum Bus:
- Drum Buss for glue and grit
- Light EQ Eight to reduce harsh upper mids if the chop gets spitty
- Optional Saturator for extra density, but keep it subtle
On Bass Bus:
- EQ Eight to notch any clash with the kick or snare crack
- Saturator for harmonic audibility on smaller systems
- Utility for mono management and gain staging
Concrete moves:
- High-pass the break roll gently around 90–140 Hz if it’s carrying too much low-end fluff
- Cut any harsh band around 3–6 kHz if the rolled hats become brittle
- If the bass feels cloudy, a small cut around 200–350 Hz can open the drum/bass relationship
Don’t over-EQ the break into a skeleton. The point is to preserve the character of the chopped source while leaving room for the bass to remain the emotional center.
8. Add micro-fills, reverses, and transitions for the final 10%
This is where the surgery becomes premium. Add small edits that make the roll feel intentional and arrangement-aware.
Use:
- Reversed snare tails into the final downbeat
- Tiny muted ghost-hit patterns in the last half-bar
- A one-shot impact or sub drop on the phrase change
- A filtered ambience layer or noise swell for tension
Ableton stock workflows:
- Reverse audio clips directly
- Automate Auto Filter on the break roll for a high-pass sweep into the drop
- Use Delay very subtly on a top fragment for depth, but keep it controlled
- Use Echo on a send if you want a tail that disappears before the next phrase
For a darker tune, a short reverse break fragment before the downbeat can create that “the floor is about to collapse” feeling. Just make sure it doesn’t blur the kick/snare impact.
9. Do a final balance pass with reference listening and arrangement context
Compare your section against a reference roller, jungle revival track, or neuro roller with a similar density. Don’t copy the sound; compare the energy distribution.
Check:
- Can you still feel the sub when the roll enters?
- Does the roll add urgency without stealing the downbeat?
- Is the snare still the loudest rhythmic landmark?
- Does the second phrase feel bigger than the first?
In a DJ-friendly arrangement, make sure the roll isn’t so chaotic that a selector loses the phrasing. You want impact, but the track still needs structure for mixing and crowd movement.
Final test:
- Listen at low volume
- Then mono
- Then on headphones focusing only on the bass/drum relationship
If the drop still feels powerful at low volume, the balance is working.
Common Mistakes
Fix: high-pass the roll gently and keep the sub separate. The break should energize the top and mids, not replace the bass foundation.
Fix: keep some longer fragments intact. A good roll needs a few recognizable break shapes so the ear feels momentum, not random edits.
Fix: automate bass level, filter, or distortion so the roll has room. If everything is equally loud, nothing feels heavy.
Fix: use Drum Buss, clip gain, and tiny fades so the roll punches without spitting. Keep snare anchors clear.
Fix: mono the sub and keep width in the mid-bass or top break elements only. Check Utility and use mono references.
Fix: make the last bar of the roll clearly point into the next bass phrase with a reverse tail, fill, or automation rise.
Pro Tips for Darker / Heavier DnB
Mini Practice Exercise
Set a 15-minute timer and build this:
1. Choose a 1-bar break and loop it at 172 BPM.
2. Slice it into a 2-bar roll using either Simpler or manual audio cuts.
3. Build a simple bassline with:
- a mono sub
- a detuned mid-bass layer
4. Make the roll happen only in bars 7–8 of an 8-bar phrase.
5. Automate the mid-bass down by 1–2 dB during the roll.
6. Add Drum Buss to the break roll and set Drive around 10%.
7. High-pass the roll around 110 Hz.
8. Create one reverse hit into bar 1 of the next phrase.
9. Listen in mono and fix the first thing that masks the sub.
10. Bounce 8 bars and replay it at low volume.
Goal: make the roll feel like an intentional escalation, not just a chopped loop.

