Main tutorial
Lesson Overview
This lesson is about building an “atmosphere offset session” in Ableton Live 12: a modular arrangement strategy where your pads, textures, breaks, foley, and dark ambience are deliberately shifted against the grid and against each other to create that hypnotic, uneased, oldskool jungle / DnB feeling.
In proper Drum & Bass arrangement, atmosphere is not just background decoration. It is a timing weapon. When you offset atmospheres by a few milliseconds, bars, or phrase lengths, you create a sense of motion that makes the drop feel deeper, the break edits feel more alive, and the bassline feel more dangerous. This is especially strong in:
- oldskool jungle: murky pads, tape wobble, chopped break tension
- rollers: atmospheric movement that evolves without overcrowding the drums
- darker neuro / techstep-adjacent DnB: pressure, delay, and controlled chaos
- modern DnB intros and switch-ups: DJ-friendly but still cinematic and alive
- a murky intro that DJs can mix from
- a pre-drop tension build where the air shifts before the bass comes in
- a drop section where atmosphere is present but never smears the low end
- a switch-up / 16-bar variation that creates a scene change without killing momentum
- Letting atmospheres dominate the low mids
- Everything starts on bar 1
- Wide atmospheres fighting the mono bass
- Too much reverb in the drop
- Atmospheres not reacting to the drums
- Random motion with no phrase logic
- Resample your atmosphere after processing
- Use subtle pitch drift on pads
- Keep the bass and atmosphere in a call-and-response relationship
- Automate filters in relation to the snare
- Use very short reverse swells into fills
- Tame harshness instead of muting character
- Make your atmosphere do more in the intro than in the drop
- Atmosphere in DnB is a timing and arrangement tool, not just decoration.
- Use macro-controlled racks to shape darkness, width, motion, and space fast.
- Offset layers by small timing amounts, phrase starts, or track delay to create tension.
- Keep atmospheres out of the sub range and sidechain them so drums stay powerful.
- Arrange atmos across intro, build, drop, variation, and outro with clear phrase logic.
- Resample, automate, and edit the textures so they feel alive, haunted, and unmistakably jungle.
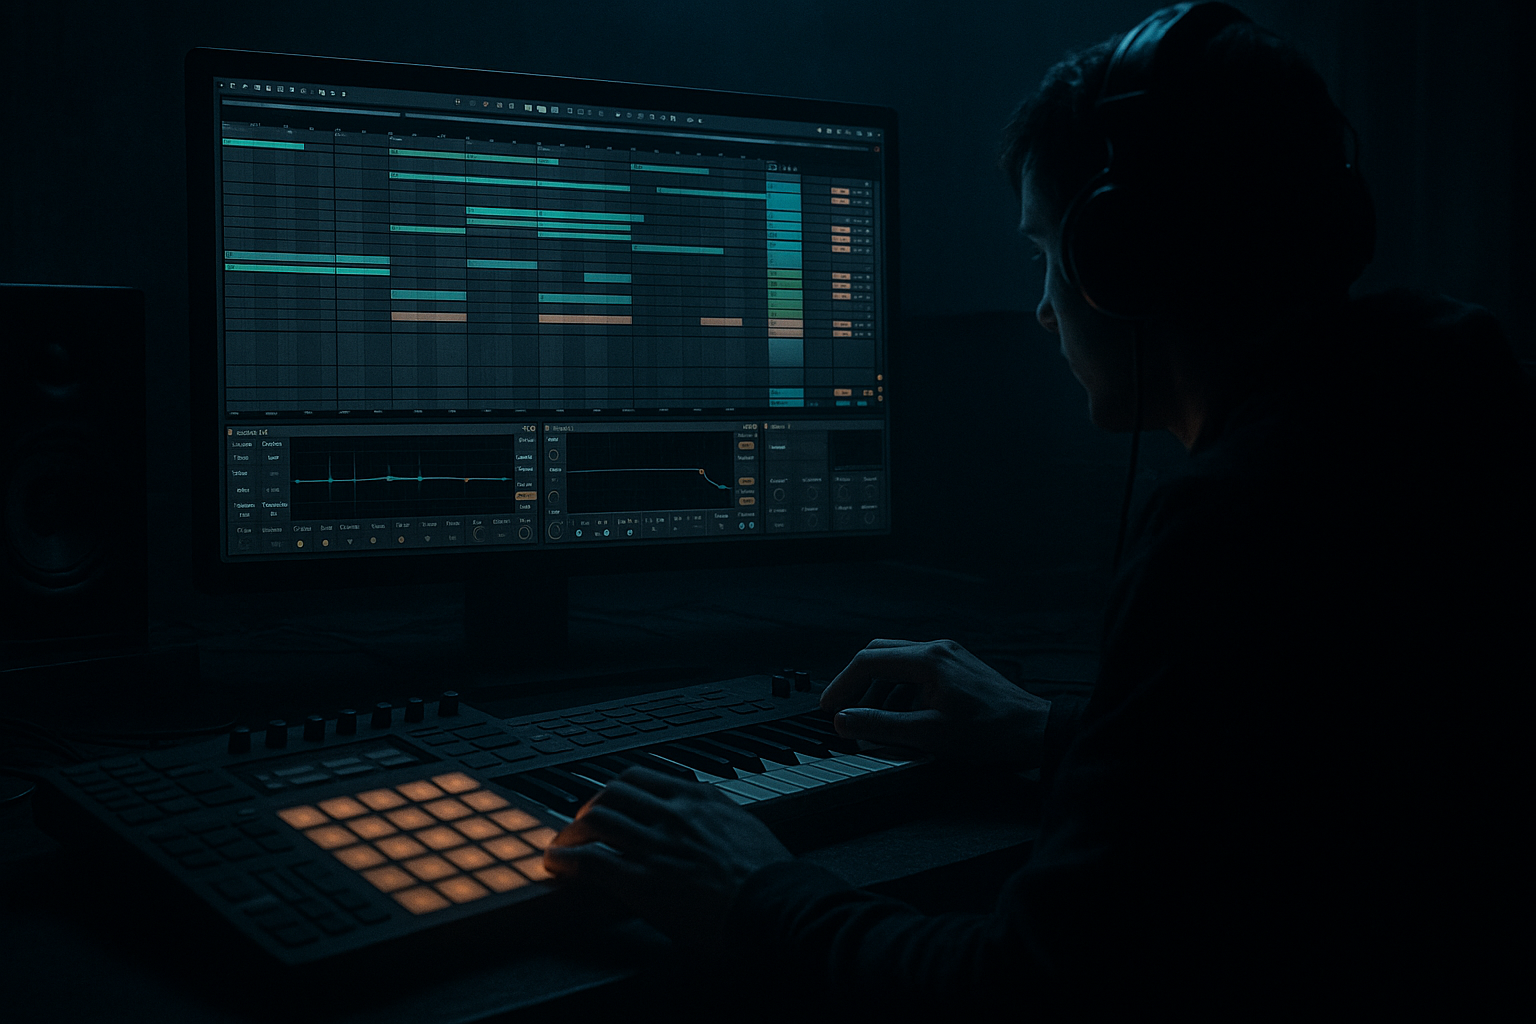
In Ableton Live 12, you can turn this into a repeatable arrangement system using Instrument Racks, Audio Effect Racks, macro mappings, automation, grouping, and scene-based structure. The goal is not just “more atmosphere.” It’s to make the whole track feel like it’s breathing around the drums and bass.
Why this matters in DnB: the genre lives or dies on energy management. If your atmospheres sit exactly on the downbeat with no offset, they often sound static. But if you offset them creatively, they add anticipation, depth, and tension while leaving room for the kick, snare, and sub to hit hard. That contrast is what makes the drop feel bigger. 🎚️
What You Will Build
You will build a four-layer atmospheric arrangement system designed for an advanced jungle / oldskool DnB track:
1. A main pad bed that swells in and out with macro-controlled filter, width, and reverb.
2. A ghost atmosphere layer made from resampled noise, vinyl haze, or tuned tonal texture that arrives slightly late or early to destabilize the groove.
3. A rhythmic atmosphere layer chopped and offset against the break so it “answers” the drums rather than sitting on top of them.
4. A transition FX lane with macro-driven risers, downlifters, reverse hits, and dubby delays for arrangement punctuation.
The end result should feel like:
Musically, you’re aiming for something like a C minor or D# minor oldskool jungle roller with a break-led groove, a Reese bass answering the snare, and atmospheres that drift in from the sides instead of sitting on the beat.
Step-by-Step Walkthrough
1. Build a dedicated Atmosphere Group and keep it separate from drums/bass
In Ableton Live, create a Group Track called ATMOS and place all non-essential tonal and textural elements inside it: pads, drones, vinyl noise, field recordings, short tonal stabs, reverse swells, and atmospheric resamples.
Use audio tracks for resampled material and MIDI tracks for synth-generated atmospheres. Keep the group processing light at first:
- EQ Eight: high-pass around 120–200 Hz on most atmos layers
- Utility: drop width on anything that risks fighting the mono center
- Glue Compressor: only if the group needs cohesive “glue,” ratio 2:1, attack 10–30 ms, release Auto or 0.3 s
Why this works in DnB: your kick, snare, and sub need the center. Atmospheres become more powerful when they are positioned around the rhythm section instead of fighting it.
2. Create a macro-controlled pad rack with movement, not just sustain
On a MIDI track, load a stock Ableton synth such as Wavetable, Operator, or Analog and design a dark pad:
- In Wavetable, use a mellow waveform, low voice count, and slow unison detune
- Filter cutoff around 250–1.2 kHz depending on brightness
- Add a slow envelope for a gentle swell
- Use Chorus-Ensemble lightly for width
Then group the devices into an Instrument Rack and map these macros:
- Macro 1: Filter Open — cutoff range roughly 200 Hz to 2.5 kHz
- Macro 2: Motion — LFO amount or wavetable position
- Macro 3: Width — Chorus amount or Utility width, keep broad only in higher frequencies
- Macro 4: Reverb Throw — Reverb dry/wet 5–35%
- Macro 5: Noise Air — if using Operator or Wavetable noise source, blend 0–20%
- Macro 6: Attack — envelope attack from 20 ms to 2 s
Keep the pad intentionally simple harmonically. In oldskool DnB, a pad that moves slowly from minor root to flat 7th or minor 9th can be enough. You want harmonic implication, not full chord soup.
3. Offset the pad phrases against the bar structure
This is the core technique. Don’t let the pad start exactly with every 4-bar phrase. Instead, automate or clip-launch it with slight offsets:
- Start the pad 1/8 bar late on phrase 1
- Bring in the second layer 1 bar early before the drop
- Let a swell land on the “and” of 4 before a snare fill
- In a 16-bar intro, let the atmosphere “arrive” at bar 5 instead of bar 1
In Arrangement View, use clip envelopes or automation lanes to move:
- filter opening
- reverb wet amount
- volume fades
- delay feedback
You can also use Track Delay on the Atmos group if you want the whole layer to sit slightly behind the groove. Try +10 ms to +25 ms for lazy, dubby drift, or -5 ms to -15 ms if you want the atmosphere to feel like it is leaning forward.
Musical example: in a 174 BPM jungle intro, let the pad enter late on bar 2, swell through bar 4, then duck before the break is fully exposed. That creates suspense without cluttering the break edits.
4. Design a ghost atmosphere layer from resampling
Create a second audio track and record 8–16 bars of your pad, reverb tail, break noise, or a simple synth phrase. Then resample that into a new clip and manipulate it:
- Use Warp to time-stretch it slightly
- Try Texture warp mode for hazy atmospheres
- Add Saturator with soft drive around 2–6 dB
- Add Auto Filter or EQ Eight to shape it
- Add Echo with low feedback (10–25%) and filtered repeats
Now offset this layer against the main pad:
- Nudge the clip start by 10–40 ms
- Or shift it by 1/16 note so it trails the main pad
- Or reverse every second bar for a pull-in effect
This creates the classic “ghost in the room” feeling heard in darker jungle intros. It sounds like the track is haunted by itself.
5. Build a rhythmic atmosphere that interacts with the break
This is where the lesson becomes more arrangement-focused. Create a chopped rhythmic atmos layer from break noise, hats, vinyl crackle, or a filtered stab. Use either:
- Simpler with one-shot slices
- Drum Rack with short atmospheric hits
- or a resampled audio clip chopped in Arrangement View
Then place the hits so they answer the break rather than double it:
- put a texture hit just after the snare
- let a high hiss land before the kick
- add a reverse tail into a ghost note
- leave silence where the snare needs space
Processing chain idea:
- Auto Filter: high-pass around 300–700 Hz
- Redux: subtle bit reduction for grit
- Delay: very short ping-pong or filtered mono delay
- Transient shaping via Drum Buss if the layer needs more click, but keep Drive low
Why this works in DnB: the break already carries a lot of rhythmic information. A rhythmic atmosphere that is slightly off-grid or offset by a 16th note gives the ear movement without making the drums feel crowded. It helps the groove feel “alive” rather than sequenced.
6. Map a full Atmosphere Macro performance page
Use one Audio Effect Rack on the ATMOS Group and map multiple linked controls so you can perform the whole section quickly during arrangement:
- Macro 1: Density — mix of layers or device dry/wet values
- Macro 2: Darkness — filter cutoff across multiple devices
- Macro 3: Space — reverb size or dry/wet
- Macro 4: Motion Rate — LFO rate, delay time modulation, or chorus depth
- Macro 5: Dirt — Saturator, Overdrive, or Redux amount
- Macro 6: Stereo Spread — width only on highs, not on low mids
- Macro 7: Duck — mapped to Compressor threshold or sidechain depth if needed
- Macro 8: Rift — for sudden change, like opening a filter, boosting delay feedback, or reversing a layer
Use this page to make arrangement decisions in real time. For example:
- Intro: Darkness high, Density low
- Pre-drop: Space and Motion rise
- Drop: Density reduced, Duck increased
- Switch-up: Rift macro for a dramatic textural turn
Keep automation broad and musical. You’re not automating every bar randomly; you’re shaping sections.
7. Use sidechain and ducking so atmospheres support the drums
Atmospheres should never blur the kick/snare impact. Add a Compressor to the ATMOS Group with sidechain from the drum buss or kick/snare track:
- Ratio: 2:1 to 4:1
- Attack: 1–10 ms
- Release: 80–250 ms
- Aim for just a few dB of gain reduction
If you want the atmosphere to feel more “pushed away” on snare hits, sidechain the release to breathe after the snare. This is especially effective in jungle where the snare and break are central.
Advanced move: automate the compressor threshold so the atmosphere ducks more in the drop and less in the intro. That lets you keep a rich pad bed without sacrificing drum clarity.
8. Arrange the atmosphere like a story across DJ-friendly sections
In Arrangement View, shape the track with intentional phrase logic:
- 16-bar intro: stripped atmosphere, filtered pad, subtle rhythm noise
- 8-bar pre-drop: more motion, rising tension, reverse tail into the first impact
- Drop 1: atmos reduced to side layers and short punctuations
- 16-bar variation: bring in a new offset pad or a high, unstable texture
- Breakdown / mid-track tension: let the full atmosphere breathe again
- Outro: simplify and filter out low-mid density for DJ mixing
For oldskool DnB, a strong intro often needs enough atmosphere to feel cinematic, but not so much that a DJ can’t mix. A good rule: if your atmosphere can be “sung” over the drums, it may be too loud for the intro.
9. Refine with automation curves, not static clip levels
Don’t leave the atmosphere as a loop that repeats unchanged. Use Arrangement automation on:
- Reverb dry/wet
- Delay feedback
- Filter cutoff
- Pan
- Utility width
- Clip gain / track volume
Make the automation curves feel intentional:
- Use long smooth ramps into drop sections
- Use short snap-downs before snare fills
- Let echoes bloom in the gaps between bass hits
- Pull the pad back right before the first full drum impact
Advanced arrangement trick: automate a small volume dip of 1–2 dB on the atmosphere right before major drum statements. That tiny subtraction makes the drop feel bigger than adding more layers ever will.
Common Mistakes
- Fix: high-pass more aggressively, often 150–250 Hz, and tame 250–500 Hz if the mix gets foggy.
- Fix: offset phrase starts. Let layers enter at different times so the arrangement breathes.
- Fix: keep sub and low mids mono. Use width only above the body of the mix.
- Fix: automate reverb down during bass-heavy sections and let the atmosphere become more focused.
- Fix: use sidechain compression or clip-level ducking so the drums remain the anchor.
- Fix: automate by 4-bar and 8-bar sections. In DnB, arrangement discipline is what makes detail feel expensive.
Pro Tips for Darker / Heavier DnB
- Print a pass with Saturator, Echo, and filtering, then chop the result. Resampling creates those worn, haunted textures that work so well in jungle and techstep.
- A small pitch envelope, slow LFO, or slight detune on layered oscillators creates instability without sounding out of tune. Great for neuro-leaning tension.
- Let the pad answer the bass phrase, not overlap constantly. This is especially powerful when the Reese has syncopated phrases.
- Opening atmosphere brightness right after the snare can make the groove feel like it is expanding outward.
- A reverse 1/8 or 1/4 note atmosphere hit into a snare fill is classic and still works because it gives the listener a subconscious “pull.”
- If your atmosphere has ugly upper-mid bite, try a gentle dip around 2.5–5 kHz before you remove too much life.
- Oldskool energy often comes from the intro and transition sections doing the storytelling, while the drop stays focused and raw.
Mini Practice Exercise
Spend 15 minutes building an atmosphere offset system in a new Ableton project:
1. Make an 8-bar jungle drum loop at 170–174 BPM.
2. Add a dark pad in Wavetable or Operator and map 4 macros: Filter, Motion, Width, Reverb.
3. Duplicate the pad onto a second track and offset the copy by 1/16 note or 15–25 ms using Track Delay.
4. Resample 4 bars of the pad into audio, warp it, and reverse every second bar.
5. Add an Echo and Auto Filter to the resampled layer.
6. Sidechain the ATMOS Group lightly from the kick or drum buss.
7. Arrange 16 bars: intro, tension lift, drop support, and a switch-up.
8. Automate at least three macro moves across those 16 bars.
Goal: make the atmosphere feel like it is circling the groove, not sitting on top of it. When you’re done, mute the drums and check whether the atmos alone tells a story; then bring the drums back and make sure the low-end still hits hard.

