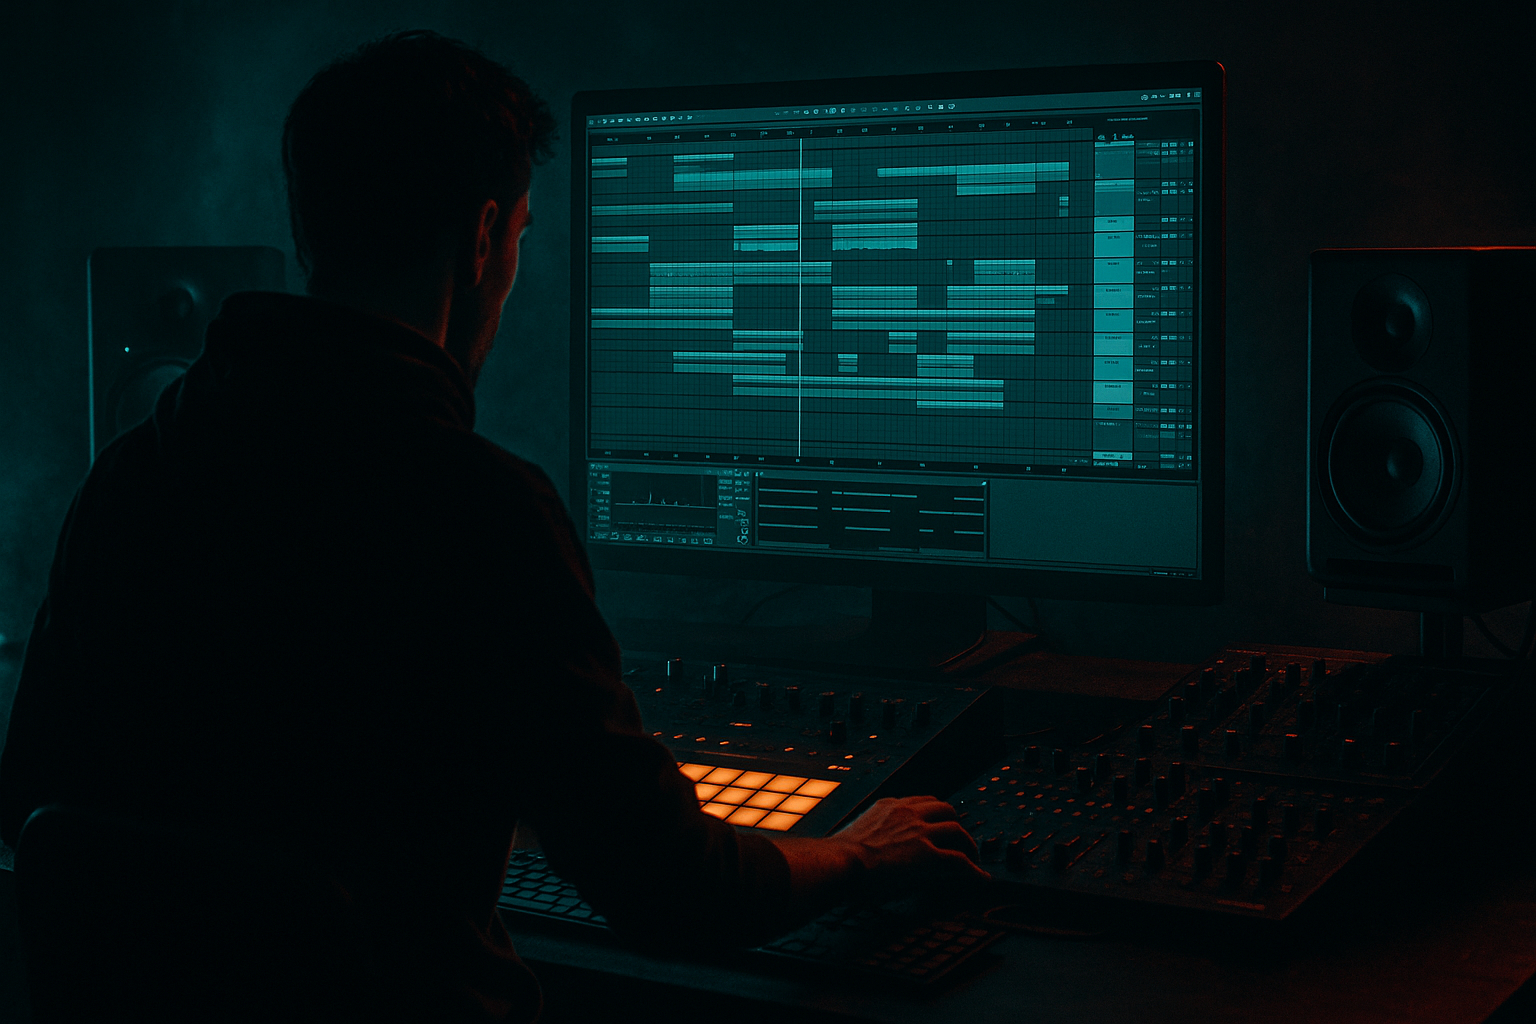
Main tutorial
Atmosphere in Ableton Live 12: polish it with modern punch and vintage soul for jungle oldskool DnB vibes
1. Lesson overview
In jungle and oldskool DnB, atmosphere is not just background noise — it’s the glue that makes breaks, subs, and synth stabs feel like they’re living in a place. For this lesson, we’ll build a riser/atmospheric build-up in Ableton Live 12 that blends:
- Modern punch: clean movement, tight automation, controlled buildup energy
- Vintage soul: dusty texture, tape-style warble, reverb tails, breakbeat-era mood
- DnB function: a riser that helps move the arrangement toward a drop without sounding EDM-polished
- a noise layer for movement
- a pitched synth or sample swell
- reverb and delay space
- filter automation for tension
- optional vinyl/tape-style character
- a mix that leaves room for drums, bass, and sub impact
- a foggy intro moving into a break
- a tension builder before a drop
- an eerie jungle transition with modern low-end discipline
- Track 1: Noise/texture
- Track 2: Tonal riser
- Track 3: FX return for reverb/delay
- Optional: Track 4: Drum break ambience for chopped break fragments
- Auto Filter
- Saturator
- Echo
- Reverb
- vinyl crackle
- tape hiss
- room tone
- chopped break ambience
- reversed piano hit
- ghostly pad stab
- vocal breath or distant shout
- old sample vinyl chord
- Mode: Classic or One-Shot
- Warp: On if needed
- Filter: Low-pass or band-pass
- Envelope: Short attack, medium release
- Pitch: automate upward for the riser
- Chorus-Ensemble
- Redux
- Reverb
- Filter cutoff
- Resonance
- Pitch
- Reverb send
- Delay feedback
- Volume
- Optional: Stereo width
- Start dark and narrow
- Slowly open the filter
- Raise pitch over 2–8 bars
- Increase reverb send in the last half
- Cut lows before the drop
- Add a final burst or reverse tail in the last beat
- Bars 1–2: subtle motion, mostly filtered
- Bars 3–4: more brightness and pitch lift
- Bars 5–6: wider stereo, more delay
- Final bar: fast cutoff open, then a short mute or impact hit
- Warp/sync position
- Unison amount
- Filter cutoff
- Oscillator level
- Use ping-pong for width
- Filter the repeats so they don’t clutter the low end
- Consider automating dry/wet on the send return instead of directly on the track
- Drive: low
- Crunch: light
- Boom: usually off for risers unless you’re shaping a cinematic impact
- Narrow the start
- Widen the end
- Also useful for gain staging
- Use very small shifts for unsettling motion
- Great for darker techstep-influenced atmospheres
- Chop a short section of a classic-style break or percussion loop
- Reverse a tiny slice
- Process it heavily with:
- Layer it quietly behind the main riser
- Sub: remove it
- Low mids: watch carefully
- Presence: enough to cut through
- Top end: controlled shimmer
- High-pass around 150–300 Hz depending on the layer
- Cut muddy low mids around 200–500 Hz if needed
- Boost a little around 3–8 kHz for air if the sound is dull
- Roll off harsh highs if the riser becomes fizzy
- Reverb decay: 6–10 s
- EQ after reverb: high-pass around 250 Hz
- Maybe add slight saturation after the reverb for glue
- Echo sync to project tempo
- Filter the repeats
- Low feedback for movement, not clutter
- Intro: atmospheric bed only
- Pre-build: introduce break fragments or pitch lift
- Last 2 bars before drop: widen stereo, automate filter open, add delay throw
- Last beat: cut the atmosphere or hit it with a reverse swell
- Drop: keep a short tail if you want space, or hard-cut for impact
- EQ Eight: clean low end
- Saturator: light drive
- Glue Compressor
- Utility
- High-pass aggressively enough
- Leave sub and bass duties to the bassline and kick
- Start darker
- Reveal brightness gradually
- Automate pitch, cutoff, width, delay, or reverb send
- Use return tracks
- Filter the reverb tail
- Leave room at the transition
- Consider a short mute or reverse hit before the drop
- Test it with the drums and bass playing
- If it sounds good solo but weak in context, adjust the arrangement
- One Wavetable noise layer
- One Simpler sample layer
- One Auto Filter
- One Echo
- One Reverb
- One Utility
- dark and dusty
- but still tight and modern
- appropriate for a rolling jungle/DnB arrangement
- layering noise + tonal material
- automating filter, pitch, width, and delay
- using stock devices creatively
- adding vintage texture without losing punch
- keeping the low end clean for the drop
- arranging the riser so it enhances the break and bass energy
You’ll learn how to create a riser using stock Ableton devices, then shape it so it works in jungle, rolling DnB, oldskool breakbeat, or darker half-time structures. 🔥
---
2. What you will build
By the end, you’ll have a 2- to 8-bar atmospheric riser made from:
It should feel like:
---
3. Step-by-step walkthrough
Step 1: Start with the right session structure
Create a new group or return track for your atmosphere elements.
Recommended setup:
This helps you automate the atmosphere separately from drums and bass.
Tip: In DnB, keep atmosphere out of the sub range. The riser should support the drop, not muddy it.
---
Step 2: Build a noise source in Ableton Live 12
Use a stock device chain on a MIDI track:
#### Option A: Wavetable noise riser
1. Load Wavetable
2. Choose a basic wavetable or noise source
3. Set oscillator 1 to a noise-based or bright waveform
4. Lower oscillator level if it’s too harsh
5. Open the filter and set:
- Low-pass filter
- Start around 300–800 Hz
- Raise cutoff during the riser
#### Suggested chain:
Wavetable → Auto Filter → Saturator → Echo → Reverb
Device settings to start:
- Type: Low-pass 12 or 24 dB
- Resonance: 10–25%
- Cutoff: automate from low to high
- Drive: 2–6 dB
- Soft Clip: On
- Time: 1/8 or 1/4 dotted depending on tempo
- Feedback: 15–35%
- Filter: high-pass some lows
- Decay: 4–8 s
- Size: medium-large
- Dry/Wet: 10–30% on track, or use send
This gives you a clean modern rise with a controlled edge.
---
Step 3: Add vintage soul with a sampled texture layer
Now add a second layer with more character. This is where the jungle flavor comes alive.
#### Good sample ideas:
Load the sample into Simpler.
Suggested Simpler setup:
#### Chain idea:
Simpler → Auto Filter → Chorus-Ensemble → Redux (light) → Reverb
Settings to try:
- Amount: 10–25%
- Rate: slow
- Width: wide
- Downsample: subtle
- Bit reduction: very light
- Use sparingly for grit
- Decay: 5–10 s
- Low Cut: high enough to avoid mud
This layer gives you that dusty, haunted, oldskool lift.
---
Step 4: Automate pitch and filters for motion
A riser needs shape. In jungle/DnB, the best risers often feel like they’re pulling you forward, not just getting louder.
#### Automate these parameters:
#### Practical automation shape:
Example riser curve:
If you’re using Wavetable, try automating:
This creates a more animated build without needing more tracks.
---
Step 5: Use Ableton stock devices for tension and movement
Here are some very useful Ableton Live devices for this style:
#### Auto Filter
The most important riser tool. Use automation on cutoff and resonance.
#### Echo
Excellent for oldskool delay tails and pre-drop space.
#### Reverb
Use it to create distance and scale, but keep it controlled.
#### Saturator
Adds perceived loudness and edge. Great before reverb or after a sampled layer.
#### Redux
For crunchy jungle texture, but keep it subtle unless you want a lo-fi tear-out feel.
#### Drum Buss
A great way to make atmosphere feel more physical.
#### Utility
Use this to automate width and mono compatibility.
#### Frequency Shifter
Can create eerie movement, especially on noise or pads.
---
Step 6: Add breakbeat DNA
For jungle and oldskool vibes, atmosphere feels stronger when it’s connected to the break.
#### Try this:
- Auto Filter
- Reverb
- Echo
- Gate
This makes the atmosphere feel like it belongs to the drum arrangement, not floating separately.
Workflow tip: Use Simpler with a chopped break fragment and automate the start point or transpose for tension.
---
Step 7: Shape the frequency balance
Atmosphere in DnB should feel big, but not eat the mix.
#### Frequency targets:
Use EQ Eight to clean up the riser:
For a darker vibe, keep the top end slightly rolled off until the last moment.
---
Step 8: Build a return-based atmosphere workflow
A very efficient DnB approach is to use Return tracks for space.
#### Return A: Long reverb
#### Return B: Tempo delay
Then send your riser elements into these returns instead of inserting huge reverb directly on every track.
This keeps the mix cleaner and more flexible when the drop arrives.
---
Step 9: Arrange it like a DnB producer
Atmosphere works best when it supports arrangement energy.
#### Classic build pattern:
#### Strong DnB trick:
Mute the atmosphere right before the drop for a split second.
That contrast makes the kick/snare/bass entry feel heavier.
---
Step 10: Finish with punch and vibe
To make it feel modern and still soulful, add a little controlled processing:
#### On the atmosphere bus:
EQ Eight → Saturator → Glue Compressor → Utility
Suggested approach:
- Ratio: 2:1
- Attack: 10–30 ms
- Release: Auto or around 0.3–0.6 s
- Just a couple dB of gain reduction
- Use width carefully
- Reduce mono incompatibility
You want the atmosphere to feel finished, not overcooked.
---
4. Common mistakes
1. Too much low end
Atmospheres often get muddy fast.
2. Overly bright risers
If the riser is all top end, it sounds cheap or disconnected.
3. No movement
A static pad is not a riser.
4. Too much reverb on the source
Huge reverb can wash out the mix.
5. Clashing with the drop
If the riser is too long or too wide, it can step on the first hit of the drop.
6. Ignoring the drum context
In jungle/DnB, the atmosphere should complement the break.
---
5. Pro tips for darker/heavier DnB
Use frequency shifting for unease
A tiny Frequency Shifter amount can create a haunted, unstable edge. Great for darker technoid or techstep-inspired atmosphere.
Layer a reverse break tail
Reverse a snare or break hit and place it under the riser. This gives that classic tension-and-release feel.
Automate stereo width only at the end
Keep the early riser tighter, then open the width in the final bar. That makes the drop feel wider and more powerful.
Use a short, distorted room layer
A tiny room reverb with a touch of saturation can sound more authentic than a huge glossy hall.
Try tape-style grit
Use Redux or light Saturator on a copy of the atmosphere and blend it underneath.
This creates oldskool grime without destroying clarity.
Keep the bassline in mind
If your bass is busy, let the atmosphere be simpler. If the bass is sparse, the atmosphere can carry more motion.
---
6. Mini practice exercise
Build a 4-bar riser for a jungle DnB drop using only stock Ableton devices.
Requirements:
Steps:
1. Create a noise riser in Wavetable
2. Add a reversed vocal or break fragment in Simpler
3. Automate both layers’ filters to open over 4 bars
4. Add a short Echo throw at the end of bar 3
5. Increase reverb send slowly through bars 3–4
6. Narrow the stereo field at the beginning and widen it before the drop
7. High-pass both layers so no low end survives into the drop
Challenge:
Make it sound:
If it sounds too clean, add subtle saturation or Redux. If it sounds too messy, reduce reverb and cut more low mids.
---
7. Recap
To polish atmosphere in Ableton Live 12 for jungle oldskool DnB vibes, focus on:
The goal is not just “big atmosphere” — it’s atmosphere with purpose: moody, tense, soulful, and ready to slam into a DnB drop. 🥁✨
If you want, I can also turn this into:
1. a Live Set device chain template, or
2. a bar-by-bar arrangement example for a 170 BPM jungle intro into drop.

