Main tutorial
Lesson Overview
A ragga vocal layer can turn a solid DnB tune into a proper jungle statement. In oldskool-inspired Drum & Bass, vocals aren’t just decoration — they’re part of the groove, the attitude, and the call-and-response energy that makes the track feel alive. This lesson shows you how to arrange a ragga vocal layer in Ableton Live 12 so it sits on top of breaks, bass, and atmospheres without fighting the mix.
The goal is to create a vocal edit that feels chopped, rhythmic, and intentional: not a full lead vocal performance, but a layered element that punches through the intro, teases the drop, and helps glue the arrangement together. This technique fits especially well in jungle, rollers with a heritage feel, and darker DnB tracks that need character and edge.
Why it matters: in DnB, arrangement is often about contrast. A ragga vocal can create identity instantly, give the drums something to answer, and keep a repeated bass idea from feeling static. When arranged well, even a short vocal phrase can carry the tune through breakdowns, switch-ups, and DJ-friendly transitions. 🎚️
What You Will Build
You’ll build a compact ragga vocal edit in Ableton Live 12 that can sit across an intro, pre-drop, and first drop.
The result will be:
- A chopped vocal layer made from 1–3 short phrases
- Time-stretched and pitched vocal fragments with a gritty jungle flavour
- A rhythmic arrangement that locks to break edits and bass call-and-response
- A stereo-controlled, mix-ready vocal chain using only Ableton stock devices
- Automation moves for filtering, delay throws, reverb tails, and transition impact
- A version that works both as a hype layer in the drop and as an intro tease before the drop
- 4-8 bar intro with vocal snippets answering the breaks
- A 2-bar build with filter opening and delay throws
- First drop where the vocal lands on the “and” of 2 or the start of bar 4, leaving space for the drums and sub
- Optional double-time fill where the vocal gets cut, repeated, or reversed before the next phrase
- Making the vocal too loud
- Leaving too much low end in the vocal
- Over-warping until the vocal sounds plastic
- Using too much reverb in the drop
- Letting vocal edits mask the snare or break
- Ignoring mono compatibility
- Too many vocal layers at once
- Distort lightly, not aggressively
- Band-limit for authenticity
- Create tension with short delay throws
- Use pitch as arrangement energy
- Ghost the vocal behind the drums
- Keep stereo discipline
- Resample your own edit
- Choose a short ragga phrase with strong rhythmic attitude.
- Warp and slice it so it behaves like a DnB edit, not a full vocal line.
- Place the vocal around the break and bass, not on top of the busiest low-end moments.
- Use stock Ableton effects like EQ Eight, Auto Filter, Saturator, Echo, and Reverb to add grit and movement.
- Automate changes across 8- and 16-bar phrases to support the arrangement.
- Keep the vocal raw, focused, and dancefloor-friendly so it reinforces the jungle/oldskool energy without muddying the mix.
Musically, think:
This is not about making the vocal dominate. It’s about placing it like a DJ tool inside the arrangement.
Step-by-Step Walkthrough
1. Choose or prepare a vocal phrase with clear attitude
Start with a short ragga phrase, chant, or MC-style line that has a strong rhythmic accent. For oldskool jungle vibes, you want something with personality and space between words — not a long continuous lyric.
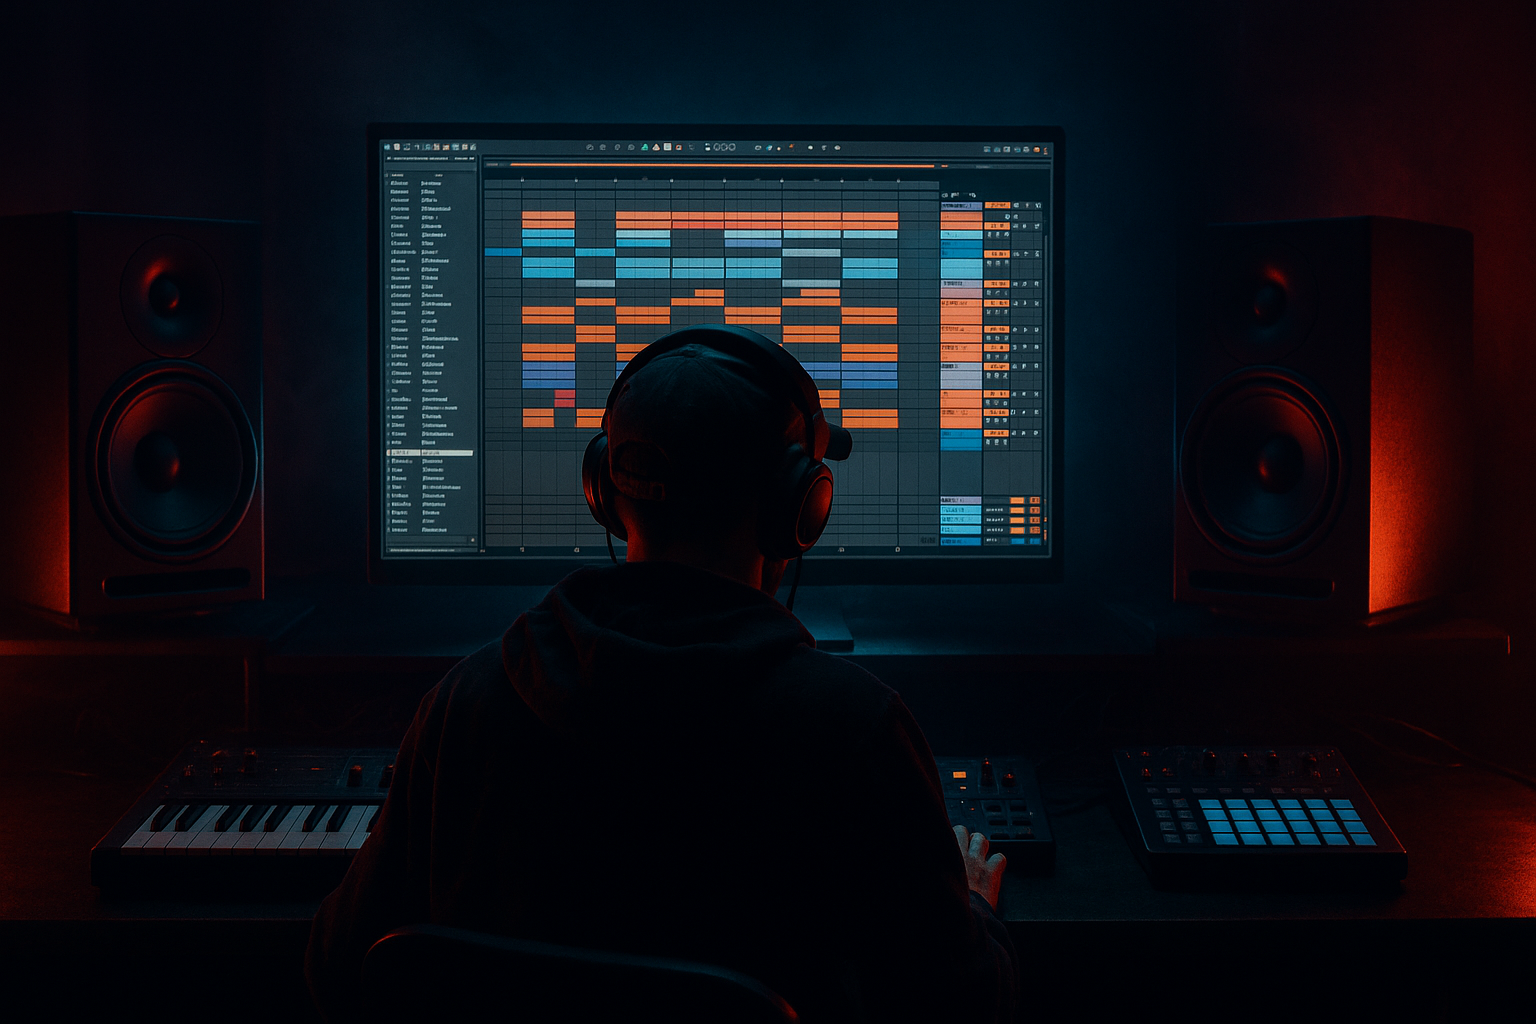
In Ableton Live 12, drag the vocal clip into Arrangement View and listen for:
- strong consonants or shouted syllables
- words that can be chopped into 1/2-beat or 1-beat hits
- phrases that leave natural gaps for drums and bass
If the file is too busy, use Clip View to isolate the most useful parts. Slice away dead space and keep only the punchy sections. For a more authentic edit feel, choose phrases that can act like DJ hype calls: “come again,” “inna yard,” “pull up,” “move it,” “hear this,” or similar energy.
Why this works in DnB: jungle and oldskool DnB often rely on short vocal hooks that function like percussion. A well-chosen phrase can reinforce the break rhythm instead of crowding it.
2. Warp the vocal so it sits tightly on the grid, but don’t over-flatten it
Open the clip in Clip View and set Warp correctly. For ragga vocals, try:
- Warp Mode: Complex Pro for smoother sustained phrases
- Warp Mode: Beats for more chopped, percussive bits
- Start with Complex Pro, then switch if the vocal feels too smeared
For a more rhythmic, chopped edit:
- place warp markers on key syllables
- tighten the phrases to the grid
- keep some slight natural swing so it still feels human
Useful starting points:
- Formants: -1 to +2 semitones if you pitch the vocal down or up
- Transpose: try -3 to -7 semitones for darker, weightier energy
- Preserve formants if you want the voice to stay believable after pitch moves
If the vocal is becoming too polished, deliberately leave one or two phrases a little loose. Oldskool jungle often sounds exciting because it’s edited, but not clinically perfect.
3. Slice the vocal into usable rhythmic units
Now turn the vocal into an edit instrument. Right-click the clip and use Slice to New MIDI Track, or manually duplicate the audio clip into multiple regions on the Arrangement timeline.
Best practice for this style:
- create 1-bar and 2-bar chunks
- slice at syllables, breaths, and emphasized words
- keep a few “utility chops” like single words, grunts, or ending consonants
If you use Slice to New MIDI Track, choose a slicing mode that gives you control over transient-based hits. Then trigger the slices from a Drum Rack or MIDI track and arrange them like percussion. This is a very DnB-friendly method because vocal edits can lock to break programming in the same way as hats or ghost snares.
Set up 3 categories:
- main phrase hits
- filler chops
- transition throws or reverses
Arrange them in clips so you can quickly audition different call-and-response patterns against the drums.
4. Build the first rhythmic placement around the break
Place the vocal so it answers the drums, not competes with them. In jungle oldskool arrangements, a strong move is to let the break speak first, then drop a vocal hit just after a snare or at the tail of a fill.
Try one of these placements:
- a vocal hit on bar 2 beat 4 to lead into bar 3
- a chopped phrase on the last half of bar 4 before a drop
- a repeated 1-beat vocal stab under a break turnaround
In Arrangement View, zoom in and line the vocal edits against:
- snare accents
- break fills
- kick-sub landmarks
- bass note changes
For example, if your bassline lands on bar 1 and bar 3, place the vocal on the off-beats or in the spaces between those notes. This keeps the low-end clean while the vocal adds momentum.
A strong oldskool-style arrangement example:
- 8-bar intro: filtered break, distant atmos, one vocal teaser every 2 bars
- 8-bar build: vocal gets more present, with shorter gaps and rising filter
- first drop: full drums and bass, vocal becomes call-and-response, not a lead
- bar 9 of the drop: one stripped vocal hit with delay tail for a switch-up
5. Create vocal movement with stock Ableton effects
Put the vocal on its own audio track and build a clean effect chain using stock devices. A practical starting chain:
- EQ Eight
- Auto Filter
- Saturator
- Compressor or Glue Compressor
- Echo
- Reverb
- Utility
Suggested starting settings:
- EQ Eight: high-pass around 120–180 Hz to leave room for sub
- EQ Eight: cut harshness around 2.5–5 kHz if the vocal bites too hard
- Auto Filter: low-pass sweep from about 300 Hz up to 8–12 kHz across the build
- Saturator: Drive around 2–6 dB for grit
- Echo: Time set to 1/8 or 1/4, Feedback 15–35%
- Reverb: Decay around 1.2–2.8 s, Dry/Wet low unless automated
- Utility: use Width to keep the vocal focused when the drop is busy
Automate the Auto Filter cutoff during the intro and pre-drop. This is one of the most useful moves in DnB because it lets the vocal evolve without adding more notes. Then automate a short Echo throw on the last word of a phrase to create a classic rave tail.
Keep the effect chain lean. Ragga vocal layers in jungle work best when they feel raw and deliberate, not washed out.
6. Edit the vocal like a drum pattern
This is where the lesson becomes properly DnB. Don’t think like a singer editor — think like a breakbeat programmer.
Use Arrangement View to chop the vocal into a pattern that interacts with the drums:
- duplicate one phrase hit across 2 bars
- remove every second hit to create syncopation
- offset a final word by a 1/16 or 1/8 to make the groove lurch
- reverse a vocal tail into a snare fill or drop impact
Good pattern ideas:
- hit, rest, hit-hit, rest
- phrase on bar 1, chopped response on bar 2
- long phrase in the intro, then micro-chops in the drop
Use Clip Gain or clip volume automation to shape the accents. A 2-4 dB lift on important words can make the edit feel intentional without needing heavy compression.
If you want extra oldskool flavour, duplicate the vocal phrase and pitch one layer down an octave or a fifth. Keep it low in the mix and band-limit it so it acts like a ghost layer rather than a second lead.
7. Lock the vocal to the bassline and leave space for the sub
In DnB, the vocal layer should never fight the sub. Check where your bassline hits are strongest and avoid placing vocal syllables over the busiest low-end moments unless that clash is part of the design.
Practical placement rules:
- keep strong vocal hits off the same exact moment as big sub drops
- use call-and-response: bass phrase, vocal reply, bass phrase
- if the bass is busy, shorten the vocal edits
- if the bass is sparse, allow a slightly longer vocal tail
A useful workflow in Ableton:
- loop 2 bars of drums and bass
- audition vocal placement in tiny changes of 1/16
- check the mix in mono with Utility
- remove any vocal low-end below 120–180 Hz using EQ Eight
This matters because the vocal should add energy to the arrangement, not cloud the kick-sub relationship. In darker DnB, the clarity of the low end is often what separates a professional tune from a messy sketch.
8. Automate transitions and switch-ups for arrangement impact
Once the vocal pattern is working, use it to shape the arrangement. The vocal should help signal changes, especially in 16-bar and 32-bar phrasing.
Strong automation ideas:
- filter opening during a 4- or 8-bar build
- reverb send increase on the final word before a drop
- echo feedback ramp for a one-time transition
- short pitch automation on a phrase end for tension
- utility width narrowing before the drop, then widening after impact
Good DnB arrangement move:
- bars 1-8: sparse vocal teases
- bars 9-16: vocal gets more frequent
- bar 16: quick silence or stripped-down vocal stab
- bar 17: full drop with one recognisable vocal hook reintroduced
If the track is rolling or neuro-influenced, you can use the vocal as a tension marker every 8 bars. If the tune is more jungle/oldskool, a more repetitive chant can feel more authentic and dancefloor-friendly.
Common Mistakes
- Fix: lower the fader first, then use clip gain for phrase accents. The vocal should sit inside the track, not sit on top of it.
- Fix: high-pass with EQ Eight around 120–180 Hz, sometimes higher if the sample is muddy.
- Fix: reduce warp markers, keep some natural timing, and avoid forcing every syllable perfectly rigid.
- Fix: keep the dry vocal tight in the drop and automate reverb only on selected words or transitions.
- Fix: move the vocal 1/16 earlier or later, or shorten the clip so the transient doesn’t collide.
- Fix: use Utility to check width and collapse the vocal if it gets phasey or washy.
- Fix: keep one main layer and one ghost layer. More than that can kill clarity fast in DnB.
Pro Tips for Darker / Heavier DnB
- Use Saturator or Pedal with subtle drive to give the vocal a grimy edge. Aim for character, not obvious clipping.
- A vocal filtered to roughly 250 Hz–8 kHz can feel like a sampled jungle record or radio transmission.
- Send only the final word of a phrase to Echo with short feedback. This creates movement without cluttering the whole arrangement.
- Drop a phrase down 3–7 semitones for a darker pre-drop cue, then bring the main layer back to original pitch at impact.
- Duplicate a phrase, low-pass it, and tuck it under the breaks at very low volume. This adds subliminal vibe and depth.
- Use Utility to narrow the vocal during dense drop sections. Wider isn’t always better in heavy DnB.
- Once you’ve built a good phrase pattern, resample 4 bars of it and re-edit the bounce. This gives a more integrated, “part of the tune” feel.
Mini Practice Exercise
Spend 10–20 minutes making a ragga vocal edit for an 8-bar jungle drop.
1. Pick a vocal phrase with 2–4 strong words.
2. Slice it into at least 4 usable hits.
3. Place one hit on bar 2 or 4 as a call-and-response moment with the break.
4. Add EQ Eight high-pass, Saturator, and Echo.
5. Automate the filter from dull to bright across 4 bars.
6. Create one delay throw on the last word before the drop.
7. Check the whole thing in mono and trim any muddy lows.
8. Duplicate the pattern into the next 8 bars and change only one thing: timing, pitch, or effect amount.
Goal: make the vocal feel like part of the drum arrangement, not a separate layer.

