Main tutorial
Lesson Overview
In this lesson you’ll build a crunchy sampler rack in Ableton Live 12 that gives you that oldskool jungle / early DnB texture: gritty, dusty, slightly unstable, and full of movement. This is the kind of sound that sits perfectly in a roller, a dark jungle drop, or under a breakbeat-led intro before the main bassline comes in.
The goal is not to make a clean modern sample instrument. The goal is to make something that feels like it was pulled through an old sampler, pushed hard, and then shaped into a usable DnB texture. Think: bitcrushed break fragments, crunchy top layers, low-mid grit, and automated movement that keeps the loop alive.
Why this matters in DnB:
- Jungle and oldskool DnB often sound exciting because of texture, not just notes.
- A sampler rack lets you turn one source into a performance-ready instrument with variation.
- Automation is what stops the loop from feeling static, especially in 8- or 16-bar sections.
- This approach works for drum layers, one-shot chops, vocal bits, atmospheres, and bass texture.
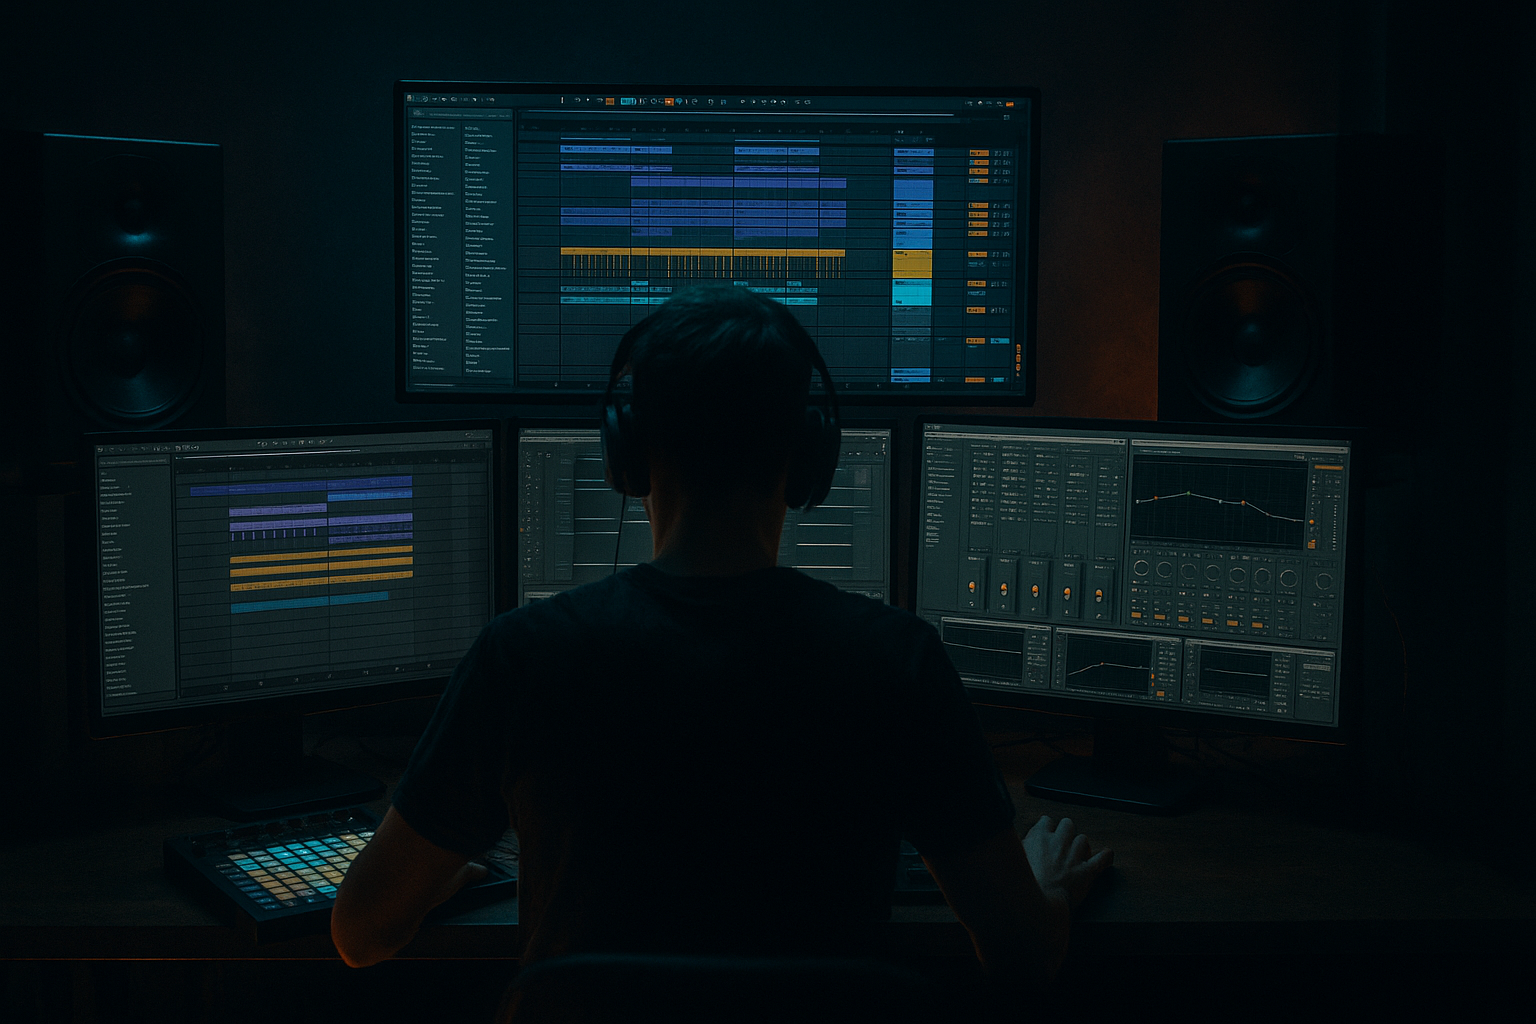
- Simpler
- Drum Rack
- Auto Filter
- Saturator
- Redux
- Erosion
- EQ Eight
- Utility
- Compressor
- LFO in Max for Live if available, but we’ll keep the main workflow stock-friendly
- Intro atmospheres with filter automation
- Drop accents that answer the bassline
- Breakbeat fills in the last 1 or 2 beats before a new section
- Subtle texture under a reese or amen
- Oldskool jungle switch-ups between 8-bar phrases
- crunchy, not harsh
- dirty, not broken
- animated, not random
- lo-fi, but still usable in a mix
- Making it too lo-fi too early
- Letting the low end get messy
- Automating everything at once
- Using too much distortion on all layers
- Ignoring the drum groove
- No contrast between sections
- Keep the top layer narrow or controlled and only widen it in fills. This helps the mix stay focused in the drop.
- Use subtle pitch movement on one layer if the sample feels too static. Even a small detune can create a more haunted feel.
- Automate filter cutoff on a 2-bar cycle for a nervous, rolling motion that fits darker neuro-influenced DnB.
- Duplicate the rack and make a “drop version” with slightly more drive and a slightly more closed filter. That gives you instant arrangement contrast.
- Use short gaps in your MIDI pattern so the texture punches like a drum fill instead of becoming a wash.
- Cut harshness around 3–6 kHz if the crunch starts to stab your ears. Dark DnB can be gritty without being painful.
- Resample with automation on and keep the best accidental moments. Those often become the most authentic jungle details.
- For heavier sections, pair the rack with a tight reese or sub-bass and keep the sampler texture sitting above the sub, not competing with it.
- Build a 3-layer sampler rack
- Use Simpler + stock effects to create crunch, dust, and low grit
- Map key controls to Macros
- Automate the rack so it evolves across the arrangement
- Keep the low end clean and the rhythm tight
- Resample when you find a sound that feels like jungle history 🎛️
You’ll use Ableton stock devices only, mainly:
---
What You Will Build
By the end, you’ll have a Sampler Rack with 3 texture layers that you can play from MIDI or trigger with short clips:
1. Main crunchy sampler layer
A chopped break or one-shot source with bit depth reduction, drive, and filtering for that worn cassette / old hardware sampler feel.
2. Air and crackle layer
A higher, more brittle top layer that adds dust, movement, and a slightly broken edge.
3. Low-mid grit layer
A darker layer that can sit under drums or bass to add body without becoming muddy.
Musically, this rack can be used for:
The sound should feel:
---
Step-by-Step Walkthrough
1. Choose a source that already has attitude
Start with one of these:
- a chopped amen or breakbeat
- a single snare hit with room tone
- a vocal stab
- a dusty percussion loop
- a short bass sample with character
For beginner ease, pick something with obvious texture already. Drag it into a new MIDI track and load it into Simpler.
In Simpler:
- Set mode to Classic for a more sample-player feel
- Turn on Warp only if needed
- Start with Start around 0% and End around 100%, then shorten later if necessary
- Set Trigger mode if you want one-shot style hits, or Gate if you want more playable control
Why this works in DnB: jungle textures often come from reusing a sample in new ways rather than building every sound from scratch. A strong source gives you instant character before any processing.
2. Make a simple 3-layer rack
Create a Instrument Rack and place three Simpler chains inside it. You can duplicate the original chain twice.
Name them:
- Crunch Main
- Dust Top
- Grit Low
Suggested starting roles:
- Crunch Main: your main broken sample texture
- Dust Top: high-passed noise, crackle, or a brighter fragment
- Grit Low: a darker, filtered version for thickness
This layering is useful in DnB because a single sample often either sounds too thin or too busy. Layering gives you control over weight, texture, and brightness separately.
Practical move:
- On Dust Top, high-pass aggressively later
- On Grit Low, low-pass and keep it mono
- On Crunch Main, keep the most balanced middle
3. Shape each chain with stock devices
Put a small device chain on each Simpler:
Crunch Main
- Saturator: Drive around 3–7 dB
- Redux: Bit Reduction subtle to medium, start around 8–12 bits
- Auto Filter: Low-pass around 8–12 kHz for a darker old sampler tone
- EQ Eight: cut a little mud around 200–400 Hz if needed
Dust Top
- Auto Filter: High-pass around 500 Hz to 1.5 kHz
- Erosion: use Noise mode lightly, Amount around 0.5–2.0
- Utility: reduce gain if it gets sharp
Grit Low
- Auto Filter: low-pass around 200–600 Hz
- Saturator: Drive around 2–5 dB
- Utility: keep this layer mono
Keep the settings modest. For beginner workflows, the goal is controlled grime, not destruction.
4. Map the rack to a few performance controls
Open the Macro mappings and assign the most useful parameters:
- Macro 1: Main Filter Frequency
- Macro 2: Crunch Drive
- Macro 3: Bit Reduction / Redux
- Macro 4: Top Layer Amount
- Macro 5: Low Layer Level
- Macro 6: Stereo Width via Utility on the top layer only
Suggested macro behavior:
- Macro 1 = opening the sound for builds, closing it for tension
- Macro 2 = increasing crunch in a drop
- Macro 3 = adding old sampler grit during fills
- Macro 4 = bringing dust in only when needed
- Macro 5 = thickening a sparse section
- Macro 6 = widening only the top layer, not the sub or core
Why this matters: in DnB, automation usually needs to move fast and clearly. Macros let you control multiple devices with one move, which is perfect when you’re arranging 8-bar phrases and want fast decisions.
5. Set up Automation for movement, not chaos
This is the heart of the lesson. Instead of leaving the rack static, automate it across the arrangement.
Start with these automation ideas:
- Filter cutoff rising over 4 or 8 bars in an intro
- Drive increasing during the last 2 bars before a drop
- Redux amount pulsing slightly on selected hits
- Layer level changes between sections
- Stereo width opening in breaks and tightening in drops
A simple beginner automation pattern:
- Bars 1–4: Filter fairly closed, crunchy but muted
- Bars 5–8: Open the filter gradually by about 20–40%
- Last bar before drop: increase Drive slightly and drop the top layer a little
- First 2 bars of drop: bring the rack back in with full midrange
- Bar 9 or 10: automate a quick filter dip for a call-and-response feel
In Ableton, draw smooth curves in Arrangement View or use clip envelopes in Session View. Keep it readable. Jungle works best when the listener can feel the change happening.
6. Use notes and clip placement like a drummer would
Don’t just hold one long note and hope the rack carries the groove. Program short MIDI clips with rhythm.
Beginner-friendly note ideas:
- 1/8 notes with gaps for bounce
- Offbeat hits to answer the kick and snare
- Short stabs at the end of every 2 bars
- A tiny fill before the snare turnaround
Musical example:
- In an 8-bar dark roller intro, place the crunchy sampler on bars 3 and 7 as a call-and-response accent.
- In a jungle drop, use short hits on the “and” of beat 4 to push into the next bar.
- In a breakdown, let the sampler play a longer phrase while automating the filter closed-to-open.
This works in DnB because rhythm is everything. A texture sound becomes musical when it’s placed like percussion.
7. Control the low end and make room for the drum bus
If your sampled texture has low frequencies, be ruthless. DnB mixes need a clean relationship between kick, snare, sub, and texture.
Do this:
- Put Utility on the low layer and keep it mono
- Use EQ Eight to cut unnecessary sub below 80–120 Hz on the main texture
- For the top layer, high-pass even higher if it competes with hats or cymbals
- If needed, place Compressor with gentle gain reduction to tame peaks
Important beginner rule: this rack should support the drum/bass groove, not fight it. If your sub and kick are strong, keep the sampler texture focused in the low-mid and high-mid zones, not the sub zone.
8. Automate small changes every 4 or 8 bars
DnB arrangements often live or die on subtle variation. Your sampler rack should evolve.
Use these automation moves:
- Raise Crunch Drive by a tiny amount before each drop
- Close the filter for tension at the end of a 16-bar phrase
- Bring in Dust Top for 2 bars, then pull it out
- Increase Utility gain on Grit Low only during the drop
- Automate a quick filter sweep down for a transition hit
Good beginner rule: automate one main thing per section and maybe one smaller supporting move. Too much movement can blur the groove.
9. Resample the rack if you want more jungle character
Once the rack feels good, record it to audio. This is a classic jungle-style workflow and very useful for beginners because it locks in the vibe.
In Ableton:
- Route the rack to a new audio track
- Record a 4- or 8-bar pass
- Slice the recorded audio into smaller pieces
- Reuse the strongest hits as fills or transitions
Why this works in DnB: resampling gives you that slightly unpredictable, hardware-like feel. It also lets you commit to a sound and move faster in arrangement.
Try this for an oldskool feel:
- Record the rack with automation playing
- Slice the result into 1-bar or half-bar chunks
- Rearrange the best crunchy moments into a new intro or breakdown
---
Common Mistakes
Fix: start with a clean-ish source and add dirt gradually. If the source is already mangled, the rack may lose punch.
Fix: high-pass the texture layers and keep the true sub in its own lane. Use Utility for mono control.
Fix: in beginner DnB, one clear automation lane is usually enough per section. Keep the movement intentional.
Fix: let only one layer carry most of the crunch. Keep the others simpler so the rack still breathes.
Fix: place the sampler hits around the kick and snare pattern. Jungle energy comes from rhythm, not just sound design.
Fix: automate the rack darker in the intro and brighter or heavier in the drop. DnB arrangement needs tension and release.
---
Pro Tips for Darker / Heavier DnB
---
Mini Practice Exercise
Spend 10–20 minutes building this:
1. Find one short sample with attitude: an amen chop, percussion hit, vocal fragment, or dusty loop.
2. Load it into Simpler and duplicate it into 3 chains inside an Instrument Rack.
3. Set up:
- one crunchy middle layer
- one high dust layer
- one low grit layer
4. Add Saturator, Redux, Auto Filter, and EQ Eight where needed.
5. Map 4 macros:
- filter
- drive
- bit reduction
- top layer volume
6. Create an 8-bar MIDI clip with short hits on the offbeats and a small fill at the end.
7. Automate the filter to open across the 8 bars.
8. Make the last 2 bars slightly more aggressive by increasing drive a little.
9. Resample the result for 1 pass.
10. Slice the best 2 or 3 moments and place them as transitions in a mock drop.
If you finish early, make a second version that is darker by closing the filter and reducing the top layer.
---
Recap
The core idea is simple:
If you remember just one thing: in DnB, texture becomes powerful when it moves with the arrangement and supports the drum groove.

