Main tutorial
```markdown
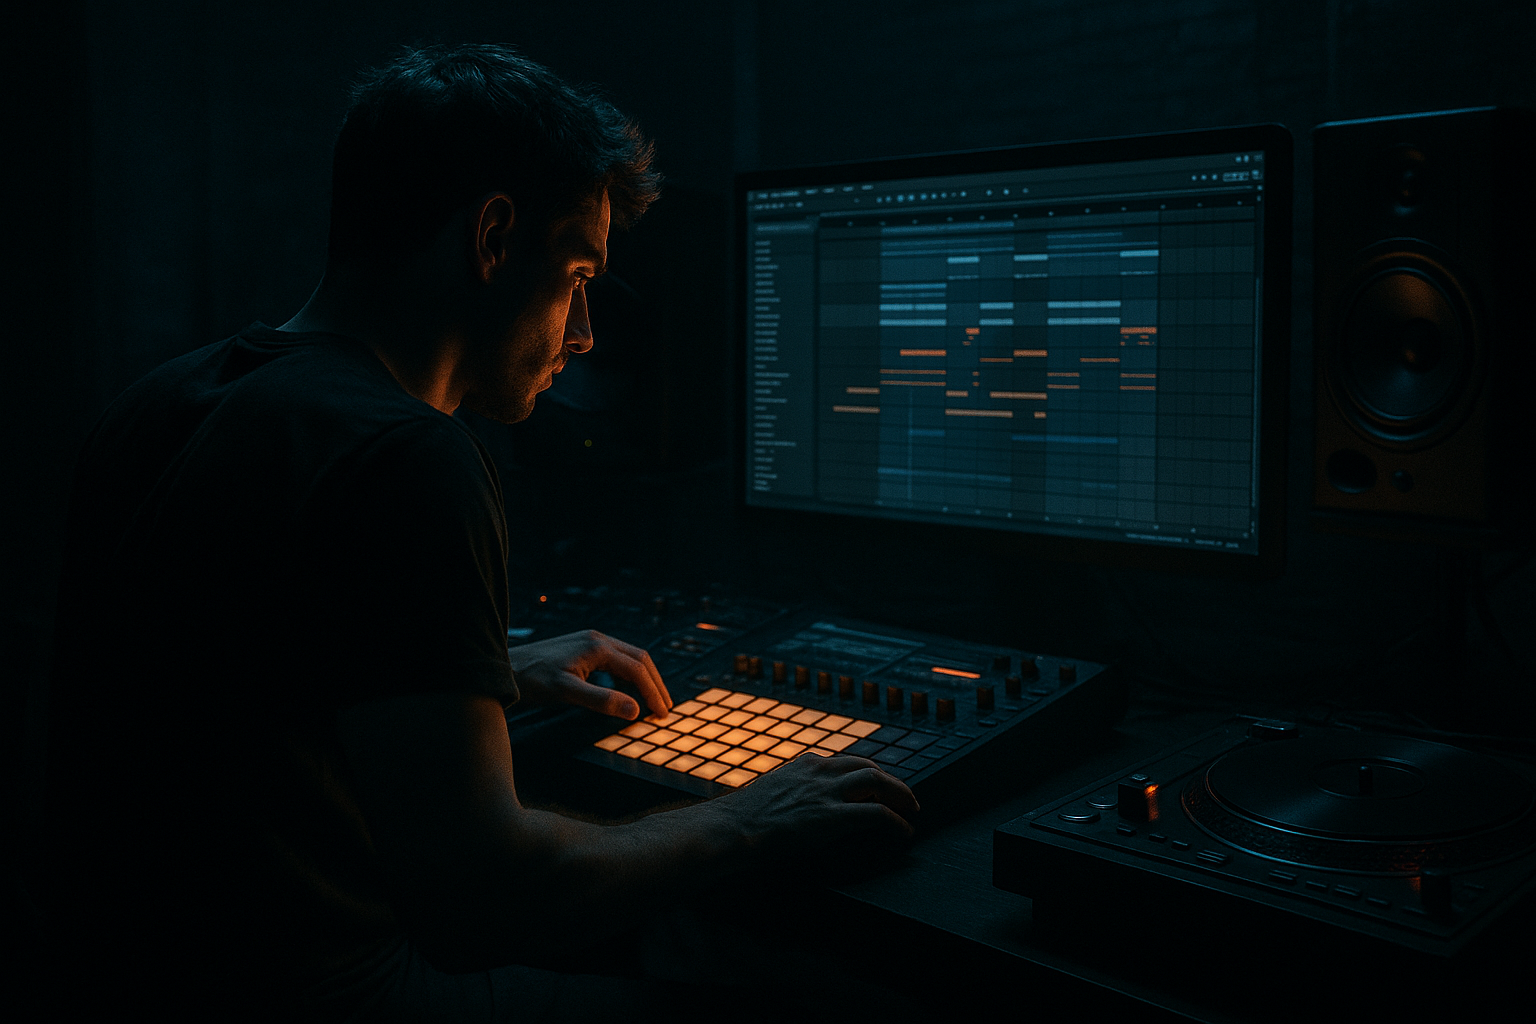
Amen Playbook: Sampler Rack Push in Ableton Live 12 (Ragga Elements) 🔥🥁
Beginner-friendly, but rooted in real DnB/jungle workflow.
---
1) Lesson overview
In ragga/jungle-influenced drum & bass, the Amen break isn’t just a loop — it’s an instrument. In this lesson you’ll build a Sampler-based Drum Rack that lets you push the Amen: driving it forward with envelope shaping, velocity, pitch nudges, and tight timing so it rolls and hits like proper DnB.
You’ll learn:
- How to chop an Amen cleanly into hits (kick/snare/ghosts/cymbals)
- How to map those chops into a Drum Rack with Sampler
- How to create a “Push” macro system: transient snap, tail control, pitch, drive, and groove
- How to arrange a ragga-style 2-step/steppers pattern using Amen energy
- Drum Rack with 8–16 Amen slices (each slice inside Sampler)
- Macros that control:
- Attack: 0.0–1.0 ms (keep it snappy)
- Decay: 150–300 ms (short for tight chops; longer for more jungle wash)
- Sustain: -inf (or very low) if you want one-shot behavior
- Release: 30–80 ms (prevents clicks, keeps it controlled)
- Turn Filter On
- Type: LP24 or LP12 for smooth shaping
- Typical starting points:
- Add a touch of Drive in the filter section if needed.
- Find Vel (Velocity) control and ensure velocity affects volume.
- Aim for ghost notes to sit lower naturally.
- Macro 1: PUNCH
- Macro 2: TAIL
- Macro 3: AIR
- Macro 4: DRIVE
- Macro 5: BREAK TONE
- Bars 1–2: Clean foundation (kick/snare + light hats)
- Bars 3–4: Add Amen ghost notes + more top
- Bar 5: Quick fill (1/16 edits)
- Bar 6: Pull it back (less hats, tighten tails)
- Bars 7–8: Full pressure (Drive macro up, Air slightly up, add extra ghost)
- Drive Macro: increase into bar 8
- Punch Macro: bump on drops or fills
- Air Macro: lift for energy, reduce for darker sections
- Over-warping the Amen: Too many warp markers = weird flams. Use minimal markers and trust transients.
- Tails fighting the bass: Amen low end can wreck your sub. High-pass hats and even snares if needed.
- Too much global compression: Breaks need punch and movement. If it’s flat, back off Glue.
- Everything at full velocity: Jungle/DnB roll comes from ghost dynamics.
- Swing too heavy: DnB can groove hard, but big swing often kills forward momentum.
- Parallel dirt:
- Resample to commit character:
- Use Roar (if available in Live 12 Suite):
- Transient focus:
- Dark tone shaping:
- Sliced Amen → Drum Rack
- Key slices upgraded to Sampler
- Tight envelopes + filtering = forward, controlled hits
- Rack-level FX + macros = fast “push” performance control
- Groove + velocity = rolling jungle movement
- Simple 8-bar arrangement + automation = track-ready energy 🚀
---
2) What you will build
A playable instrument called AMEN PUSH RACK:
- Punch (shorter attack + snappier transient)
- Tail (decay/release control for tight rolling edits)
- Pitch (global “up/down” for tension)
- Drive (saturation for heavier sound)
- Air (top-end emphasis without harshness)
- Push Timing (groove + micro-shift workflow)
And you’ll program a 1–2 bar rolling Amen pattern suitable for ragga DnB.
---
3) Step-by-step walkthrough
Step A — Choose and prep an Amen
1. Create a new Live set at 170–175 BPM (classic DnB tempo).
2. Drag an Amen break audio file into an Audio Track.
3. In the clip view:
- Set Warp = On
- Try Beats warp mode for tight drum slicing.
- Set Transient Loop Mode = Transients
- Adjust Preserve to something like 1/16 (good starting point for jungle chops)
Goal: Make the break sit perfectly on the grid without sounding wobbly.
---
Step B — Slice to a Drum Rack (fast method)
1. Right-click the warped Amen clip in Arrangement or Session.
2. Choose: Slice to New MIDI Track.
3. Settings (great starting point):
- Slice By: Transients
- Create one slice per: Transient
- Slicing preset: Built-in → Drum Rack
Now you’ve got a Drum Rack, but typically it uses Simpler by default. We want Sampler for deeper control.
---
Step C — Convert key slices to Sampler (the “push” engine)
1. Open the Drum Rack and identify key pads:
- Kick-ish hit
- Main snare
- Ghost snares
- Hats/ride bits
2. For each important pad:
- Click the device on that pad (likely Simpler)
- Replace it with Sampler: drag Sampler from Browser onto that pad
- Drag the slice audio (from the Simpler sample display or from the sliced audio files) into Sampler.
Why Sampler? Better envelopes, modulation, filter behavior, and more “instrument-like” control.
---
Step D — Dial in “push” on each slice (core Sampler settings)
Do this first on your snare slice and kick slice, then copy settings to others.
#### 1) Amp Envelope (tight DnB behavior)
Inside Sampler → Amp:
✅ This is your first “push”: drums feel forward when tails are controlled.
#### 2) Filter to remove mud and add bite
Inside Sampler → Filter:
OR HP12 if the slice is too boomy.
- For snares: HP at 120–200 Hz, slight resonance (5–10%)
- For hats/cymbals: HP at 300–600 Hz
#### 3) Velocity → Volume (realism and groove)
Inside Sampler:
---
Step E — Group control: build macros that actually matter 🎛️
1. Click the Drum Rack device (top-level).
2. Click Macro section.
3. Add these devices on the Drum Rack chain (not inside each pad yet):
- Saturator
- EQ Eight
- Glue Compressor (optional but very common for breaks)
#### Suggested chain (top-level Drum Rack):
1) EQ Eight
2) Saturator
3) Glue Compressor
4) Limiter (only if you’re clipping too hard)
#### Map Macros (practical assignments)
- Map Glue Compressor → Threshold (gentle)
- Map Glue Compressor → Makeup (subtle compensation)
- Optional: map Saturator → Drive slightly too
Starting Glue settings:
- Attack: 1 ms
- Release: Auto
- Ratio: 2:1
- Soft Clip: On
- Threshold: aim for 1–3 dB GR on peaks
- This is best per-slice, but you can still do a global feel:
- Map Glue Compressor → Release (shorter = tighter)
- Map EQ Eight → low-mid cut (around 250–400 Hz) slightly deeper as tail increases
- Map EQ Eight: High shelf at 8–12 kHz (+0 to +4 dB)
- If harsh, also map a narrow cut at ~6–7 kHz (optional)
- Map Saturator → Drive (0 to ~6 dB)
- Saturator mode: Analog Clip
- Soft Clip: On
- Map EQ Eight:
- Low cut frequency (e.g., 30–80 Hz)
- A presence boost around 2–4 kHz (small)
> Tip: Keep macros narrow and musical. You want fast “performance” changes without destroying the break.
---
Step F — Make it roll: write a ragga/DnB Amen push pattern
1. Create a MIDI clip on the Drum Rack track:
- Length: 1 bar first (then expand to 2)
2. Classic DnB foundation at 174 BPM:
- Kick: beat 1 (1.1)
- Snare: beat 2 and 4 (1.2 and 1.4)
3. Add Amen spice:
- Place ghost snares just before the main snare (e.g., 1.1.3 or slightly ahead)
- Add a quick hat/ride slice on off-beats (the “skank” energy 🎶)
- Use velocity:
- Main snare: 100–127
- Ghosts: 30–70
- Hats: 40–90
4. Add micro-variation (very jungle):
- Duplicate the bar to 2 bars
- In bar 2, swap one snare slice for a different snare/ghost slice
- Add a quick triplet-ish fill using 1/16T grid (sparingly)
---
Step G — Push timing with Groove Pool (the clean way) 🕺
1. Open Groove Pool (left panel).
2. Drag a groove like:
- Swing 16-XX (start around 10–25)
- Or any “breakbeat” style groove if available
3. Drop the groove onto your MIDI clip.
4. Groove settings:
- Timing: 10–25
- Velocity: 5–15
- Random: 2–8 (tiny humanization)
5. Click Commit only when you’re sure.
DnB note: You usually want controlled shuffle — not drunk swing.
---
Step H — Arrangement ideas (8-bar practical DnB structure)
Try this simple rolling layout:
Automation lanes to use:
---
4) Common mistakes
---
5) Pro tips for darker/heavier DnB 🌑
Create a return track with Saturator → Auto Filter (LP) → Compressor. Send the Amen lightly for controlled grime.
Once it’s rolling, Resample the break to audio and do tiny cuts + fades for that classic chopped feel.
Subtle multi-band distortion can make the break aggressive without harsh top. Keep it gentle and EQ after.
If it’s not hitting, shorten tails and increase transient contrast (Punch macro + slight saturation).
Use EQ Eight to dip ~3–5 kHz if it’s too “clacky,” then add a controlled shelf at 10 kHz for air.
---
6) Mini practice exercise (15 minutes) ⏱️
1. Build your AMEN PUSH RACK with at least 8 slices in Sampler.
2. Program a 2-bar loop:
- Bars 1–2: standard kick/snare anchors
- Add at least 4 ghost hits
3. Add a groove:
- Timing 15
- Velocity 10
4. Automate:
- Drive Macro from 0 → 30% across bar 2
- Tail Macro slightly down on the last beat (tighter ending)
Export a 16-bar bounce and listen on low volume:
If it still feels like it’s rolling, you nailed the push.
---
7) Recap
You now have a beginner-proof but real DnB technique:
If you want, tell me what Amen sample you’re using (or upload a screenshot of your rack), and I’ll suggest the best macro ranges and a punchy 2-step/steppers MIDI pattern.
```

