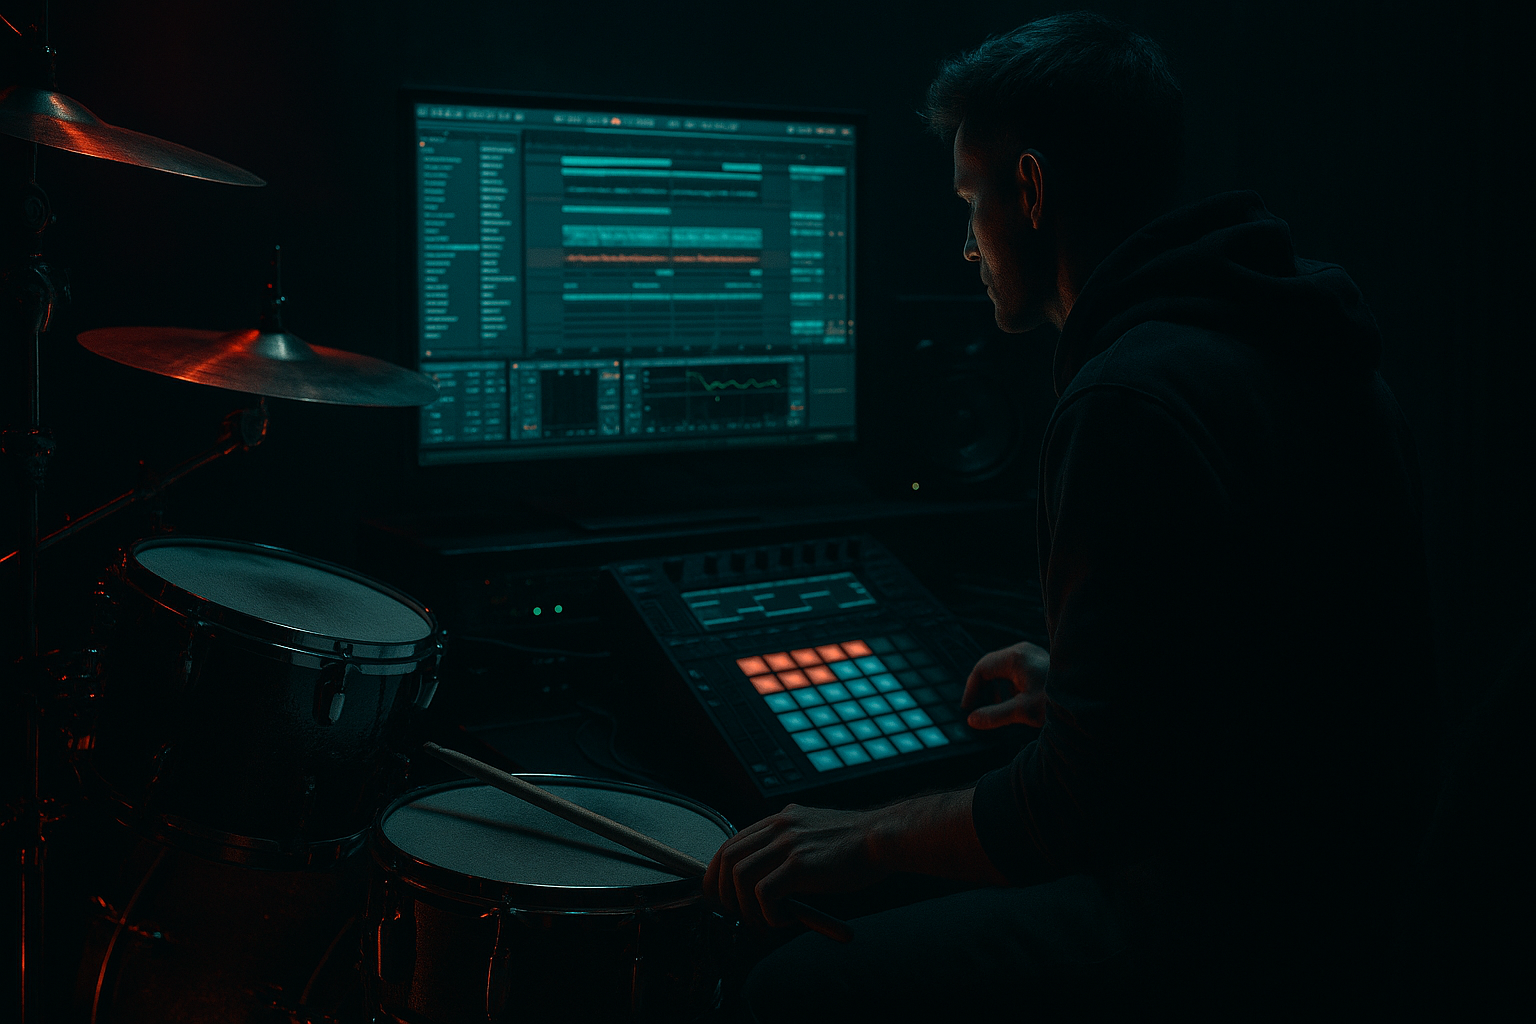
Main tutorial
```markdown
Accent Placement for Convincing Rolls (DnB in Ableton Live) 🥁⚡️
Skill level: Advanced
Category: Groove
---
1. Lesson overview
A convincing DnB roll isn’t just “more hits faster”—it’s accent design. The ear needs hierarchy: a few hits feel like “pillars,” while the rest feel like motion and texture. In rolling DnB / jungle, the best rolls often:
- Respect the bar grid (strong accents land on musically meaningful points),
- Manipulate velocity + timing + tone to create forward pull,
- Use ghost notes to glue the groove without stealing focus.
- A snare roll leading into a drop (bar 2 → bar 3),
- A hat/shaker roll that intensifies without getting harsh,
- Accents mapped to groove “anchors” (1, 2, 3, 4, and key offbeats),
- A clean workflow using Ableton stock tools:
- Load a Drum Rack and add:
- Snare: on 2 and 4
- Kick: try 1, plus a syncopated kick around 1a / 1e style depending on your taste
- Hats: 1/8 or 1/16 (keep it simple)
- Last 1/2 bar before a phrase change,
- Or last 1 bar into a drop,
- Or as a call-and-response inside a 16-bar section.
- Put the roll in bar 2 (beats 3–4), so the groove stays stable earlier and then ramps.
- Beat 3 (bar 2): 105–115 (accent)
- 3.2: 55–70 (ghost)
- 3.3: 90–105 (accent)
- 3.4: 60–75 (ghost)
- Beat 4: 115–127 (big accent)
- 4.2: 70–85 (ghost)
- 4.3: 95–110 (accent / push)
- 4.4: 75–90 (ghost into the next bar)
- Body Snare chain:
- Crack Snare chain:
- Put Utility on the Crack chain, then modulate gain with Velocity device:
- Add Drum Buss after the snare chain
- Automate Transient up slightly during the last 1/2 bar:
- Automate Drive subtly (+1–2 dB) into the peak
- too loud,
- too bright,
- too constant (no accent logic).
- Mute one key hit or remove a hat on 4.4,
- Or pull the snare roll down slightly on the last 1/16,
- Then slam into the next bar.
- Bars 1–8: stable groove
- Bars 9–15: add slight hat density + small fills
- Bar 16: the roll (your accent-designed snare + hat roll)
- Bar 17: drop or switch (new bass stab, reese variation, or crash)
- Accented roll hits into distortion = menace
- Use a “room slap” reverb only on accents
- Subtle pitch drops at the end of the roll
- Jungle-style snare flam as an accent
- Sidechain the roll against the bass only slightly
- Convincing rolls in DnB come from accent hierarchy, not raw speed.
- Place accents on musical anchor points (downbeats, midpoints, offbeat pushes) and keep ghosts supportive.
- Keep accents on-grid, push ghosts slightly early for urgency.
- Make accents sound different via layering, transient shaping, saturation, and controlled reverb.
- Use negative space right before impact to make the drop hit harder.
In this lesson you’ll build rolls that feel intentional, sit in a mix, and hype transitions without sounding like random MIDI spam.
---
2. What you will build
You’ll create a 2-bar DnB drum loop at 174 BPM with:
Drum Rack, Velocity, Saturator, Drum Buss, Glue Compressor, EQ Eight, Auto Filter, LFO (Max for Live), Groove Pool, Utility
---
3. Step-by-step walkthrough
Step 0 — Session setup (make the grid work for you)
1. Set tempo to 174 BPM.
2. Global Quantization: 1 Bar (so you can toggle clips cleanly).
3. Set your clip length: 2 bars (we’ll make the roll in bar 2).
DnB note: Rolls often feel best when you don’t accelerate perfectly evenly—accents do the convincing, not just faster subdivisions.
---
Step 1 — Build a solid base groove (anchors first)
Before rolling, establish the reference.
Track: Drum Rack (MIDI Track)
- Kick (tight, short)
- Snare (main)
- Closed hat
- Ride/shaker layer (optional)
Pattern (typical roller/jungle skeleton):
Now loop it. This is your “truth.” The roll must relate to this groove.
---
Step 2 — Choose where the roll “speaks” (placement in arrangement)
Convincing DnB rolls are often strongest:
Practical arrangement move:
This avoids “roll fatigue.”
---
Step 3 — Create a snare roll with accent pillars
Goal: A roll that increases intensity without turning into a flat machine gun.
1. Duplicate your snare note at beat 4 into a roll region:
- In the MIDI clip, from bar 2 beat 3 to bar 2 beat 4, draw 1/16 notes on the snare lane.
2. Now accent placement (this is the magic):
- Accents should outline the bar:
- Strong hits on 3, 3.3, 4, and optionally 4.3 (think “mini downbeats”).
- Make everything else supportive ghost energy.
Velocity map (starting point):
> Why this works: you’re teaching the ear where the “important pulses” are. The roll feels like it’s aiming somewhere.
Ableton workflow tip:
Select notes → in the bottom Note Editor, draw velocity ramps but then edit specific pillars manually. Random ramps alone often sound generic.
---
Step 4 — Add timing micro-push (subtle, not sloppy)
Velocity gives hierarchy; timing gives urgency.
1. Select the ghost notes only (leave the big accents on-grid).
2. Nudge them slightly earlier:
- Use Track Delay or manual nudges:
- Start with -3 ms to -8 ms early for ghosts.
3. Alternatively, use Groove Pool:
- Add a groove like Swing 16-65 (or a subtle MPC-ish swing).
- Timing: 10–20%
- Velocity: 0–10% (you already designed velocities)
- Random: 0–5% max
Rule: Accents = stable. Ghosts = movement. 🎯
---
Step 5 — Make accents sound like accents (tone shaping per layer)
A roll feels real when accented hits get slightly more bite and body.
#### Option A: Duplicate snare into two layers inside Drum Rack
Inside Drum Rack:
1. Duplicate the snare pad chain (Cmd/Ctrl+D).
2. Layer A = Body Snare (cleaner)
3. Layer B = Crack Snare (brighter)
Processing (stock):
- EQ Eight: gentle bump around 180–220 Hz if needed; cut mud at 300–500 Hz
- Saturator: Soft Clip ON, Drive 2–5 dB
- EQ Eight: high shelf +2 to +4 dB at 5–10 kHz
- Drum Buss: Drive 5–15%, Crunch 5–20% (careful)
Now route velocity to layer balance:
- Add MIDI Effects → Velocity before Drum Rack
- Set Out Hi a bit higher, Out Low lower to exaggerate contrast
- Or use two chains with different sample selections: ghost uses softer sample, accents use harder sample (classic jungle trick).
#### Option B: One snare, but accent with transient + saturation automation
- e.g. from +0 to +10
This keeps it cohesive and loud without needing more samples.
---
Step 6 — Add a hat/shaker roll that doesn’t fry your ears
Hat rolls often fail because they’re:
1. Program 1/16 hats in bar 2 beat 3–4 (or even 1/32 for the last 2 beats).
2. Accent logic for hats:
- Accents often feel best on offbeats leading into 4 (DnB push):
- Slightly louder on 3.2 and 3.4, and 4.2 (depending on your groove)
3. Use Auto Filter to create movement:
- High-pass at 200–500 Hz
- Automate cutoff upward slightly during the roll (e.g. 3.0k → 6.0k)
4. Control harshness:
- EQ Eight: small dip around 7–10 kHz if it’s biting
- Saturator (gentle) can smooth peaks if driven carefully
Pro move: Create a “hat roll bus” with Glue Compressor (2:1, slow attack 10–30 ms, release Auto, 1–2 dB GR) to keep it tight.
---
Step 7 — Use “negative space” right before impact (classic DnB tension)
The most convincing rolls often have a micro-dropout:
This creates a vacuum → impact.
Ableton trick: Automate Utility gain down by -2 to -6 dB for the last 1/16, then snap back at the drop.
---
Step 8 — Commit it into arrangement: 16-bar phrase idea
Place your roll as a phrase marker:
DnB listeners feel structure through drums—roll accents are your signposts.
---
4. Common mistakes
1. Linear velocity ramps only
A perfect ramp often sounds like MIDI homework. You need pillars (repeatable accent points).
2. Everything early / everything loud
If every hit is pushed and accented, nothing feels accented.
3. Rolls that ignore the groove
If your roll accents don’t relate to 2&4 or your kick logic, it won’t feel like DnB—more like random fill.
4. Too much high end on fast hats
1/32 bright hats = instant fizzy pain. Filter and control.
5. No tonal differentiation
Accents should change tone slightly, not just volume (layering, transient, saturation).
---
5. Pro tips for darker/heavier DnB 😈
Put Saturator or Roar (if you have it) after the snare bus and drive it so only accents “bloom.”
Keep ghosts quieter so they stay texture, not fuzz.
Create a Return track with Reverb:
- Decay 0.3–0.7s
- Pre-delay 10–25 ms
- HP filter in Reverb around 400–800 Hz
Send more from accented hits (either automate send or use a velocity-sensitive rack).
Automate Sample Transpose (in Simpler/Sampler) down -1 to -3 semitones across the last 1/2 bar for a grimy dive.
Replace one accent (often at 4) with a quick flam: 2 hits at 1/64 spacing, first quiet, second loud. Instant old-school tension.
If the bass is huge, use Compressor with sidechain from snare bus: just 1–2 dB GR so the roll punches through without raising volume.
---
6. Mini practice exercise (15 minutes)
1. Make a 2-bar loop at 174 BPM with kick + snare on 2&4.
2. Create a snare roll in bar 2 beat 3–4 using 1/16 notes.
3. Do three versions:
- Version A: Accents on 3, 3.3, 4
- Version B: Accents on 3.2, 3.4, 4 (more offbeat push)
- Version C: Same as A, but remove one hit on 4.4 (negative space)
4. Bounce each version to audio and A/B them in Arrangement:
- Which one sounds most “rolling”?
- Which one feels darkest?
- Which one translates at low volume?
If you want to level up: apply a subtle groove from Groove Pool and keep your accent pillars manually locked.
---
7. Recap ✅
If you share a screenshot of your MIDI roll (notes + velocities), I can suggest exact accent points and a tighter velocity curve for your specific groove.
```

