Main tutorial
1. Lesson Overview
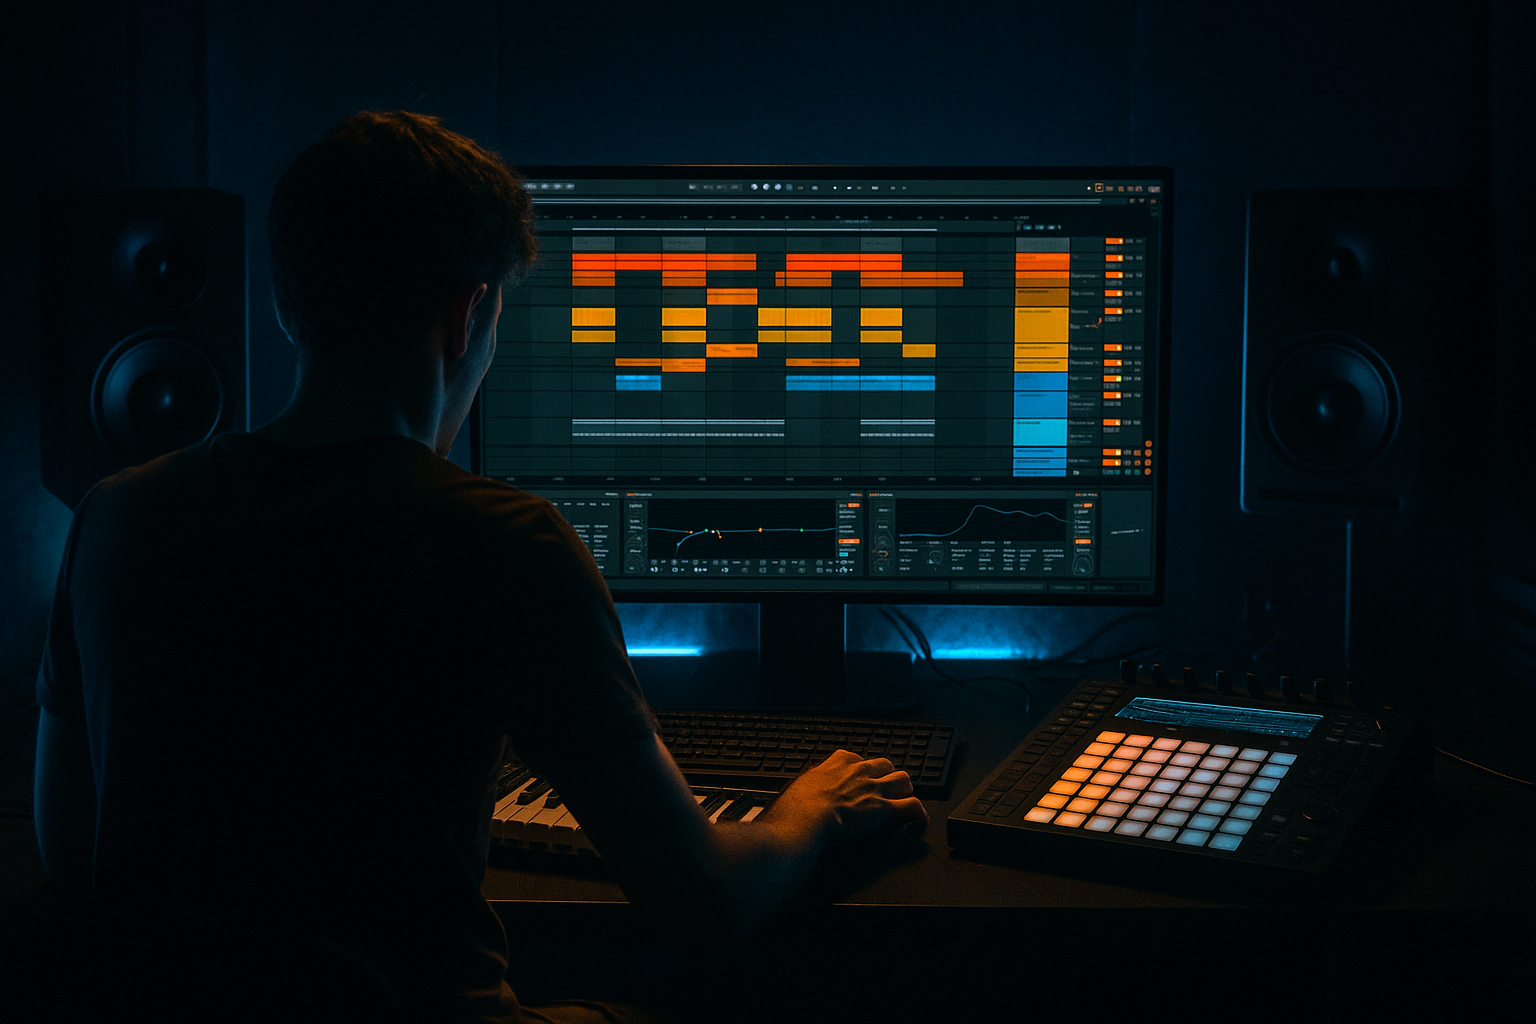
This lesson teaches a practical, intermediate workflow for creating a "1991 Ableton Live 12 jungle bass wobble blueprint with DJ-friendly structure". You will design a classic early-jungle wobbling bass using only Ableton Live 12 stock devices, integrate it with breakbeat and sub foundations, and build DJ-ready loopable stems and arrangement regions so a DJ can mix your track live. Focus is on sound design, rhythmic modulation, tight low-end management, and arranging loopable sections for DJ use.
2. What You Will Build
- A two-layer jungle bass: a solid sub layer (sine) + a mid-range wobble (resonant band/moving filter).
- A tight, punchy jungle bed with Amen-style break chops (using Drum Rack/Simpler).
- Two wobble rates (fast and slow) and an LFO-shape switch for live performance.
- A DJ-friendly structure in Session View and Arrangement: long intro/outro loops, 8/16/32-bar DJ loops, and pre-rendered stems for mixing.
- A short workflow to resample and export stems for DJ decks (or grid-friendly clip organization).
- Set BPM to 170 (common 1991 jungle tempo; you can try 165–175). Set Quantize to 1 Bar when launching clips.
- Create a new Live Set with Session View as your performance base.
- Save root note info and label clips with the key (e.g., Dm). DJs rely on key labeling for harmonic mixing.
- Phase-align kick and sub: use Utility’s phase flip or nudge sample start so the transient and sub are in phase; use spectrum analyzer (EQ Eight’s Spectrum) to verify.
- Overusing unison or detune on the mid wobble — this smears low end and makes mixing with sub harder.
- Letting the wobble occupy sub frequencies — always high-pass the wobble around 80–120 Hz to preserve the sub.
- Forgetting to sidechain bass to kick — results in a muddy, competing low-end.
- Too much resonance or boosting around 300–500 Hz — causes boxiness; tame with parametric EQ.
- Exporting stems without crossfades/clips matched to bars — causes clicks or misaligned loops when DJs load them.
- Poor clip quantization or launching with too long quantize times — defeats DJ timing control.
- Use two separate outputs for sub and mid wobble when playing on hardware racks/club systems: route sub to a dedicated channel so DJs can control low-end independently.
- Create both beat-synced and free-running LFO modes: free-run LFO adds an authentic loose 1991 unpredictability, while synced LFO gives tight dancefloor wobble.
- Save the Instrument Rack as a preset with mapped macros: Wobble Rate, Wobble Depth, Sub Level, and Cutoff. This accelerates live toggles and studio tweaks.
- For DJ-friendly loops, create versions with and without breaks/hits so DJs can drop elements cleanly. Label them clearly: “32B Intro_SubOnly_D”.
- When resampling stems, include a couple of bars of click-free tail (use fade-out) to avoid pops when looping on CDJs or controllers.
- Use Live’s Follow Actions on a DJ-only workflow set to advance between “Intro > Main > Breakdown” automatically as a practice for live performance.
- Build a two-layer bass: Operator sub + Wavetable mid wobble.
- Create two Wavetable LFO presets: 1/8 and 1/16. Map a Macro to crossfade between them using Instrument Rack chain selector.
- Program a 16-bar Amen-based break and a 32-bar intro clip (kick + sub + low-passed wobble). Ensure the sub remains mono and below 120 Hz.
- Resample the 32-bar intro and export one WAV stem labeled "Intro_SubOnly_32b_D6.wav".
3. Step-by-Step Walkthrough
Preparations
A. Build the kick/sub foundation
1. Create a MIDI Track named SUB-KICK. Load Operator.
2. Operator settings:
- Algorithm: Sine carrier only (default A).
- Osc A: Sine, Octave -2 or -3 depending on your keyboard range. Play the root note (e.g., D1).
- Reduce decay → use simple amplitude envelope for short pluck if combining with separate kick. For pure sub, set release ~150–300 ms.
3. Add Chain: After Operator, insert EQ Eight (low shelf remove <20Hz if needed) and Utility for mono below ~120 Hz (Utility Width 0). Group with Compressor (Glue) on group to glue sub and other low elements.
B. Design the mid wobble (Wavetable)
1. Create a new MIDI Track named WOBBLE-MID. Load Wavetable (stock synth).
2. Wavetable setup:
- Osc A: choose a band-rich wavetable (e.g., "Analog_BD_Square" or "Basic Shapes" saw/triangle blend). Octave -1 or -2.
- Osc B: optional noise or second oscillator subtle detune for grit.
- Unison: 0–2 voices (too much unison will smear low-end).
3. Filter:
- Filter type: Band-Pass or Low-Pass 24 + Boost resonance around center for that 1991 nasal wobble.
- Set initial Cutoff around 300–700 Hz (depends on note).
- Increase Filter Resonance slightly (around 2–4 dB analog equivalent).
4. LFO & Modulation:
- Use Wavetable’s LFO1. Sync to Host.
- Create two LFO rate presets: LFO A = 1/8 (for slower wobble), LFO B = 1/16 or 1/16T (for faster wobble).
- LFO shape: Triangle or Sine for smooth wobble; Saw or Sample&H hold for choppier character. Shape triangle for classic feel.
- Map LFO to Filter Cutoff amount ~30–60% (mod wheel icon in Wavetable).
- Set LFO to retrigger on note if you want consistent bar-locked wobble; otherwise free-run for evolving feel.
5. Macro control:
- Macro 1: Wobble Rate (map to LFO rate parameter by assigning both rate preset ranges or using device chain on/off to switch between preset LFO devices).
- Macro 2: Wobble Depth (map to LFO amount).
6. Add EQ Eight after Wavetable: boost 200–800 Hz range slightly + remove sub-200 Hz overlap (high-pass at ~100 Hz) so the sub sits clearly underneath.
7. Add Saturator (soft clip) lightly for harmonic content. Place a Utility → Saturator → EQ chain to keep control.
C. Combine sub + mid and manage dynamics
1. Group SUB-KICK and WOBBLE-MID into a Group called BASS.
2. On the BASS group:
- Insert Compressor (Glue) for slight buss glue (3–4 dB gain reduction on peaks).
- Insert Multiband Dynamics (if available) to tame mid-range while keeping sub steady.
3. Sidechain: Add Compressor after Glue on the WOBBLE-MID (or on the BASS Group) and set the kick track as the sidechain input. Fast attack/release to duck bass on kick hits. This retains kick punch and creates that jumpy jungle feel.
D. Rhythmic chopping & further movement (two common approaches)
Option 1 — LFO gating: Add Auto Filter after Wavetable with another LFO (sync to 1/16 or 1/8, square shape) and set Frequency modulation with high resonance. Use this when you want square rhythmic gating rather than smooth wobble.
Option 2 — Modulate amplitude: Add a utility volume automation by mapping Simpler or clip volume automation to create more staccato wobble.
E. Create the breakbeat bed
1. Create Drum Rack track named BREAKS. Load your Amen/Break sample into Simpler (multi-sample not necessary).
2. Slice to new MIDI track (right-click Simpler → Slice to New MIDI Track). Use transient slicing with 1/16 grid and choose "Preserve" for one-shot hits.
3. Program a classic chopped-amen pattern: emphasize backbeat placement and ghost snares. Use velocity to create human groove.
4. Add EQ and transient shaper (Compressor with fast attack/release) to make hits snap.
F. Arrangement & DJ-friendly structure in Session View
1. Create Clip Groups (scenes) as DJ-ready loops:
- Intro Long (32 bars): Kick+Hat loop + SUB only + filtered WOBBLE-MID low-passed (cutoff automated low).
- Main Loop (16 bars): Full break + WOBBLE-MID (mid cutoff open) + FX transitions.
- Breakdown (8–16 bars): Breaks only or wobble with reverb tails.
- DJ Tools: “Wobble Fast” clip (16 bars) and “Wobble Slow” clip (16 bars) as separate clips for quick switching.
2. For each Scene create corresponding clips on each track. Make copy/duplicate and automate or store different Macro states per clip:
- Clip A (low-pass closed) — set Wavetable filter cutoff macro low.
- Clip B (open) — same clip but map macro to a higher value. Record these macro positions into clip envelopes.
3. Clip Launch settings:
- Set Quantization to 1 Bar or 1/2 Bar depending on how tight you want DJ-cued start.
- Enable Legato off (so each clip starts clean) and set Follow Actions if desired for auto-advance during performance.
G. Creating quick switches for wobble rates (performable controls)
1. Duplicate WOBBLE-MID device and create two parallel chains inside Instrument Rack: Chain A = LFO Rate 1/8, Chain B = LFO Rate 1/16.
2. Map Chain Select Macro to a Macro knob (0–127). Map a Macro to Wavetable Chain Selector so you can crossfade between fast/slow wobble live.
3. Map that Macro also to an Ableton Macro mapped to a MIDI controller for live toggling.
H. Resample and export DJ stems
1. Create a new Audio track named RESAMPLE. Set its input to Master and arm it. Set Monitor to In and record whichever Scene plays in Arrangement or Session.
2. For stems: solo each group (e.g., Drums, Bass, Wobble, FX) and File → Export Audio/Video → Render Track: Master (or Rendered Track: Selected Tracks) to produce DJ-ready WAVs.
3. Recommended stems: Drums (dry), Bass (sub+mid combined), Wobble (mid processed without sub), FX loop. Make sure each stem is 32 or 64 bars and includes 8–16 bars of intro/outro silence or loopable beats for mixing.
I. Final adjustments - Key & phase
4. Common Mistakes
5. Pro Tips
6. Mini Practice Exercise
Time: 45–60 minutes
Deliverables: A Live Set with BASS group, BREAKS rack, two wobble rate clips, and one exported 32-bar intro stem.
7. Recap
You followed the "1991 Ableton Live 12 jungle bass wobble blueprint with DJ-friendly structure": built a two-layer bass (Operator sub + Wavetable wobble), set LFO-driven rhythmic filter modulation with selectable wobble rates, integrated sidechaining and breakbeat choreography, and organized Session View clips and exported stems for DJ performance. Apply the macro and resampling workflows to make your wobble both authentic to early jungle and practical for DJs to mix live.

